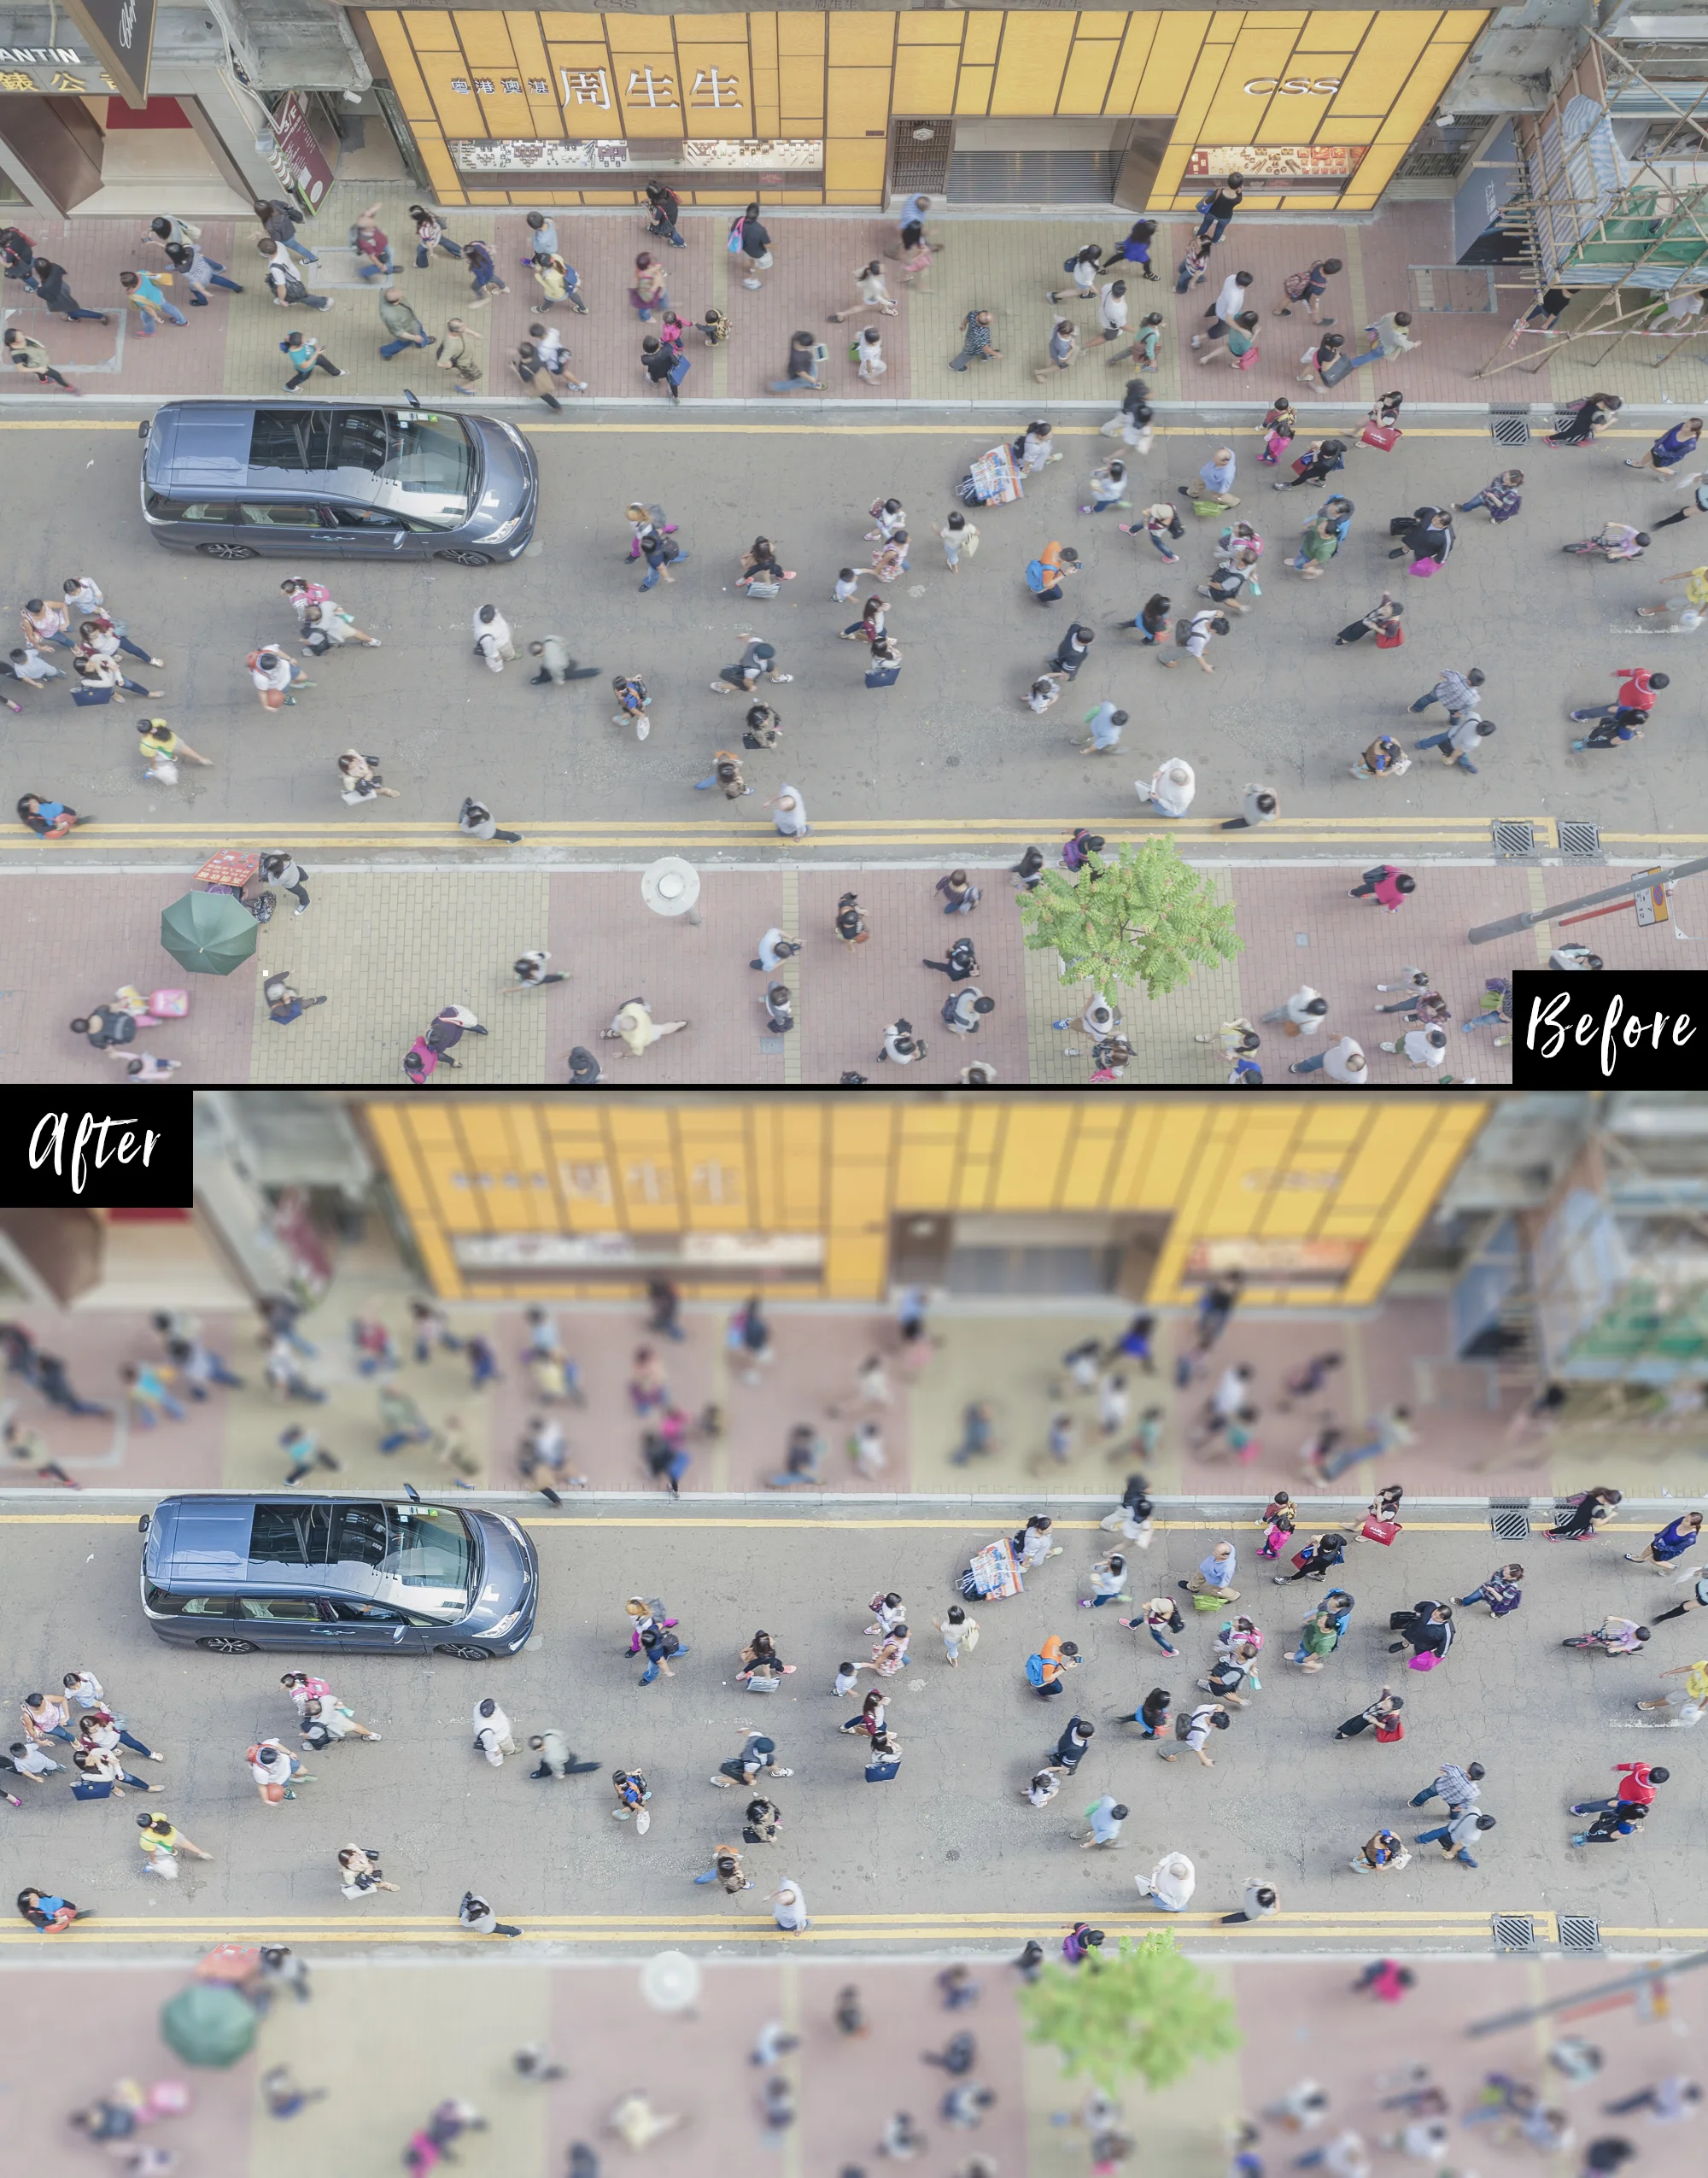
How to Create a Tilt-Shift Effect in Lightroom
Tilt-shift photography is an amazing type of photography in which the camera is manipulated so that a life-sized object or location looks like a miniature model. As a general rule to achieve the desired effect, you need to make shots from a high point, such as a bridge, tower or helicopter. It creates the illusion that you are looking down at a miniature model.
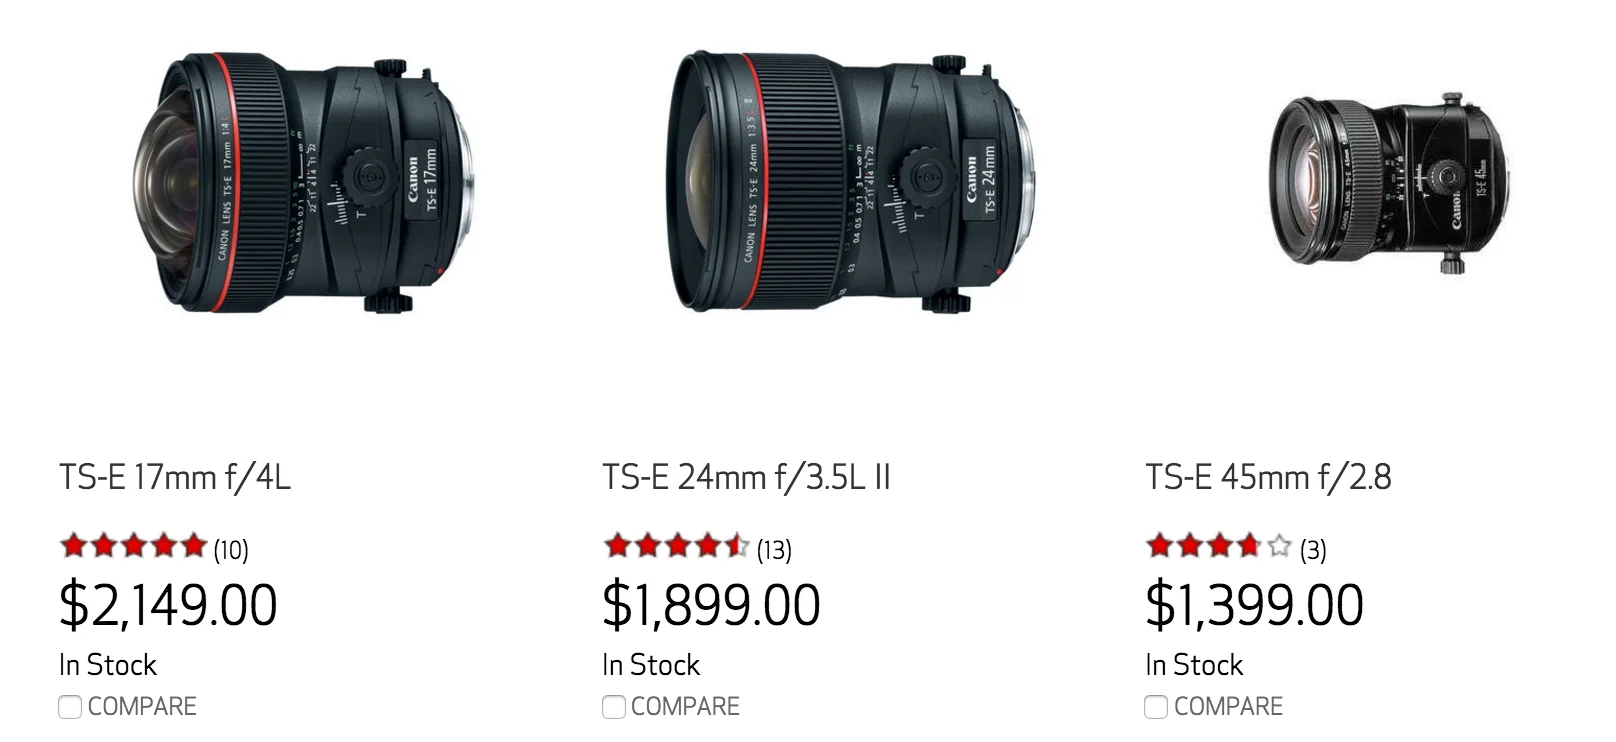
Tilt-shift lenses enable photographers to overcome the usual limitations of depth of field and perspective. Many optical tricks that allow these lenses make them indispensable for a particular landscape, architectural or product photography. Tilt-shift lenses are quite expensive, but a similar effect can be achieved by using Photoshop or Lightroom. In this tutorial, you'll discover exactly how to create this amazing tilt-shift effect using Lightroom.
Tilt-shift Lightroom Tutorial
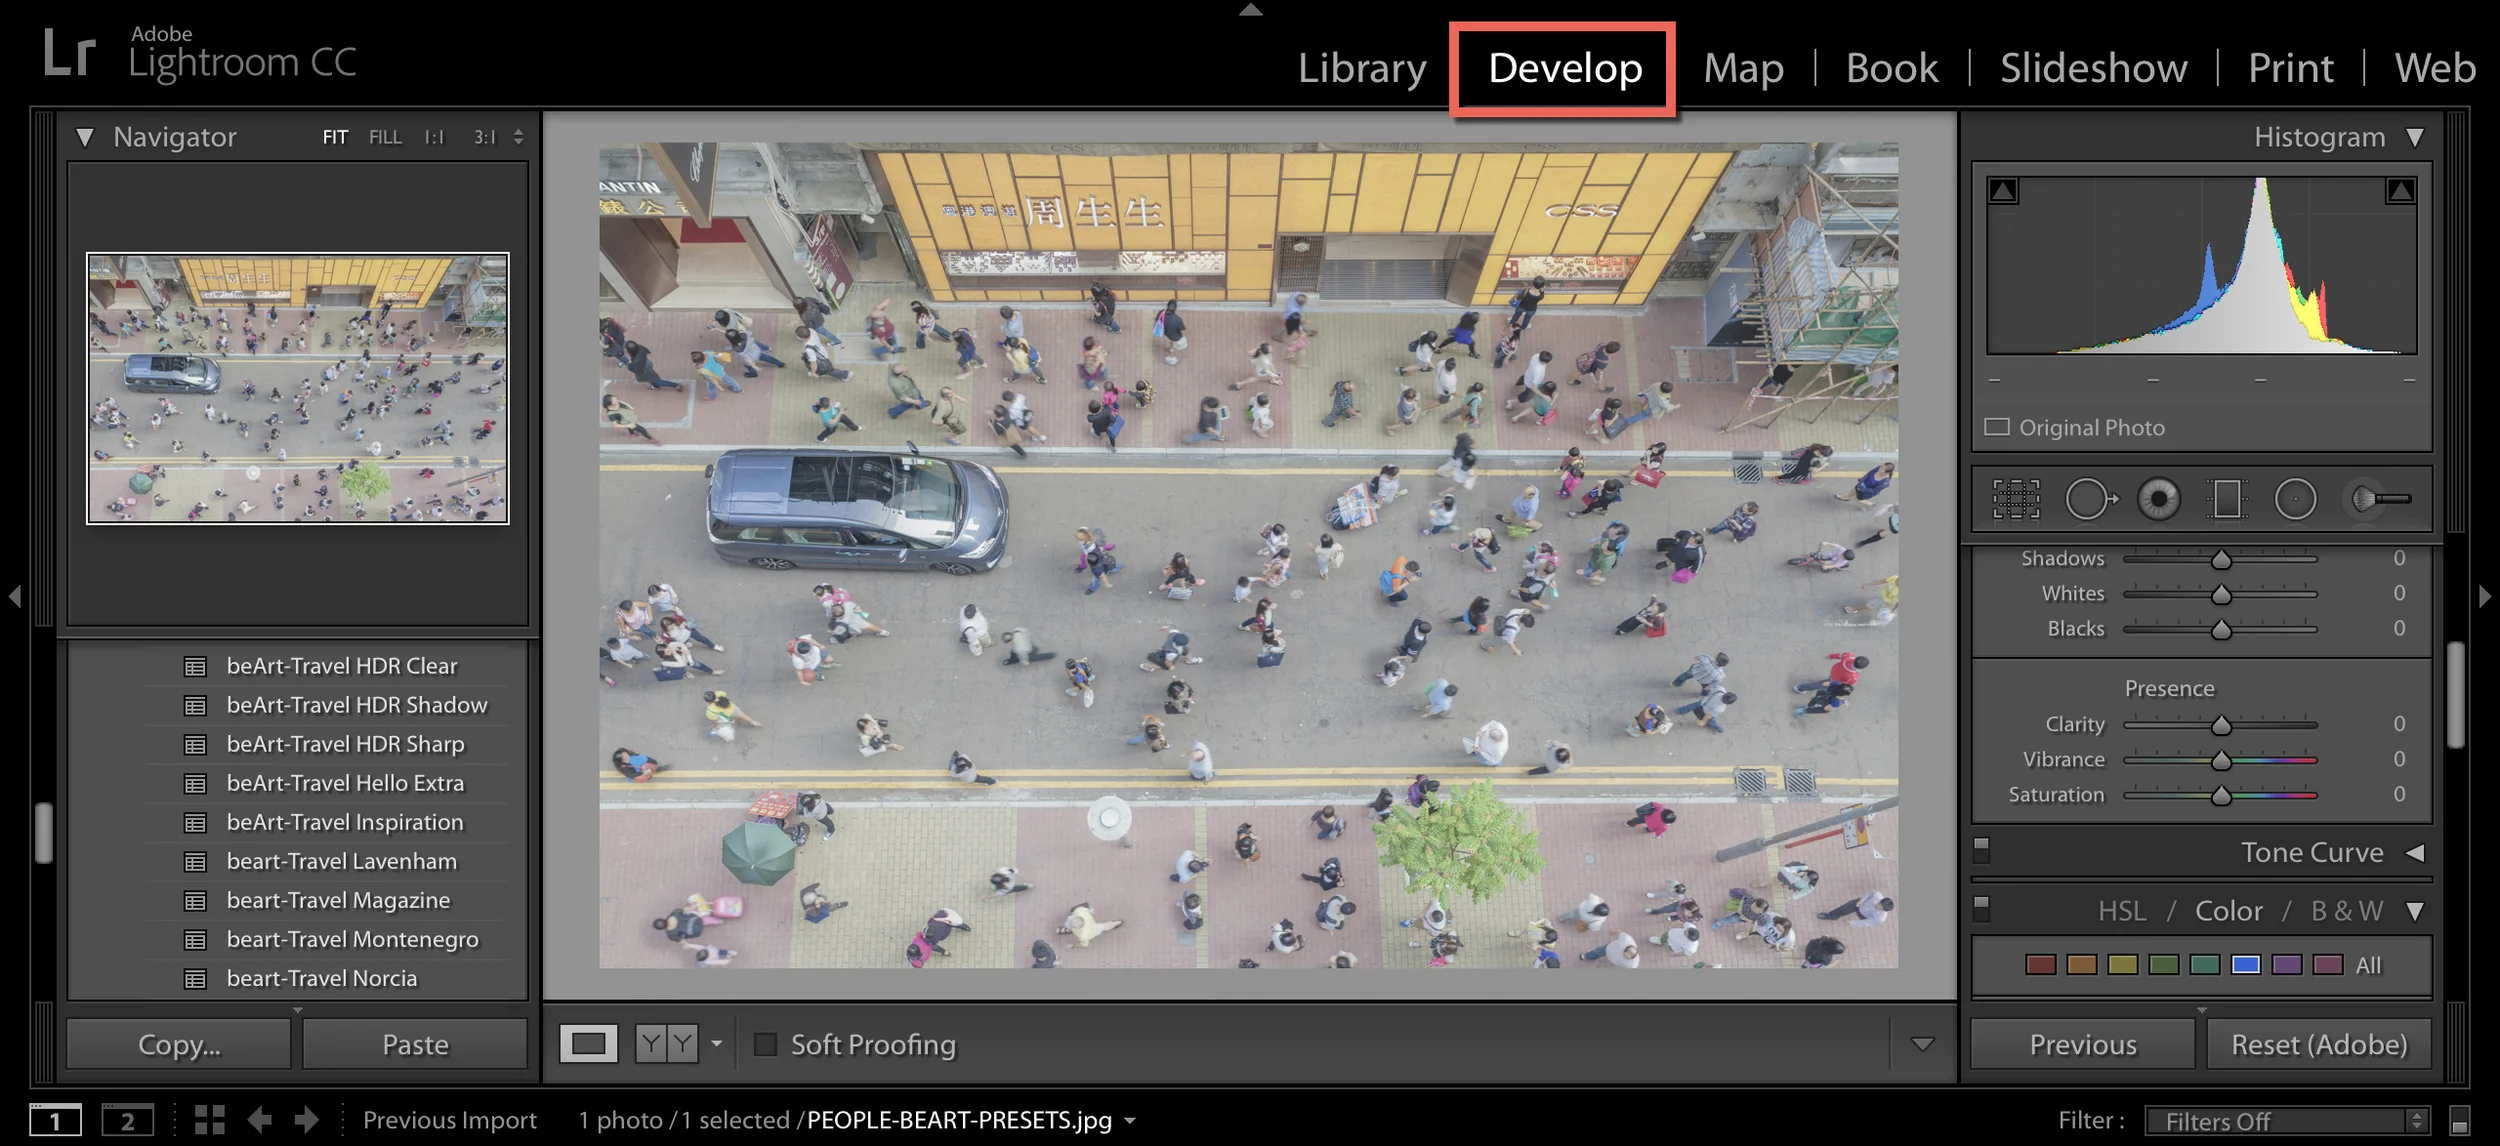
1. Import your photo in Adobe Lightroom and go to Develop mode.
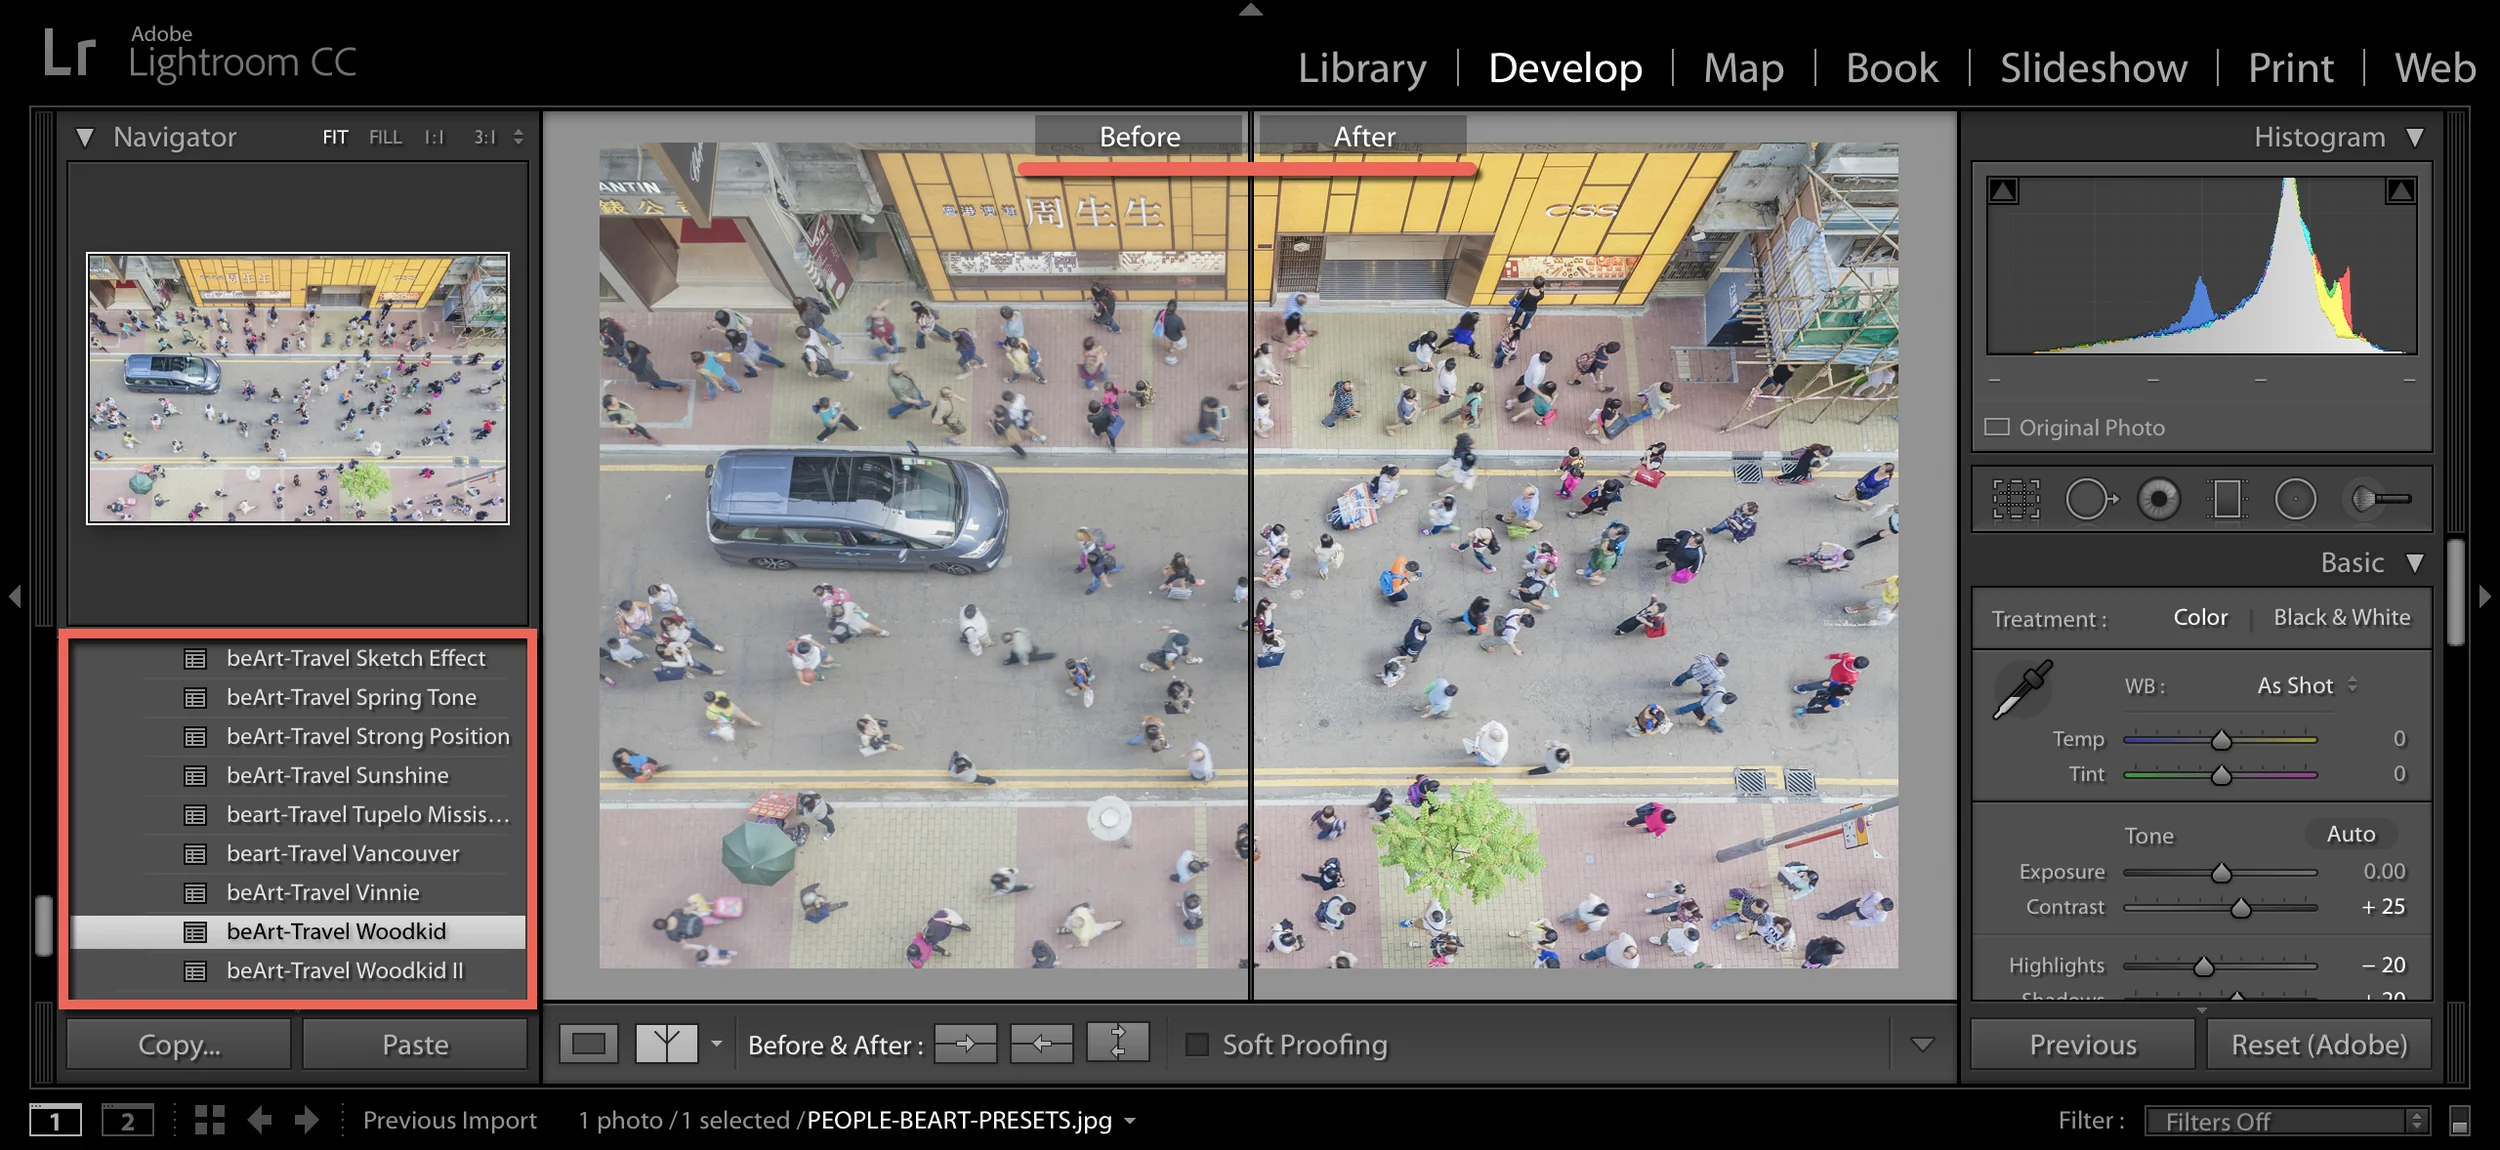
2. You can use our Landscape & Travel for Lightroom and Photoshop Collection to enhance and improve your image.
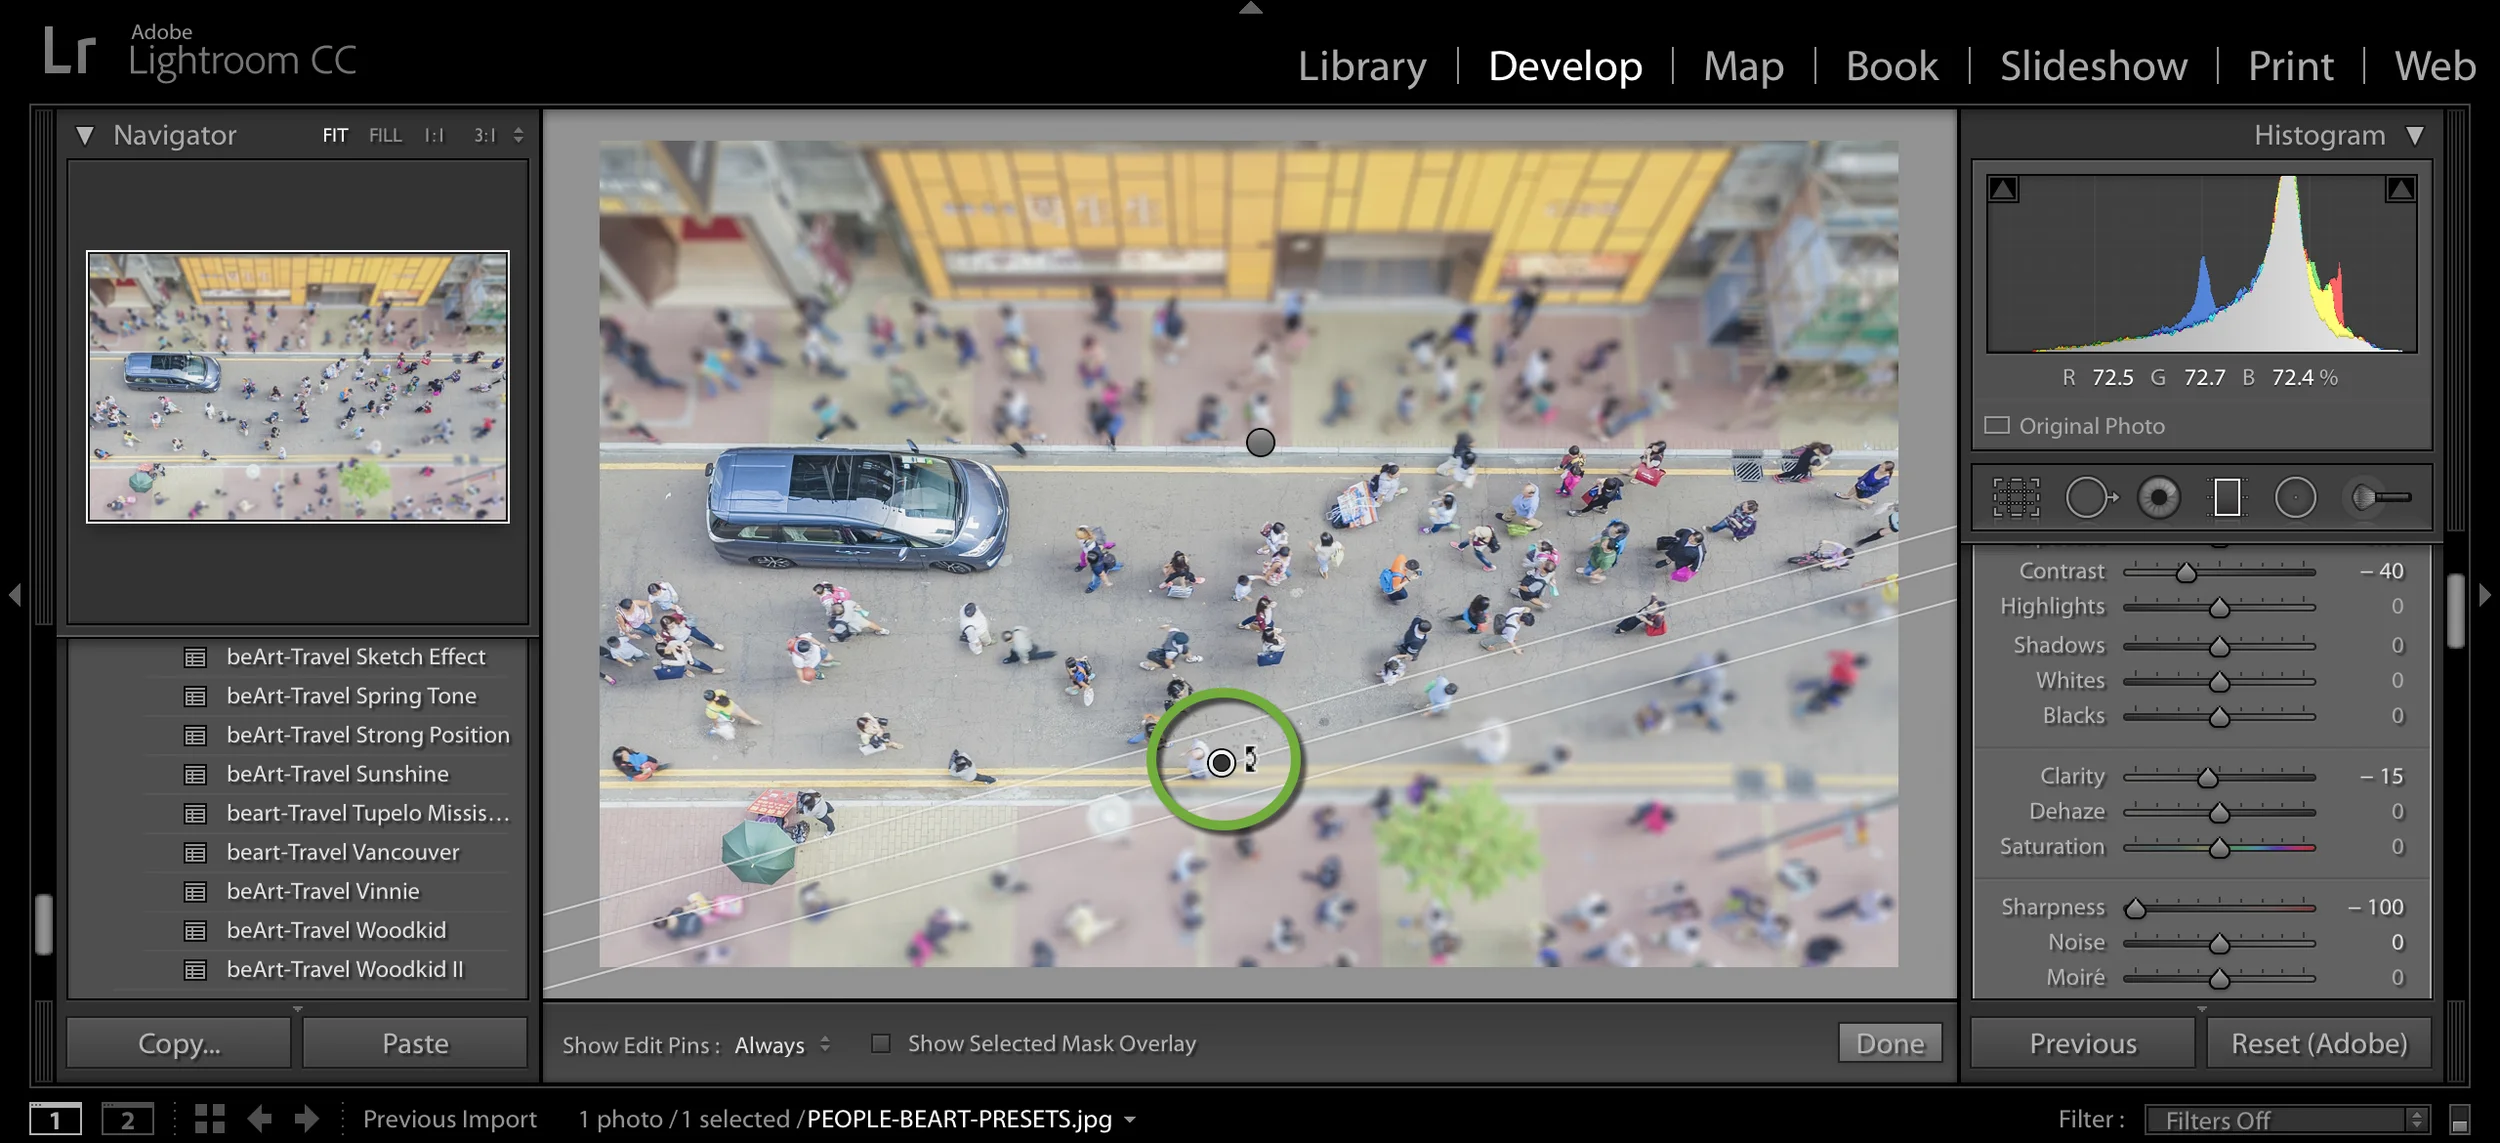
3. Select the Gradient Filter (Graduated Filter) and choose Contrast (-40), Clarity (-15) and Sharpness (-100), for best results.
4. In the next step, click with mouse right button and choose Duplicate, to copy the Gradient Filter with all parameters.
5. Move down and rotate duplicated Gradient Filter. To get focus only in the middle of the image.
6. Finished! Export your tilt-shift photo.


