Making Connections in Lightroom Cloud
Did you know you can use Lightroom Cloud to create photo books and prints? This is a handy feature for a busy photographer, whether a professional or amateur.

And the best part is that you don't have to use just one source. You can connect to various resources to print out photo-books and prints!
Read on for more details on how you can get creative and start producing prints and books that could earn you extra income with your clients.
Details
Establishing connections to online printing and other resources is easier than you might think! You'll need to start with the cloud-based version of Lightroom on your desktop.
Here are the steps to follow:
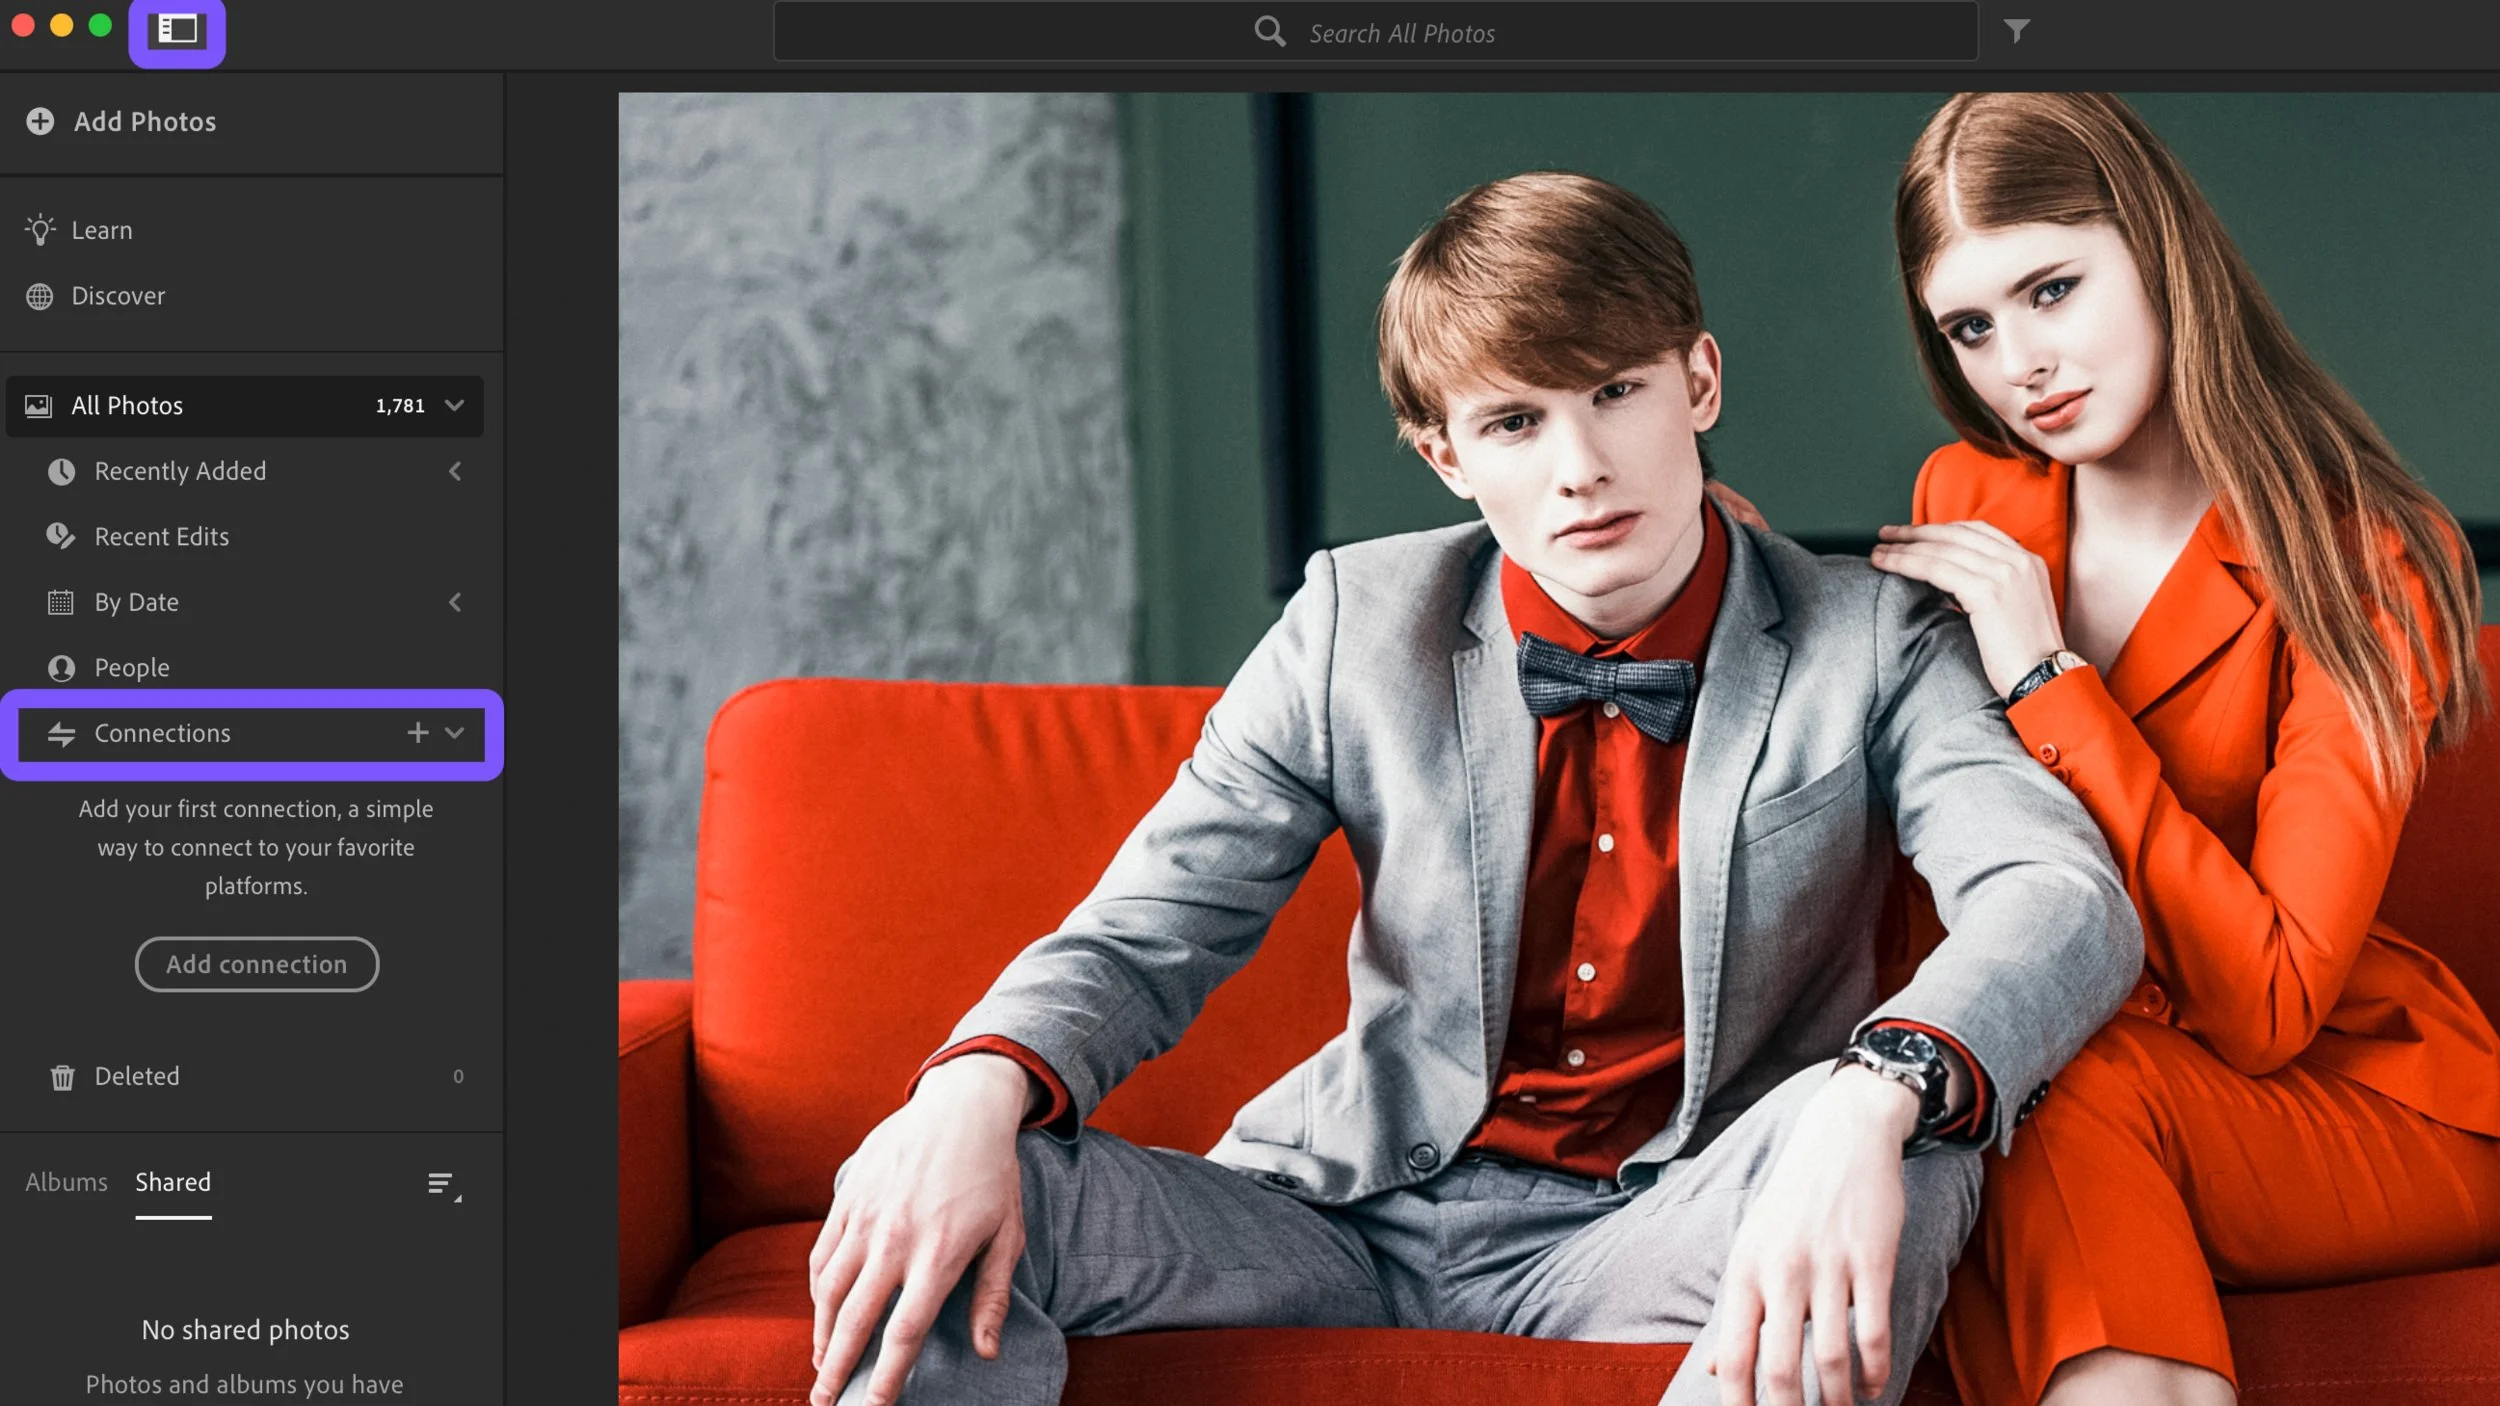
Click the + sign next to Connections to open the area where you can control connections.
Once you're on that page, select from the available options for creating prints. (You'll see that there are several options from which you can choose.)
Once you've decided which resource you'd like to use, click on the Add Connection button next to it. (It's a good idea to set up a free account on that resource first to make it easier once you select it.)
You can close that page when you've clicked on the connection.
A welcome and a new screen should pop up for the selected resource.
From here on, you'll appreciate that Lightroom walks you through the design process, making it relatively easy.

Getting Started
Obviously, you will want to edit the images before sending them off to be printed or made into a photo-book. But to simplify the process even further, group the photos you want to work with into an album for example in WHCC Printing Lab. You'll see what this helps in the following steps:
Click the Get Started button; you'll see a small blue dot that guides you through each step.
The dot directs you to select the images you want to send to the print resource.
Remember that album we suggested you put the images into? Go to that album.
In the album, select the image(s) you want to send off, then click All Photos. This allows the photo you choose to already be selected when All Photos opens. You won't have to repeat this step each time now.
Now click Continue in the blue box, and the blue dot continues to guide you through each step to the Share button.
Click the Share button. You should see the service you added at the bottom of the list.
Name your project and click Continue to send the image to the selected resource. (It then should prompt you to sign in to that service.)
Once you're on the resource's page, you'll be able to make selections about what products you want; for example, a photobook, prints, canvas, etc.

Final Thoughts
This is a pretty handy feature and function to use on Lightroom that can significantly benefit you as a photographer. Just take your time the first few times you do it and follow the steps we explain in this post. We also suggest trying different companies to see which one you like best.