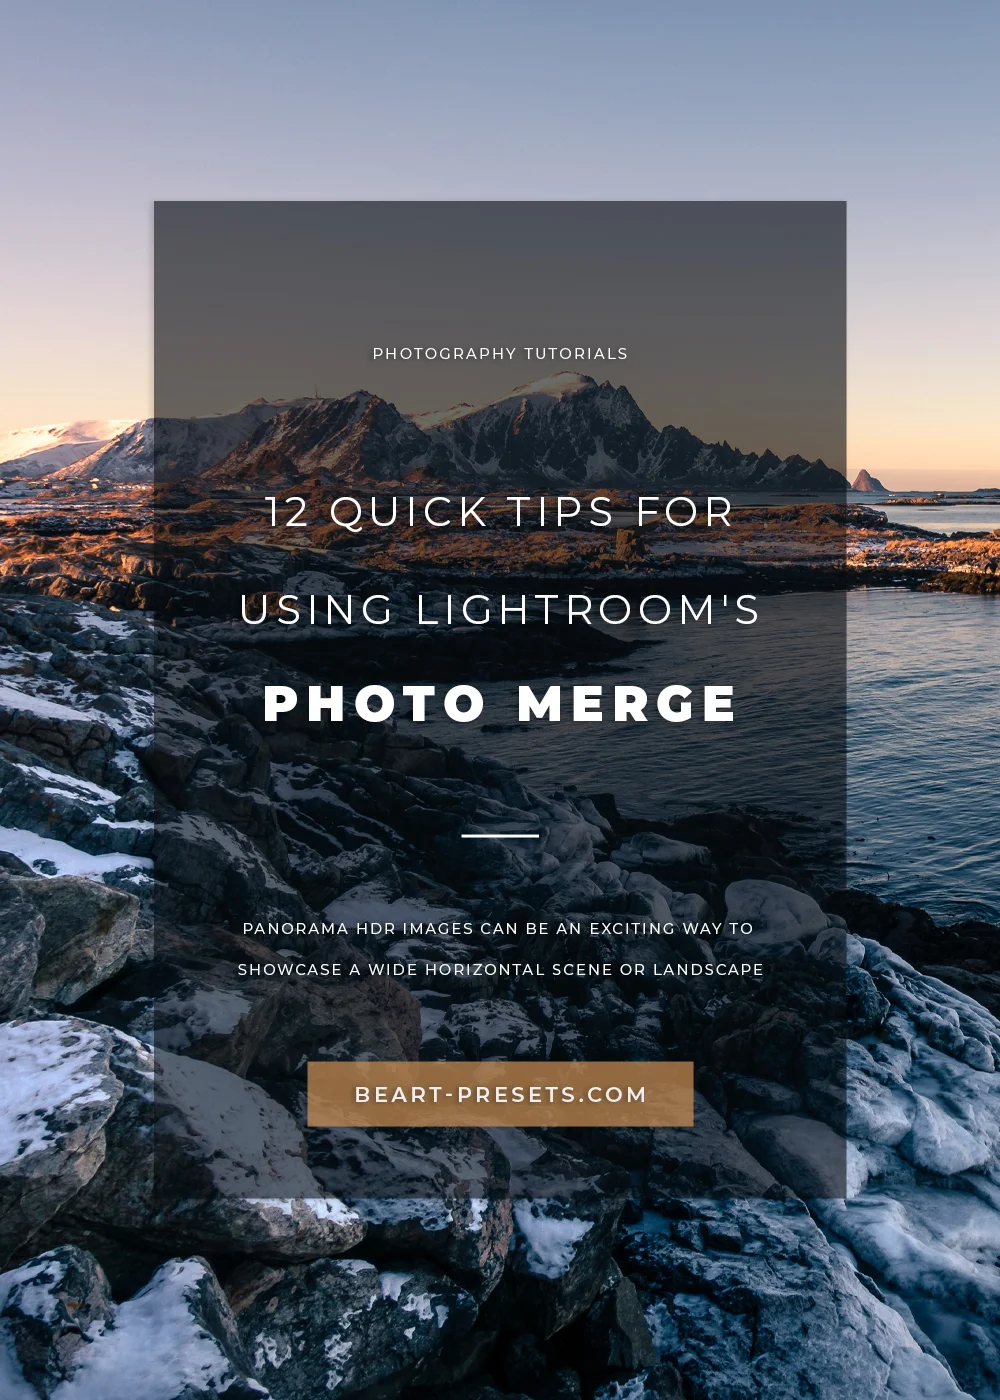
12 Quick Tips for using Lightroom's Photo Merge
Panorama HDR images can be an exciting way to showcase a wide horizontal scene or landscape. Lightroom's Photo Merge feature makes it easier than ever to do that while ending up with a stunning, seamless panorama.
You can merge multiple exposure-bracketed photos into a single HDR photo, and standard exposure photos into a panorama using Lightroom's handy photo merge feature. And, in one step, you can create an HDR panorama by combining multiple exposure-bracketed photos. A quick preview allows you to make additional adjustments before finalising a merged image. Below are ten quick and easy tips for working with photo merge.


To start: Press Cmd/ Ctrl+click to select a set of photos, right-click on them, and choose Photomerge>HDR or Panorama. A new DNG file will be saved alongside your original images, with the suffix *-HDR or *-Pano.
Create an HDR image: You will need a minimum of three photos of different exposures using a tripod for equal alignment and shooting in Aperture Priority.
Background merge: If you need to use the merge command using the last-used settings, you don't need to reenter settings. Highlight the images you want, press Shift+Alt+M (Windows) or Shift+Ctrl+M (Mac) to merge a panorama, or Shift+Alt+H (Windows) or Shift+Ctrl+H (Mac) to merge to HDR.
Priority files: Lightroom can recognise which of your files are most often selected. They then give those files (or file) priority.
16 bit or 32 bit? Although Lightroom creates a 16-bit HDR in DNG raw format, you can easily create a bigger 32-bit HDR using Photoshop's Merge to HDR feature. It then gives you the option to send the image file to Camera Raw for toning - where you'll find almost identical controls to the ones in Lightroom's Develop Module.
Make adjustments post-merging: If you make adjustments before merging, keep in mind that some of them will be deleted during the merging process. Edits such as crops and spot healing aren't carried over, and neither are exposure, shadows, highlights, and contrast in HDRs. Make adjustments post-merge.
Shoot at the nodal point: The biggest complaint or issue shooting panoramas are objects close to the camera. There can be a misalignment of objects in the image. To avoid this, buy a tripod head meant to rotate around the nodal point of the lens.
Auto toning: You can use the auto-tone feature to fix HDRs once in the merge box automatically. It alters the basic tonal settings, typically by adjusting shadows and highlights.
Sizes: Panoramas no larger than 65,000 pixels on the long side, or 512 megapixels. If you need something larger, you'll need to use stitching software.
Local adjustments: Once you merge images into HDR, you can go ahead and make some adjustments, just as you would any other image.
Boundary Warp slider: to avoid the bulge we often get from panoramas, use the Boundary Warp slider within the Panorama settings. It automatically enhances any issues on the edges of the image.
Align frames: The Auto-Align feature within the HDR Merge dialog box addresses and minor (sometimes not so minor) discrepancies between frames. Even so, it's best to use your tripod in the field to create better panoramas.