Complete Lightroom Editing Workflow for Wedding Photographers
As we head into the busy season for wedding photography, saving time is critical as you know. The trick is to balance efficiency with increased productive without sacrificing the quality of your work or post-production edits. You can use Lightroom to create an efficient and more productive workflow. Lightroom is a terrific solution. It allows you to maintain a very efficient workflow without sacrificing quality - if you know how to make Lightroom work for you. Rather, if you know how to manipulate it to your advantage! If you think of it as creating a production line of photo editing, you will be able to work more efficiently and be more productive.
Here are some suggestions:
Step 1 - Select photos
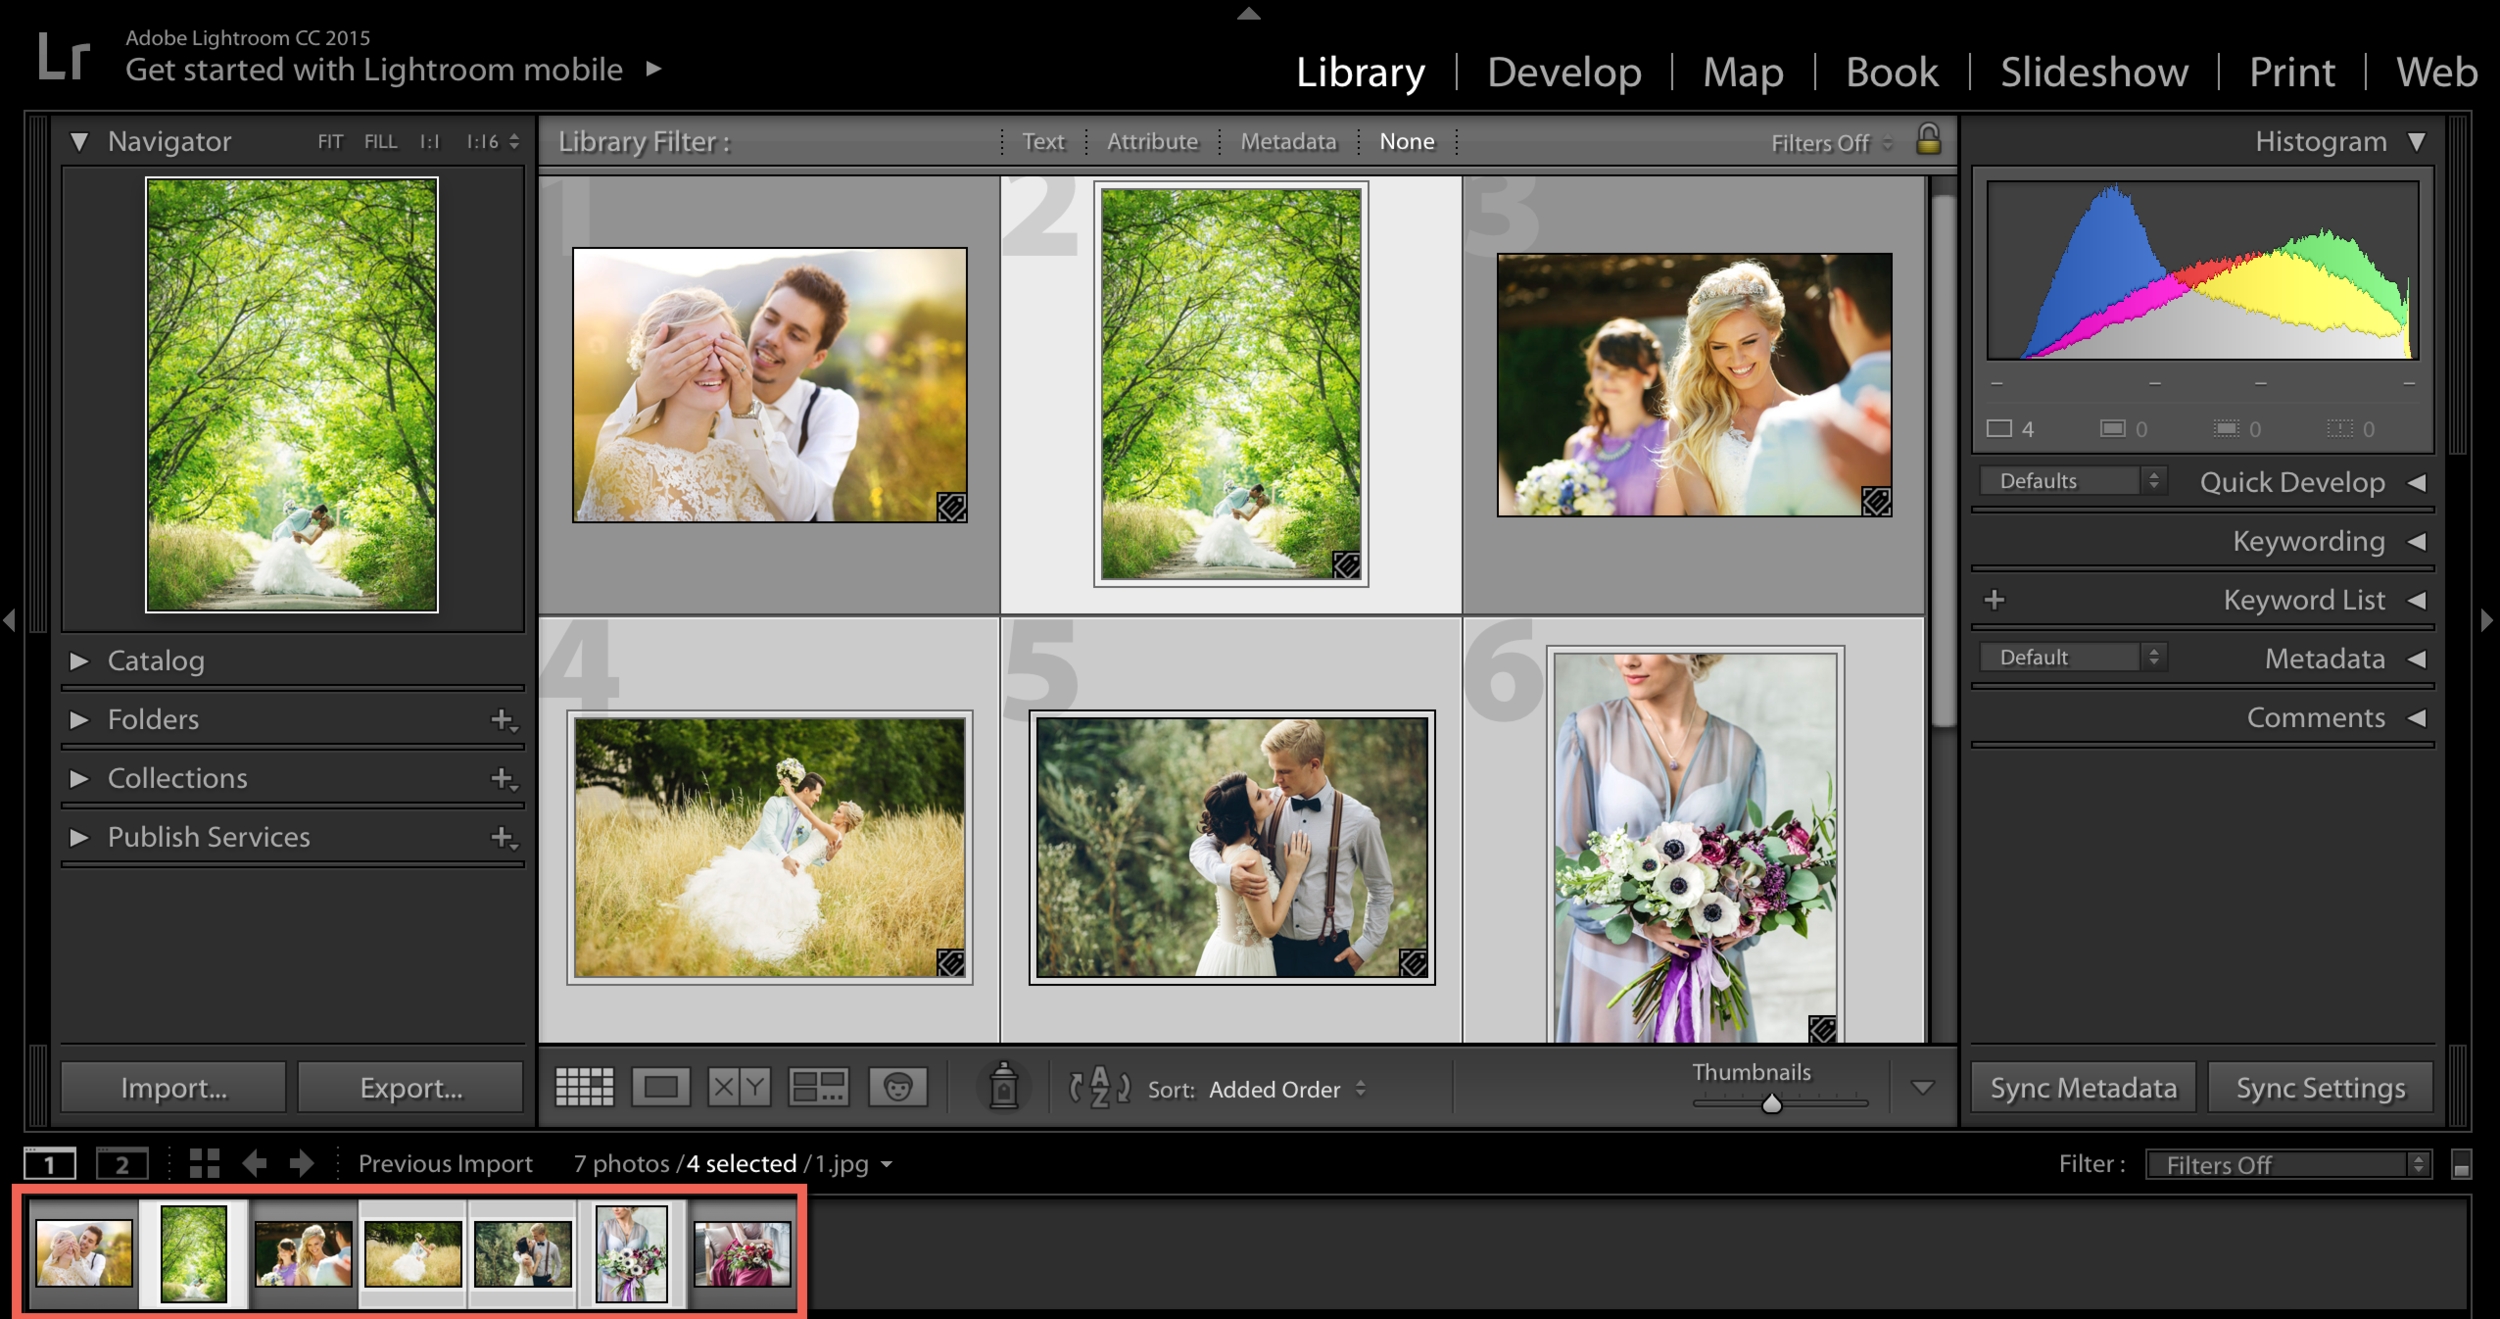
Once you import your photos into Lightroom, it is a good idea to take the time to select which photos you would like to edit versus which ones will not be edited. Do this step before you start editing any pictures. It's important that while you are doing this, you do not begin to edit a picture doing so will slow you down and you're stepping out of that production-line mentality or mode! Select any photos you think you'd like to edit before pulling them into the Develop Module to edit. While you are selecting which photos to move to editing, you can label the photos you like, rate them, or flag them.
Use your Ctrl key while selecting which photos you'd like to edit. It will auto-advance from picture to picture after you select, then rate, or label the images.
Step 2 - Photo editing
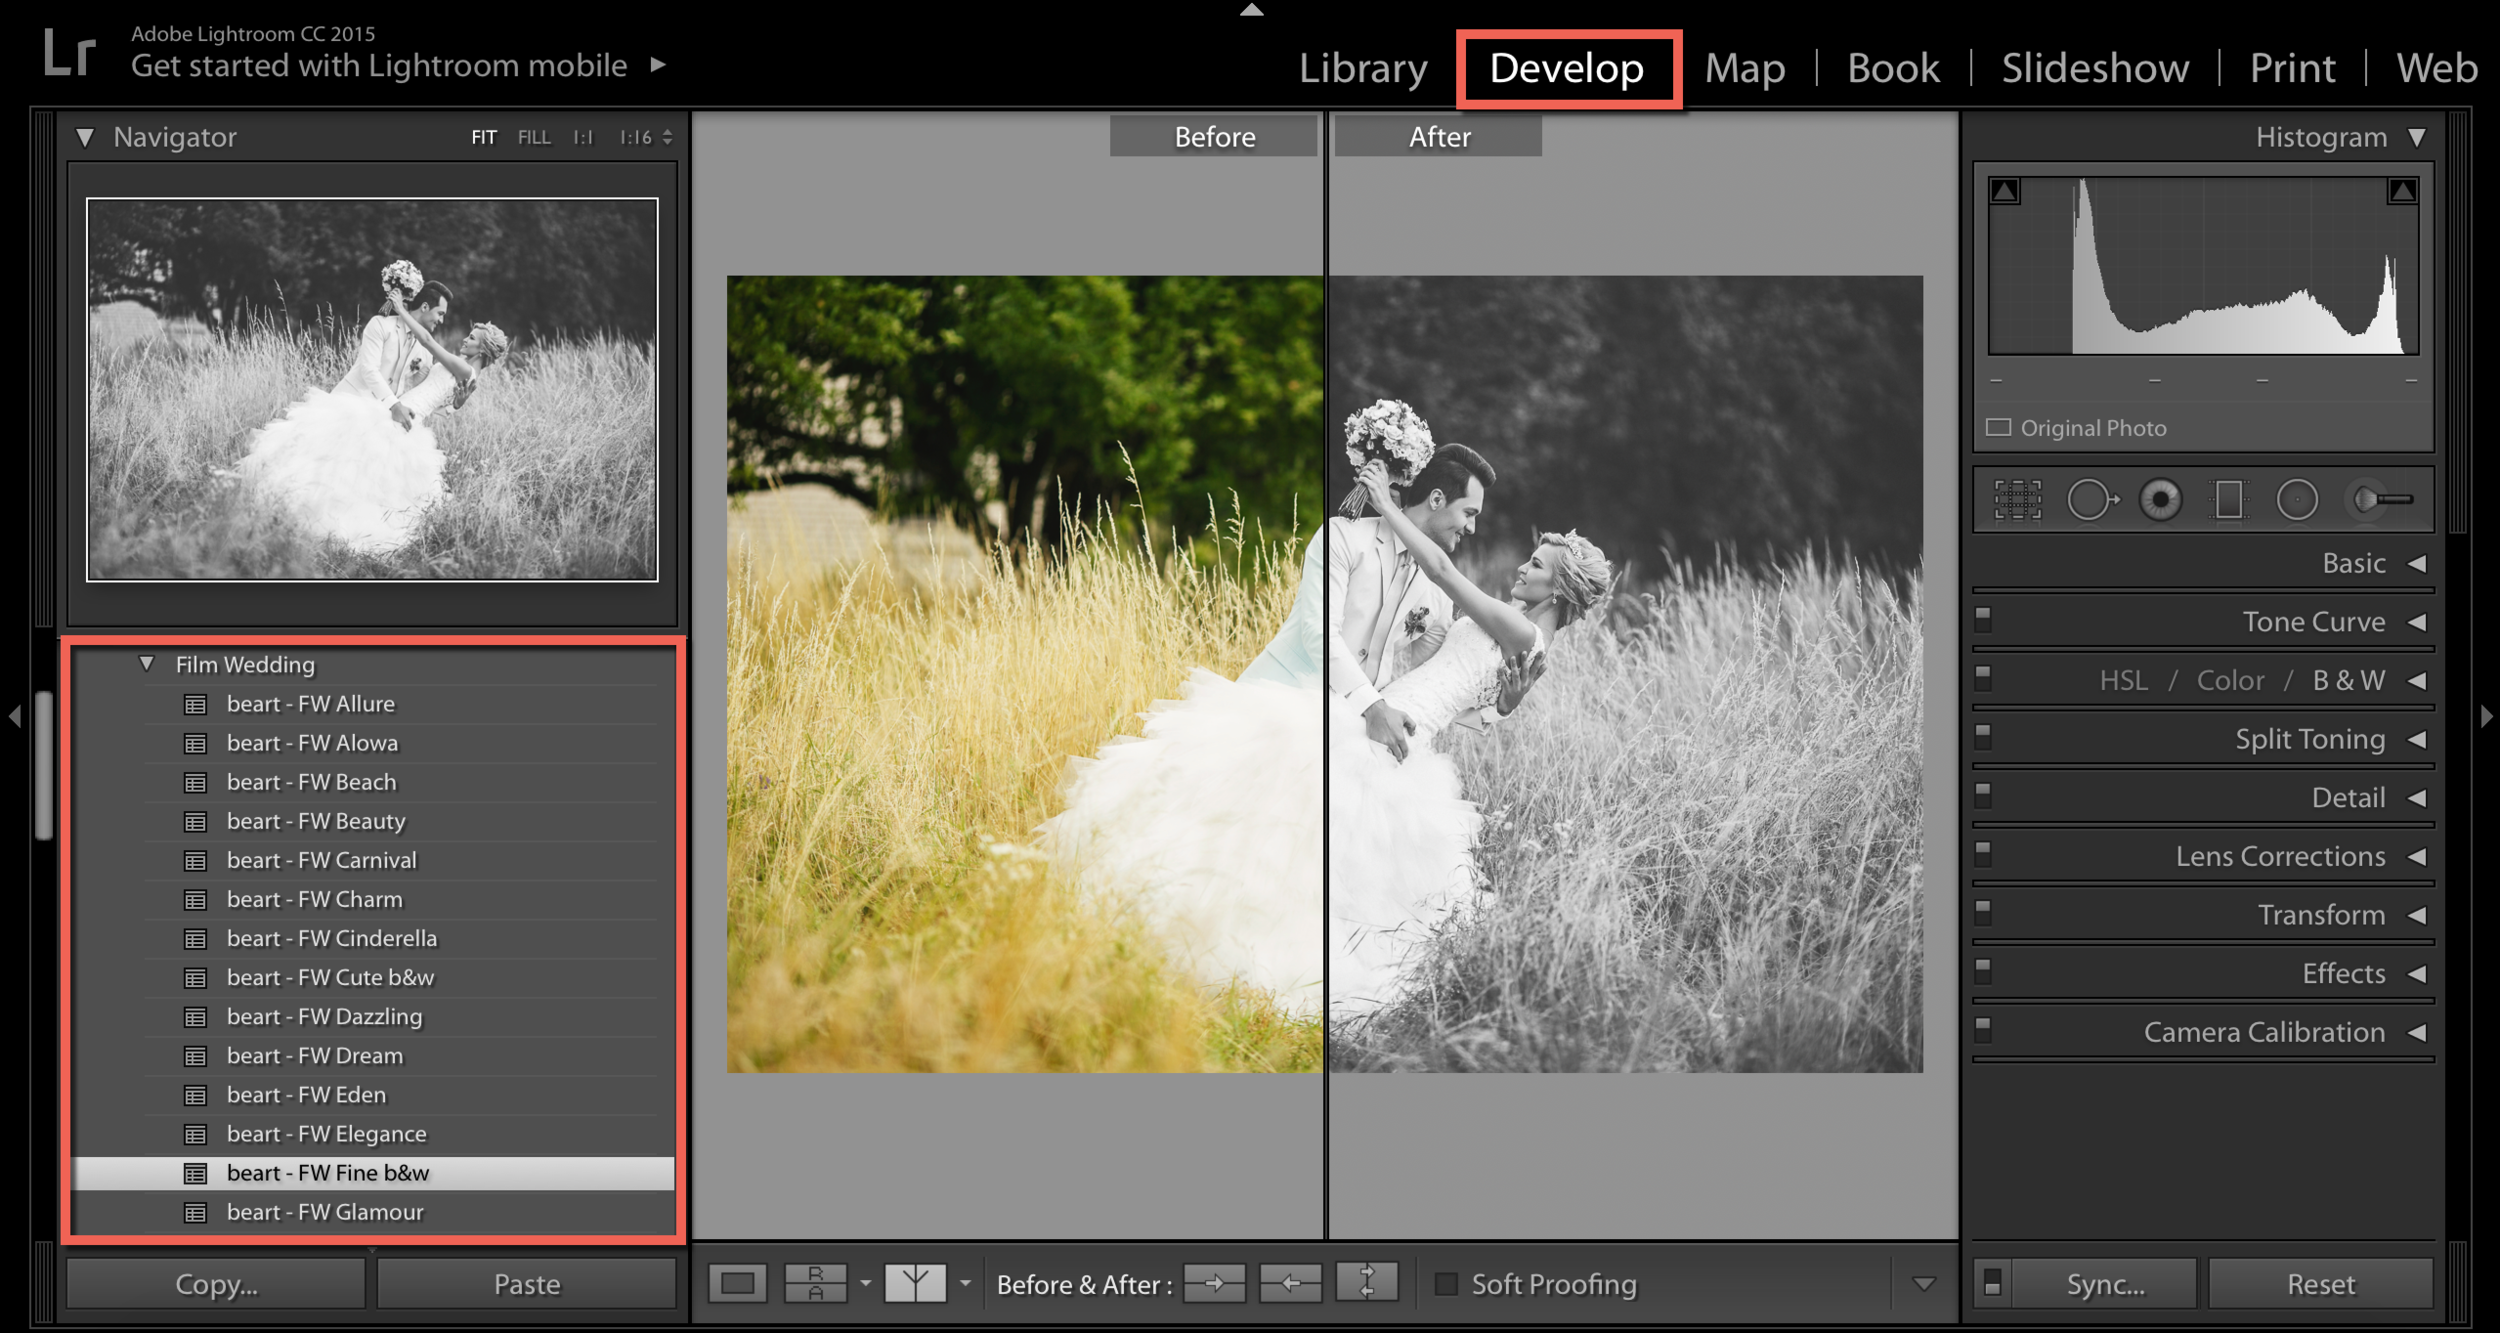
One you have completed the first step of selecting photos, you can switch into the Develop Model to begin your editing. Besides the basic edits you might make, you can now also begin to apply Lightroom presets. Remember to stay in Lightroom and Develop Module taking advantage of the Previous and Sync buttons. If you switch over to Photoshop for doing other edits, you will slow yourself down. You can make advanced edits in Lightroom if you decide or you can move your edited and saved photos into Photoshop later to make those edits here.
Step 3 - ISO
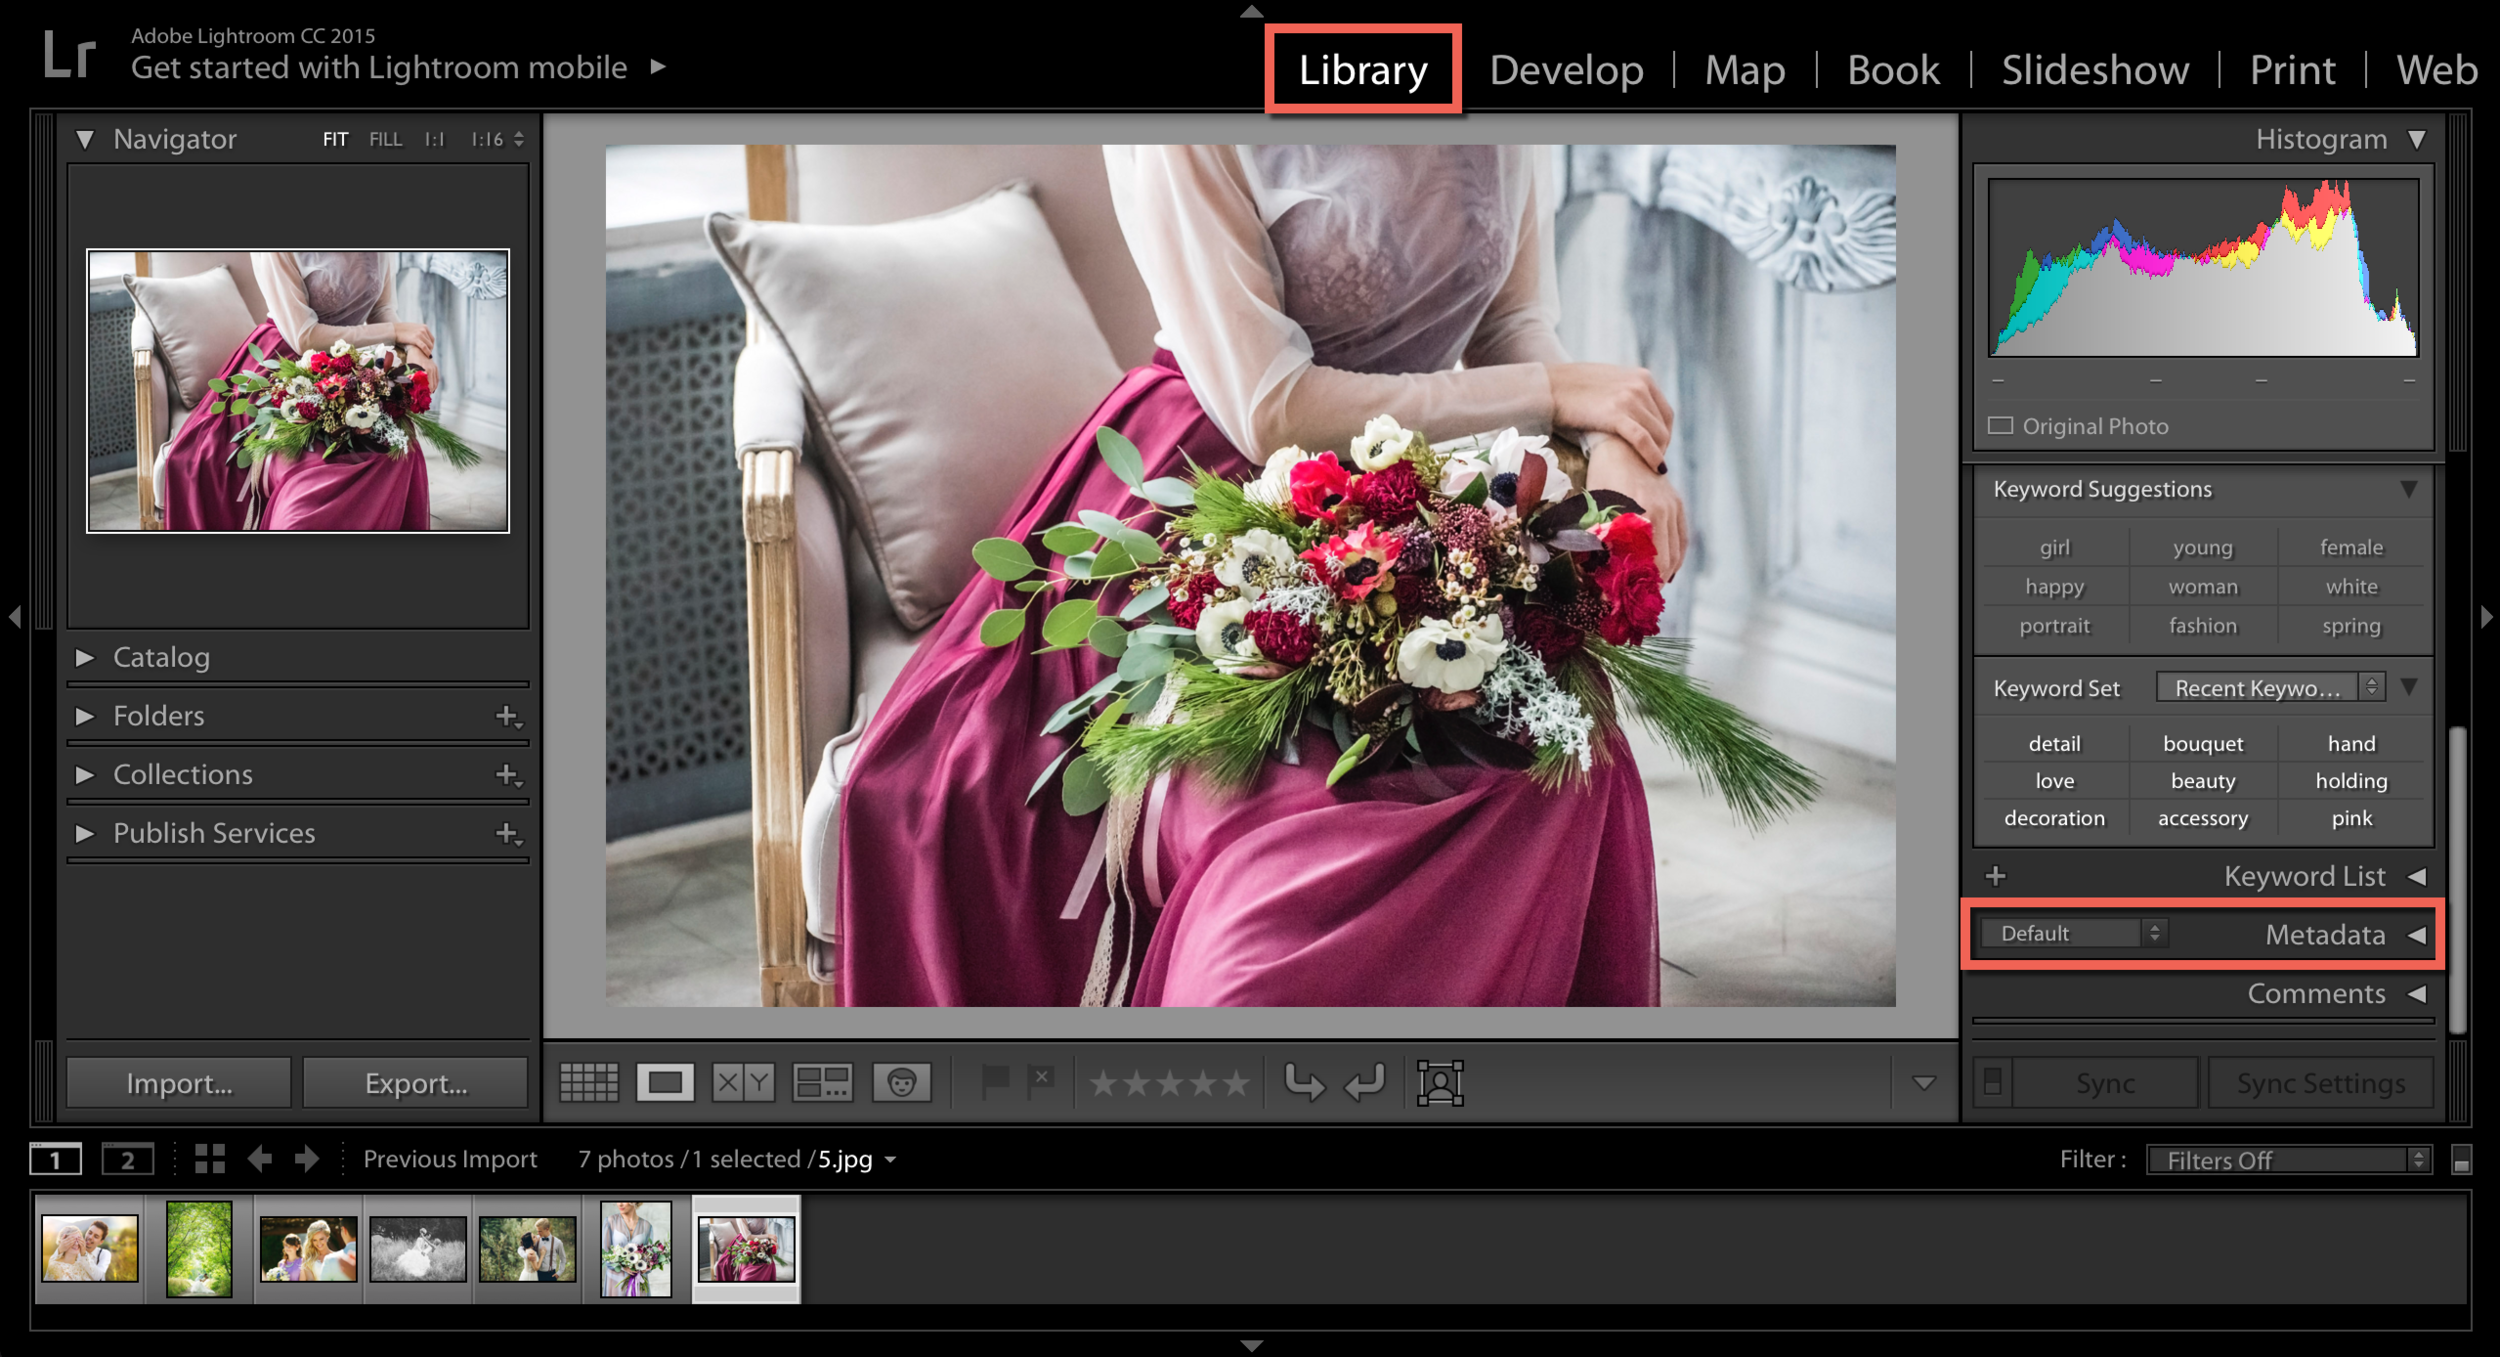
You can use the Metadata filter found in the Library Module to categorize your images by ISO. Once you have done that, we recommend choosing the high ISO images first. Fix the noise for a picture (just the noise). Then sync that change across your other photos shot with the same ISO. You can proceed to do this same type of change and sync across the various levels of ISO images. Think of the time you are saving time by making these changes in batches.
Step 4 - Renaming
Once you are done making all the edits you like across all of your images, you can move on to the next step: renaming them. You will need to that before you export them. The simplest and fastest way to rename your files is to go into Library Module. Select all the images you would like to export, then click on F2 (on a PC) or Cmd+F2 (on a Mac) to call up the Rename box. Go ahead and rename your images as you like.
Step 5 - Export
Once you have edited and renamed your photos, you'll be ready to export them. Call up your Export dialog box and export them into a subfolder inside your client's main folder or wherever you would like.
Step 6 - Photoshop
Now go to Photoshop for advanced edits such as cloning and retouching. Once you have exported all of your images into a folder, you can go ahead and open up Photoshop to begin your additional edits. To do this, you will need to move the images into Photoshop to start working. Once you have completed any advanced or additional edits in Photoshop, you will have to save them.
If you maintain the type of workflow we have described you will find that you are able to be efficient and more productive in the post-production process of your business especially as wedding season heats up. Rather than bouncing around between photos and the editing process, you can work with any photos in batches you select to edit, save, and export for an efficient workflow. You can apply presets as needed as part of the editing process as well. The more you create this type of production workflow, the more proficient you will be.


