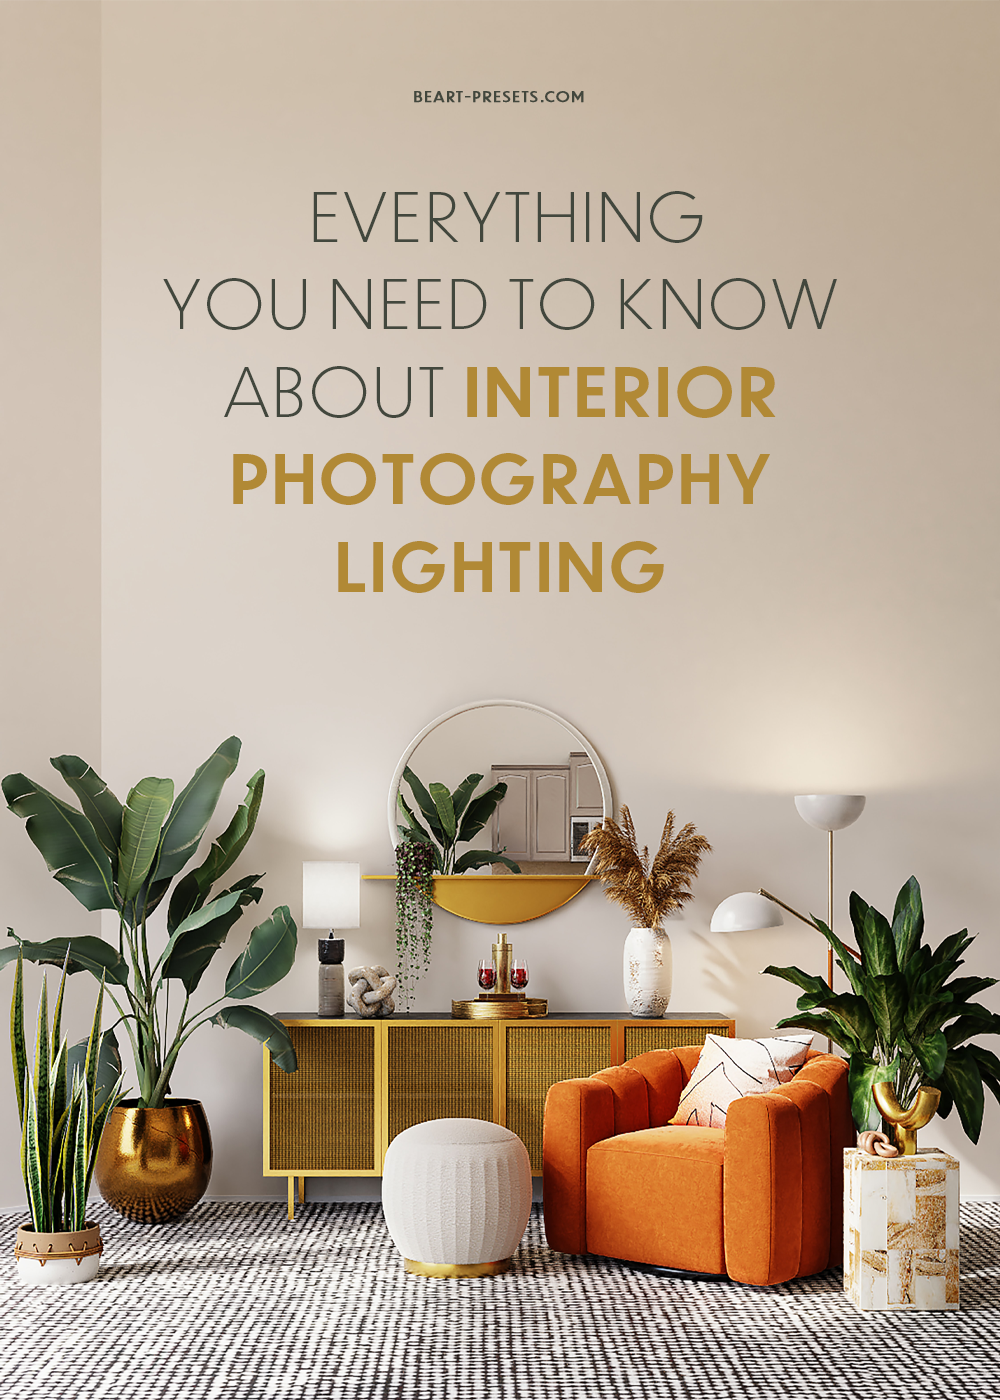
Interior Photography Lighting: Everything You Need to Know
Interior photography lighting can feel overwhelming even for real estate photography experts.
If you want professional photos with an excellent dynamic range and natural light feels, which will help your client sell their real estate fast, there are a few key things to consider.
This article will explore everything you need to know when it comes to interior lighting, including photographing interiors, post-production, and how to use flash.
Lastly, we will cover what gear to invest in, including lighting, camera, and tripods. So let's get started in helping you control your light better and feel confident on your next interior shoot!
Tips and Techniques
The following interior photography lighting techniques will help the quality of your photos jump to new heights.
You may already know some of them, but if you can combine many of these tips, then your scene will be on the fast track to be published in a popular magazine!
1. Plan ahead
When it comes to interior photography, it's important to start with planning ahead. You will want to look at what time the sun is directly overhead.
Also, whenever possible, you should check out the space beforehand so you know what type of lighting you are dealing with and which lighting setups you will need to bring with you. The goal is to make the scene look natural and well-lit while maintaining good exposures.
2. Off Camera Lighting
Using a tripod and off-camera lighting is key when shooting interior photography. If you can't invest in off-camera lighting just yet, then try connecting your Speedlight to your camera and bouncing it off the ceiling for better results.
You will fill the room with light by bouncing the light off the ceiling or off the surrounding walls, making it look more natural. Never aim your light directly into your scene; this can create harsh flash quality. Lastly, by bouncing the light, you will avoid harsh shadows in your images.
3. The Right Time of Day to Shoot
Normally in photography, we aim to shoot during the golden hours of sunrise and sunset. However, this is not true for interior photography.
Instead, any real estate photographer knows to shoot interiors when a harsh light is not filling the spaces in the middle of the day. When the sun is directly overhead, it creates more ambient color and better highlights for the interior detail.
4. Expose for the windows
If your space has a nice view or lots of windows, it's important to expose the outside and use your light to fill the inside space. Oftentimes, buyers are wondering what the view is from their potential new architectural investment.
If you point your camera at the window and expose for details such as beautiful city views, an ocean, or a garden, clients will be more likely to visit the real estate. If you are struggling with exposure, remember that you can take multiple shots to get the right composition lighting in post-production.
5. Bracketing
Bracketing is a common practice for interior photography. The idea is to take multiple shots of the same composition but with varying exposures. This way, you can expose all the different lighting of your interior spaces.
For example, start by taking a shot of the outside of the window, next take a shot of the interior room. Remember to take a few shots for darker spaces. Using flashes will be a key point here.
Once you have your bracketed shots, upload them into Lightroom or Photoshop and overlay the photos to create one image with varied lighting control. This technique makes an image look more natural and professional.
6. Use Flash to Bring out Features
When photographing a room, don't forget that the flash is not only for lighting the entire room. Instead, try to find ways to highlight a certain feature of the room.
For example, if the room has a beautiful bookcase, then you can try to use your light source to bring attention to the elegance this bookshelf brings to the room. Use your head to come up with creative ways to highlight important room features using light.
7. Combine Lighting
Whenever possible, try to combine lighting for the best images. For example, you will want a mixture of multiple light sources—some lighter and some darker.
The easiest way to achieve this is by adding dimmers to your lighting setups to give you more control over how bright or dark they become. You can also just adjust the power of your Speedlight.
8. Turn off interior lights
Generally, you will want to turn off the interior light sources so that your photos feel more natural and there is less discoloration in your pictures if you have two different light sources, such as a flash and a lamp.
The light will be conflicting and not look nice. It's best to take each shot with your flash source and not the interior lights. The other issue with interior light is that it creates harsh shadows on everything, including the wall, furniture, and ceiling. Instead, use your flash equipment when photographing the scene.
9. Equipment
When it comes to interior photography, your lights are key, but every photographer should bring some other key things on an architectural shoot. Let's explore them here.
13. Post Processing
Every room in your real estate photography portfolio may need different image adjustments. It all depends on the flash, ambient light, and the lights coming from outside.
But one thing is for sure; post-processing is just as necessary as taking the image itself when it comes to your real estate photos. If you feel overwhelmed when trying to edit your photos, try taking some online courses or watching free photography videos to learn more.
Here are some key things to remember when editing interior photography.
14. Software
Most architecture photography is edited with Adobe Photoshop or Lightroom. These two software programs are leaders in editing a wide range of exposure situations.
Even more, if you are shooting in HDR, these programs make it easier to adjust dark spots, balance, and highlights.
15. Presets For Lightroom
If you are still struggling with editing light and photography with software, then consider instead using Presets. Lightroom Presets for Interior Photography, are easy to install in your Lightroom program. After you have installed them, you simply select the images you want to edit, and with a simple click, you can add light, balance, color, and much more!
Every room may require a little tweaking, but generally, presets are what most professional photographers use when editing their room photos.
16. HDR or Bracketing Edits
If you are wondering how to edit your HDR or Bracketing images, here is a simple guide that will work on most photos. Follow the bullet points below for the best results in your image.
First, import the images your shot in bracket form into your software.
Select the images you want to overlay.
After selecting all the images, right-click on one of them and choose "edit in," and then choose "open as layers in Photoshop."
Photoshop will automatically overlay the images.
Use your mask laters to add more effects such as blending, highlights, or your exposure brush.
Once you have finished, close the software and open Lightroom again; the new image will automatically appear.
Lastly, export the image as a JPEG and send it off to your client.
Conclusion
We hope this article answered some of your questions about interior photography lighting. Just remember that by using flashes and a few other tools that are easy to pack, you can create a studio lighting setup on the go! Lastly, don't forget how important post-processing is when it comes to shooting interiors.
With a few simple clicks of a Preset or by using bracketing, your images will turn into professional natural-lit rooms. So get started today, and play around with flash until you feel more confident in your work.
And of course, don’t forget about the invoice. Using an Invoice Template is a professional and effective way for photographers to manage their finances and ensure that they get paid for their services.


