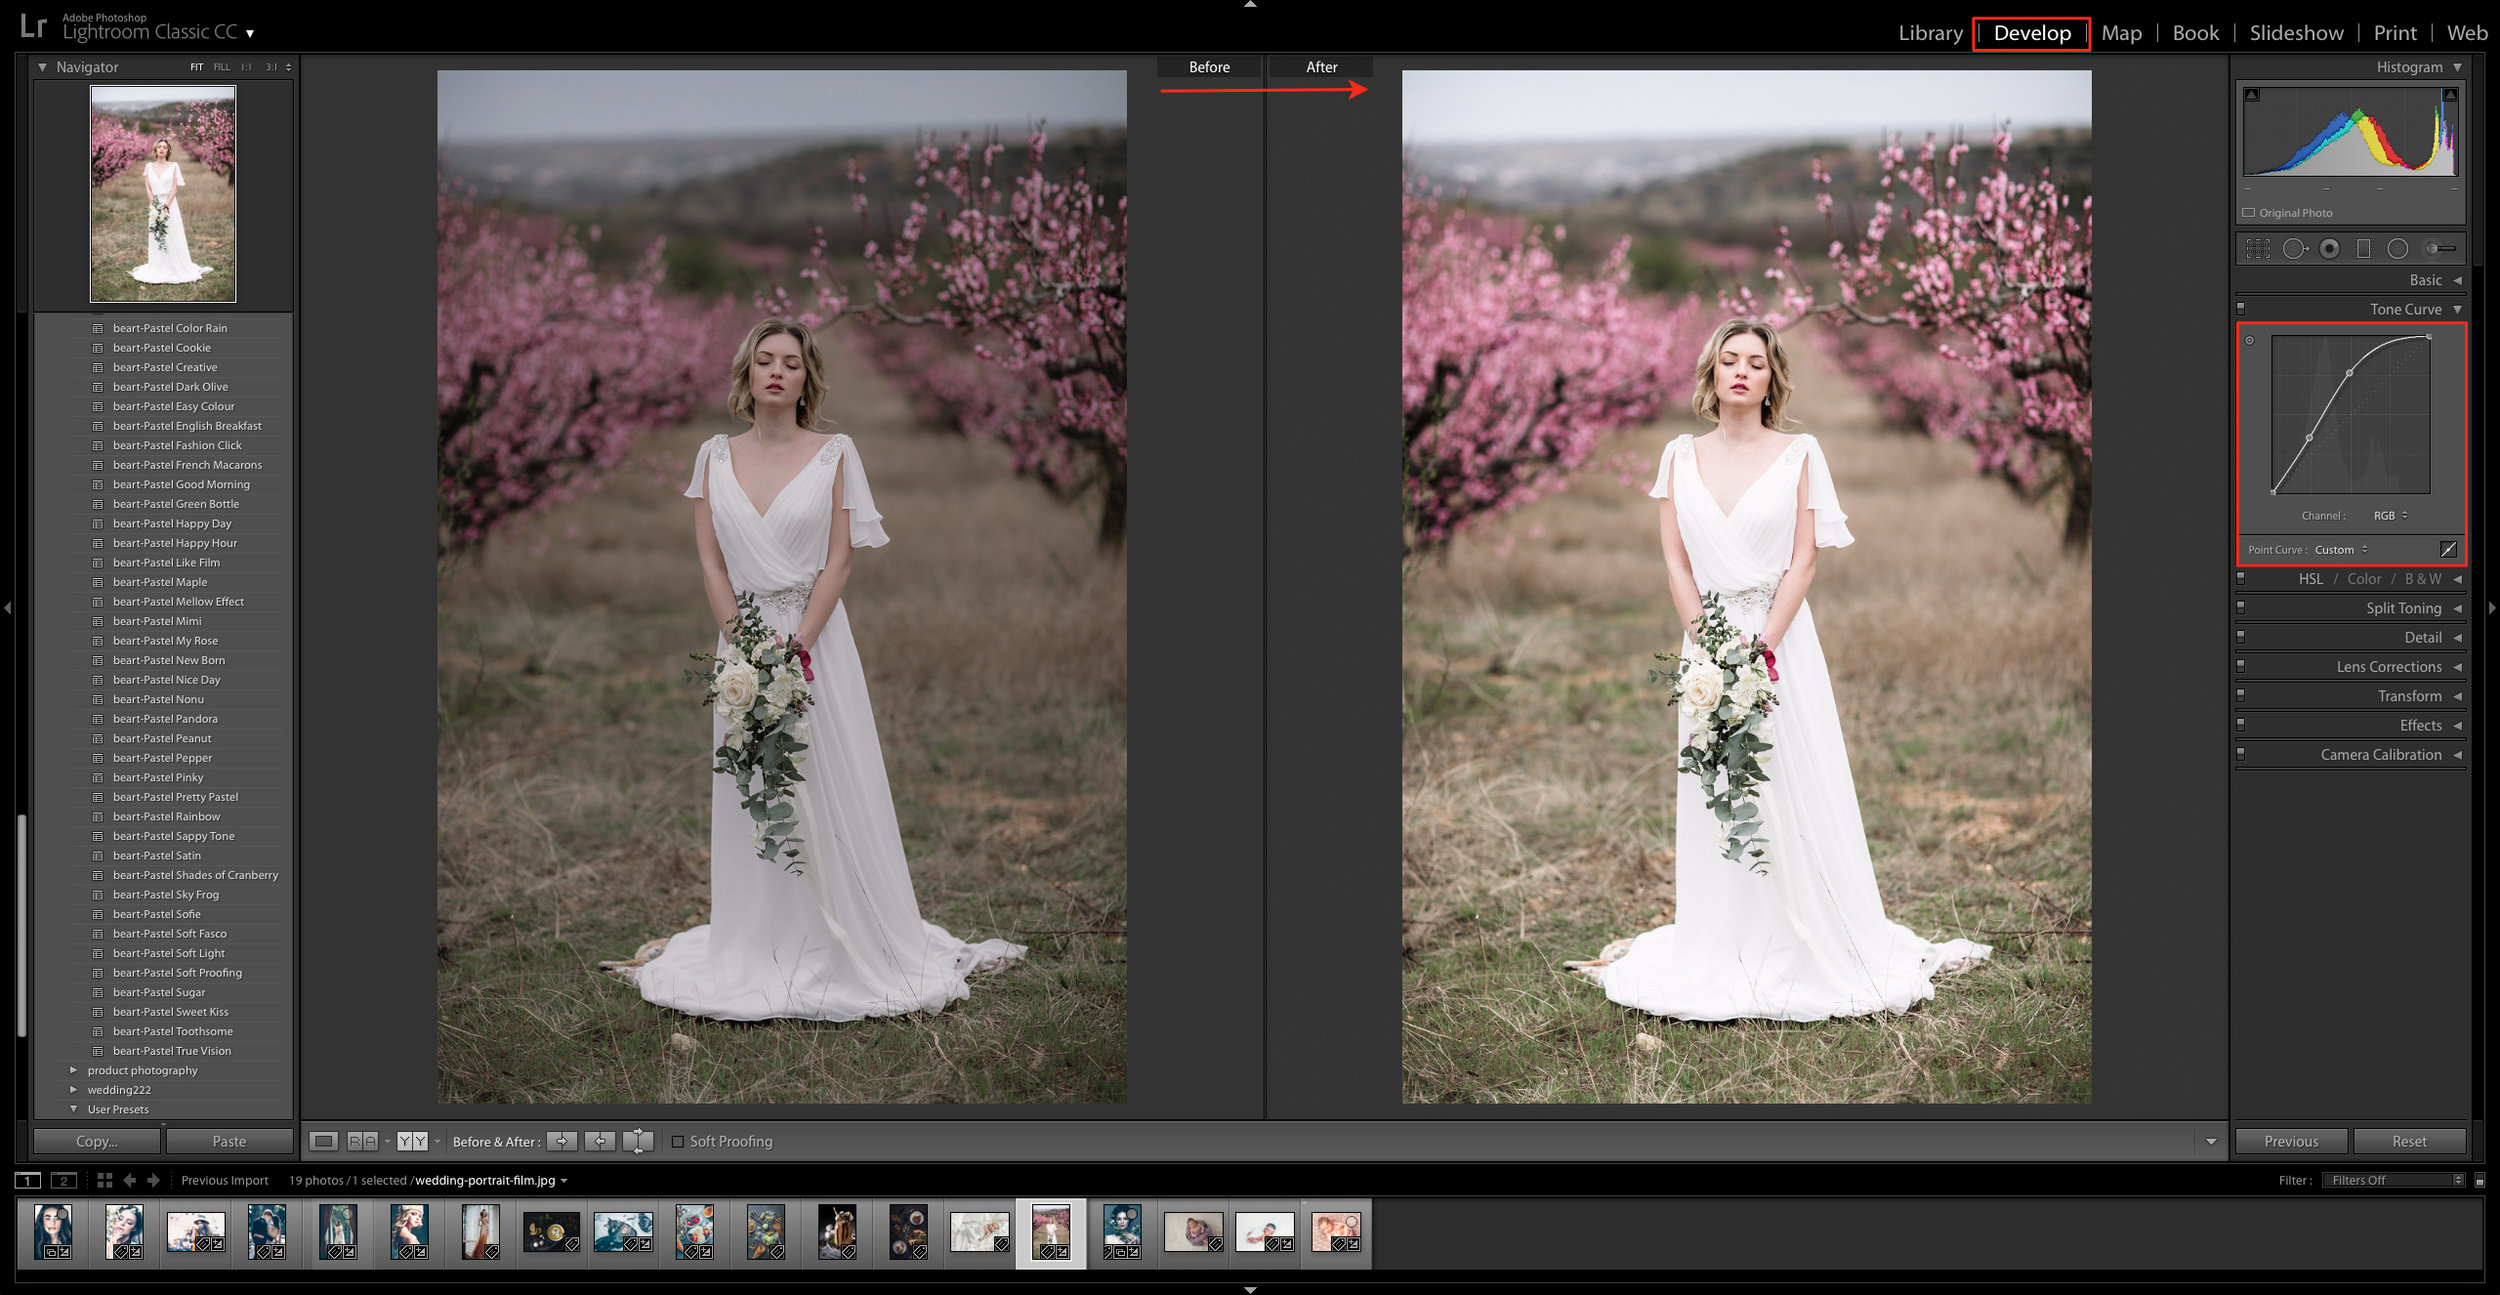
Using the RGB Curve to Enhance a Lightroom Preset
If you want to master a craft, you should first learn its basics. While we are the first to extol the virtues of presets, we also appreciate the value of mastering RGB curves. Together, presets and curves can help define you as a more gifted and skilled photographer.
It’s far too easy to become complacent in post-production editing by relying solely on presets. If you can't learn the basics of manual photo editing, you won’t be able to leverage the advantages of presets in combination with RGB curves. That's because presets don't have to be the end-all, be-all solution. For truly unique and creative work, you should add your touches to a preset’s results. In Lightroom, it's not as tricky as you might think. With regular practice or some fiddling around with the curve, you'll soon be pleased with the results!
Photographer Connor Turmon explains in his popular YouTube video how you can use RGB curves to your advantage. He demonstrates how simple it is to adjust both the tone and color.
However, simple as it is to do, you will have to play around with the curve’s colors to get the look you're trying to achieve. The best advice is that before you make any changes to the RGB, consider what tones you want to add or enhance in the image.
You will eventually be able to apply a favorite preset across multiple images and then make some slight modifications to the RGB curve to manipulate your images into what you really want.
Here are several tips according to Turmon’s video:
- In Lightroom or Photoshop, select and open a photo.
- Go to the adjustments panels and select curves.
- There you can move the curve to add and subtract light (subtracting will make an image darker and vice versa).
- Move the line around to see how it affects the image.
- You can also subtract and add light from the colors or shadows to change the look of the image. This is a bit more complicated because moving a color's curve results in a different color. For example, if you subtract from green, you get magenta color.
Working with the RGB curve sounds more complicated than it is. The steps are easy enough. If there’s complexity, it’s in the degree to which you can alter the light, color, and tone of an image. However, mastering the RGB curve - or at least not being intimidated by it - will allow you to produce far better quality portraits beyond what presets have to offer!


