Lightroom Mobile App Tutorial - Everything you need to know!
Lightroom for mobile can rock your world! OK, that may be a bit of an exaggeration. Still, it can provide you with valuable tools for organizing and editing your images that you'll appreciate!
Below is a starter's guide to Lightroom for mobile that walks you through what you need to help get you started. Feel free to reach out if you have any questions! So, what do you need to know to organize and edit photos in the Lightroom Mobile App?
Editing
You can import images from a memory card using Lightroom.
You can use all of the editing tools in Lightroom Classic's Develop module.
You can sync edits with your Lightroom Classic catalog.
You can use these functions across all mobile devices.
Support
If you get stuck along the way, Lightroom offers the following help:
There's generous access to the Adobe support forum.
Adobe FAQs to (hopefully) provide you with the answers you need.
You can access Adobe's guided tutorials right in the app.
Go to the Settings icon in the upper-righthand corner of the Home screen and tap. On the menu within the Settings screen, you'll find Help & Support and other handy settings to help you get the most out of the app. Take a moment to explore each option to see what's available.
Where to find lightroom mobile app
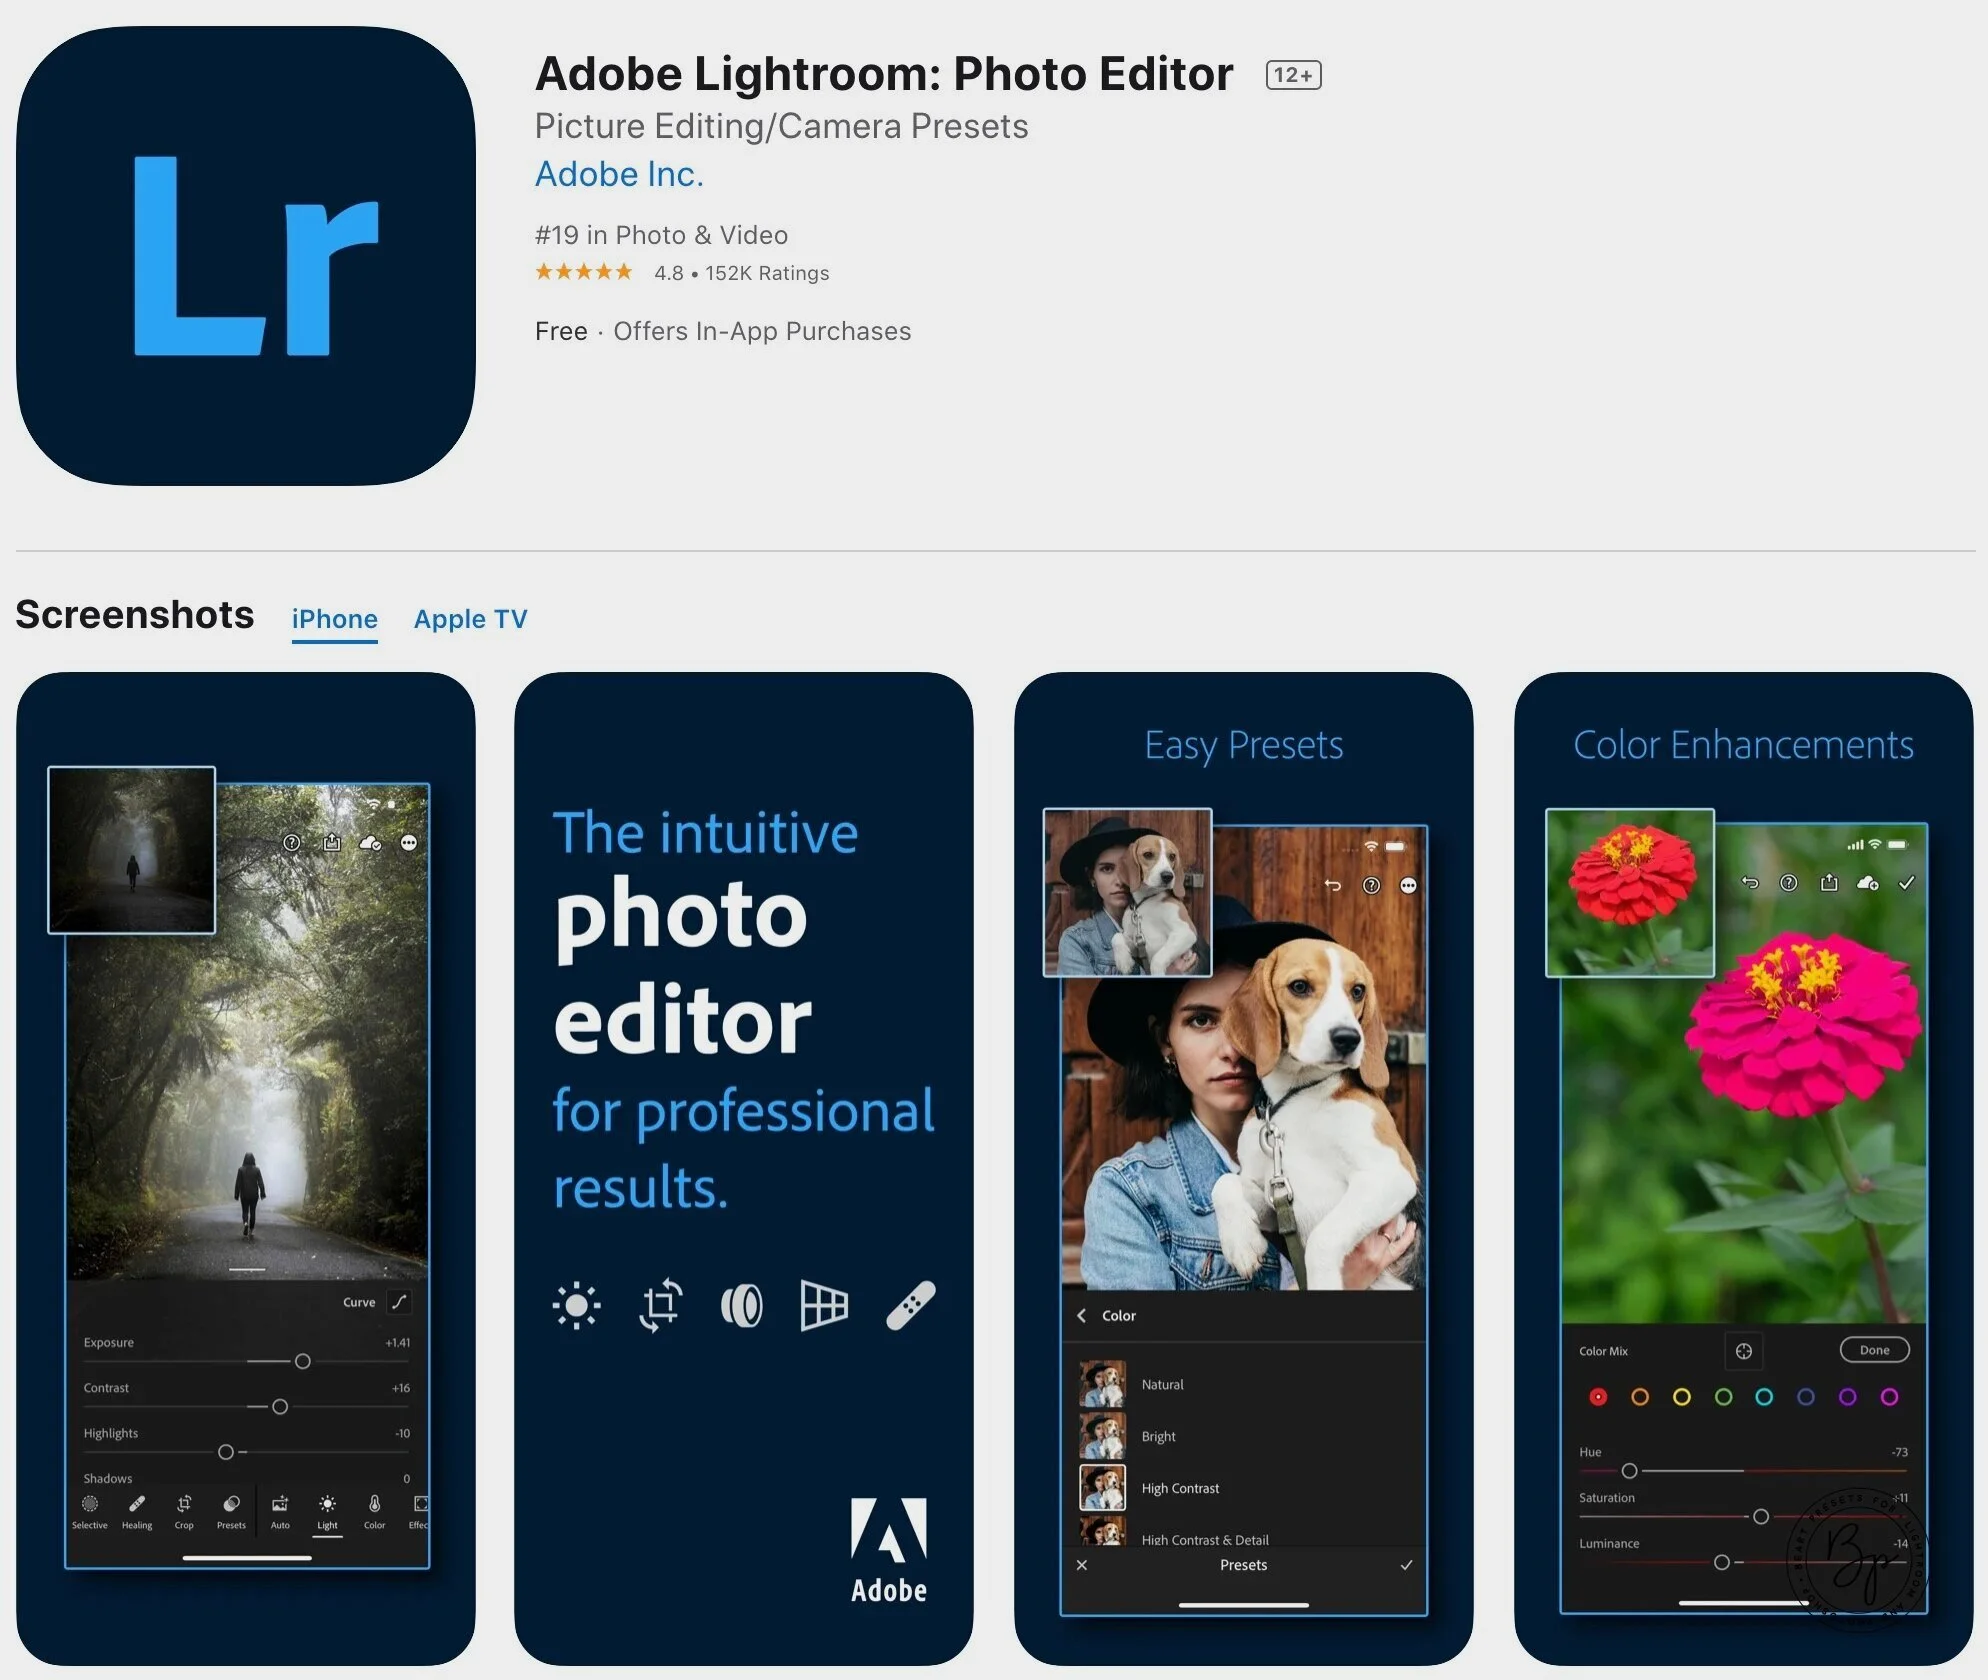
Adobe Photoshop Lightroom Mobile is a free, powerful photo editor and camera app that empowers your photography, helping you capture and edit stunning images.
Easy-to-use image editing tools like sliders and filters for pictures make photo editing simple. Retouch full-resolution photos, apply photo filters, or start photo editing wherever you are.
Access All Photos
At the top of the Home Screen, you can see the All Photos album. With a single tap, you can access all the images synced with Lightroom, including ones captured in the app, synced from Lightroom Classic, or imported from your camera roll.
Filter
Once you access all your images, you can filter them by tapping the Funnel icon at the top of the screen. You can sort what you can see when viewing in the All Photos mode. This feature is the same for any album you view. Here are various types of filter options:
Star ratings: Star ratings allow you to determine what you view or is visible. It applies the rating across Classic and Mobile.
Flags: Same as with star ratings.
Edited: You can filter based on whether a photo has been edited.
Location: You can filter based on the geolocation data of an image.
Media: This allows you to filter by photo or video.
People: People do not sync between Lightroom and Lightroom Classic. But if you've used the face recognition functionality within the cloud-based Lightroom, you can filter based on those results.
Keywords: You can filter based on keywords if keywords were applied in the cloud-based Lightroom app, imported photos with keywords, or migrated a Lightroom Classic catalog. Keywords do not sync between Lightroom and Lightroom Classic.
Camera: You can filter by the camera used to create an image.
Segmentation and Viewing Options
Want to group your images in some way? You can segment or group them by tapping the three-dot menu in the upper-righthand corner of the screen. This also allows you to change sort options and access additional view options.
Search Your Library
Adobe uses its proprietary technology to apply machine learning and artificial intelligence, which they call Adobe Sensei, to identify image content. (This is possible because all images are stored in its cloud.)
The technology automatically tags photos with relevant keywords you can then use for Lightroom searches. (This is not possible in Lightroom Classic.) But what does this mean for the user?
Adobe Sensei enables you to search your library in the cloud-based Lightroom without using any keywords.
Tap the Search icon (magnifying glass) in All Photos when viewing the source you want to search.
Enter the words you want to search on. Immediately, filter criteria (facets) appear, such as location, keywords, camera metadata, etc.
Tap to see the results, or just keep typing to enter your criteria. You can enter multiple words (facets) to refine the search results.
Tap the x on any search facet to remove it from the results.
Importing from Camera Roll
Another handy feature of Lightroom for mobile is that you can import images from your camera roll. This allows you to back them up and have them all in one place.
Here's how to import from camera roll
On the bottom right of your screen, tap the blue Add Photos icon. You'll see that the left side of the blue button is to add new photos, and the right side opens the Camera module.
Select where you want your photos to reside. The camera roll will be the default location, but you can select a different folder by tapping the drop-down menu.
Select the photos you want to add by tapping on them or tap-drag across multiple images.
The three-dot menu in the upper-righthand corner also allows you to select all or filter by photo, video, or raw. (Any images previously added to Lightroom will display an Lr logo in their upper-left corner.)
You can deselect photos by tapping them a second time.
To finish importing, tap the Add button at the bottom of the screen.
NOTE: When importing, you can select to add images to a specific album by first entering that album, then tapping the Add Photos icon. The process is much the same for importing images from a memory card.
Applying Certain Elements During Import
You can automatically add a few elements to photos during the import process. Here's how:
On the Home Screen, tap the Settings icon. This will take you to the Settings screen.
Then tap Import to access the options.
Once there, options include applying a few elements and, very importantly, enable and disable the automatic adding of photos and videos from your camera roll. (We suggest doing this immediately, or your entire camera roll will be transferred into Lightroom! ).
You also can apply a copyright statement to your photos and enable or disable the automatic application of lens profiles. (We suggest you enable this feature.)
Creating Albums & Folders
There's even more that you can do in Lightroom for mobile! Organize your images into albums (hold photos) and folders (hold albums).
How to create a new album:
Tap the Create New Albums and Folders icon (+) to the right side of the Albums header on the Home screen. You should now see options for creating a new album or folder.
Tap the Create New Album icon, and a new pop-up window will appear.
Enter a name, and tap OK.
The new album is now added.
Creating a new folder is the same process, except you tap the icon for Create New Folder instead of Create a New Album.
Adding/Moving Images Between Albums
Once you have several images in various folders, you can move or add them between albums.
Here's how:
Start in All Photos, which gives you access to your entire library of synced photos.
Select a picture to add to an album. (If you do a long press on an image, it will allow you to select more photos.)
To select multiple images, tap and slide your finger across multiple photos.
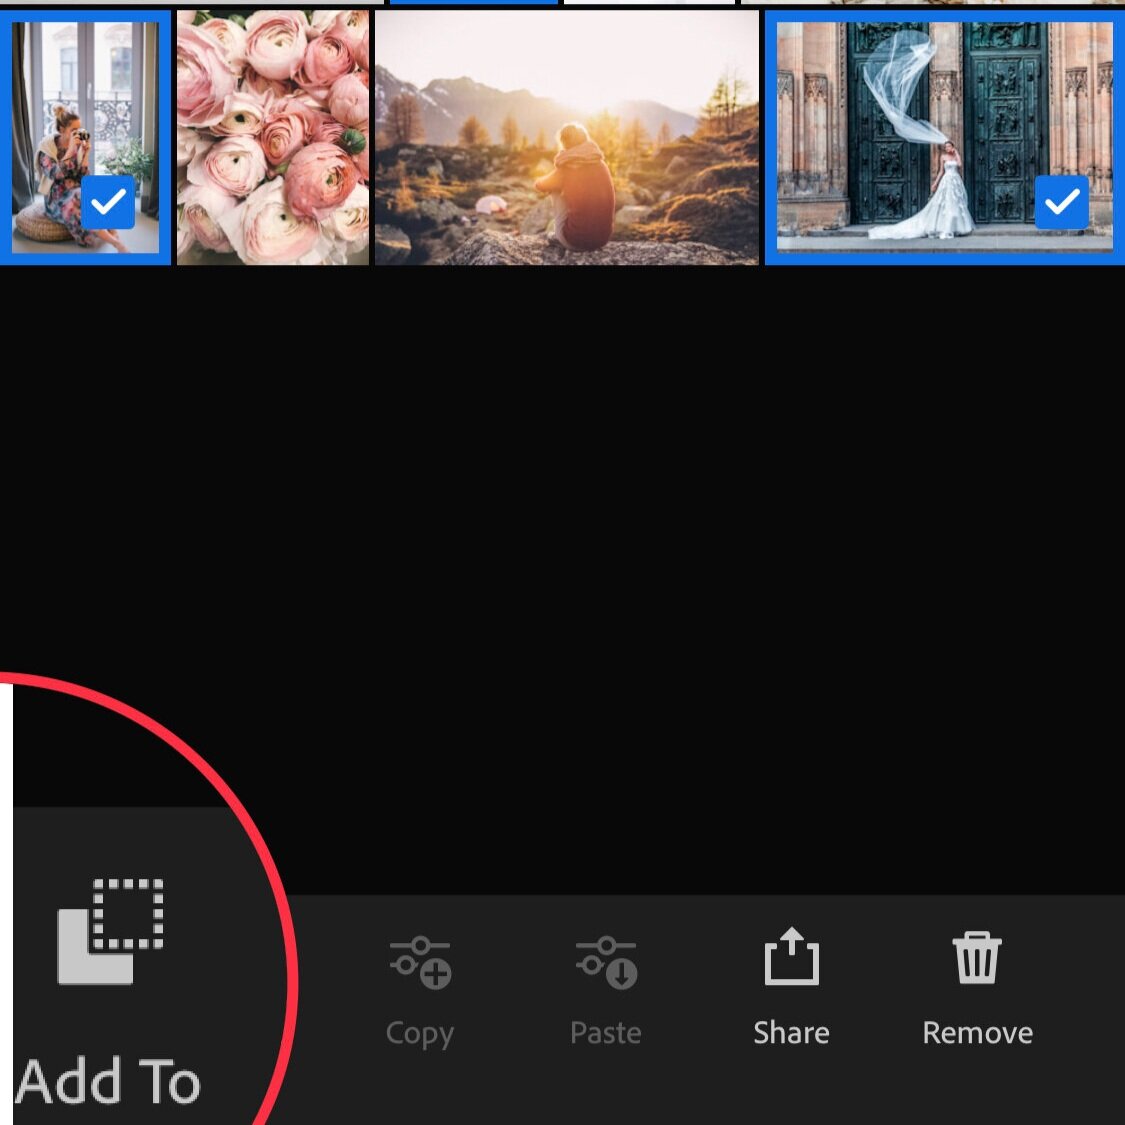
Next, tap the Add To icon at the bottom of your screen, and a list of your existing albums appears.
Select the check box to the left of the album to which you want to add images and then tap Add. Voila! You're done. The photos should be in that album.
Note: The albums will sync to Lightroom Classic, but the folders in the cloud-based Lightroom will not! They will also and appear in the Collections panel within a collection set named From Lightroom.
Applying Ratings & Flags
Once images are imported and synced in Lightroom Classic, you can begin to rate or flag them while out in the field or traveling using Lightroom for Mobile. To do that, however, you will need to be on Rate & Review view:
Single-tap an image so that it will fill the screen.
Tap the drop-down menu in the upper-left corner of your screen, and select Rate & Review.
Apply a star rating by tap-dragging up or down on the image's left.
To change the flags, tap-drag up or down the right side of the image to access flagging options.
Next, swipe left or right to jump to the next photo.
These new settings are automatically synced to Lightroom Classic.
NOTE: You can also use the star and flag icons below an image by tapping them to apply ratings and flags.
Editing photos
The first thing to know is that anything you can do in Lightroom Classic can be done in Lightroom for mobile and vice versa. While there are a few differences, there aren't many. One change to note is that some of the adjustment tools have been renamed and regrouped in the cloud-based Lightroom. Most photographers don't find that a challenge.
So, let's get started with some simple steps for basic editing:
Tap the drop-down menu in the upper-left corner and tap Edit to enter editing mode.
In portrait orientation, the editing tools will be at the bottom of the screen. In landscape orientation, they will be along the right side of the screen.
Keep in mind that not all tools will appear on the screen. Swipe the toolstrip left or right to see additional tools.
You should recognize most of the tools from the Develop module. Here are some tools that you might not know that is nonetheless useful:
Selective: Tap to access the brush, radial, and graduated (or linear) adjustments. If the photo selected contains a depth map, you will also see a Depth Mask Adjustment tool.
Light: Tap the icon labeled Light to access the tonal value adjustments and tone curve.
Effects: Holds the tools for Clarity, Vignette, Dehaze, Grain, and Split Toning.
Color: The white-balance adjustment tools, the Vibrance and Saturation sliders, and the B&W and HSL controls are under Color.
Geometry: This has the controls from the Transform panel in the Develop module.
NOTE: The more you play around with these and other tools, the better you will get. Just remember that your edits are non-destructive! At the far right end of the Toolstrip, there is a Reset button. It can reset things back to the beginning.
Export copies
Sooner or later, you will want to export one or more images. You have two options: 1) wait for the images to sync to Lightroom Classic or 2) Select copies for social media, email, text messages, other collaborators, or your camera roll and export.
For the latter of the two (copies for social media, etc.), here's what you do:
In thumbnails, long press on a photo you want to select.
The Share icon pops up along the bottom of the screen.
If it's just one image, the Share icon (a square with an arrow pointing up) will be in the upper-righthand corner of the screen.
Tap either Share icon for sharing options, opening in other apps (including Adobe apps), or saving to your device's camera roll.
Once you select your sharing option, you can choose the image size. (Small is best for social media sharing, and the maximum is best for editing.) If the image you've selected is from Classic, you'll be working on a Smart Preview, which is 2560 pixels, limiting your export size to nothing larger than that.
Use Mobile Lightroom Presets
Lightroom mobile presets are images that come with pre-applied settings that have DNG format. You just need to copy settings from this DNG file and paste them to the photos you would like to edit in Lightroom mobile app.
Mobile Lightroom preset is created in Lightroom Desktop, and they are exported to DNG format for using them with Lightroom Mobile App.
Lightroom and Desktop Presets both work the same but, they have different formats. Mobile presets using DNG Format, and Desktop Presets have XMP Format.
Also, if you would like to edit in Lightroom Desktop, you need an Adobe Lightroom subscription. In another way, for Lightroom Mobile App, you don't need a subscription; it's a free app.
How to Install Presets with Lightroom Mobile
Start with creating a new folder album in the Lightroom Mobile. Click on the (+) button in the Album section.
Then, load all your presets in the new album. To add mobile presets, click on the "+ & picture" at the right bottom of your phone screen. Select your Lightroom mobile presets and adds DNG files.
Choose any preset you have loaded before and click on the three dots at the top right, then select Create Preset.
Open any of the photos you decided to edit.
Find the Presets icon in the menu at the bottom of the screen and tap on it.
Now browse through your presets and apply them to your photos.
If you still need help with installation, we have prepared a full guide “How to install Mobile Lightroom Presets”.
conclusion
Hopefully, you've found these tips helpful as you get started in Lightroom for mobile. The thing to keep in mind is that these are the starting points. There's far more you can do in the app, but familiarizing yourself with these can help launch what is sure to be a long relationship with the app!


