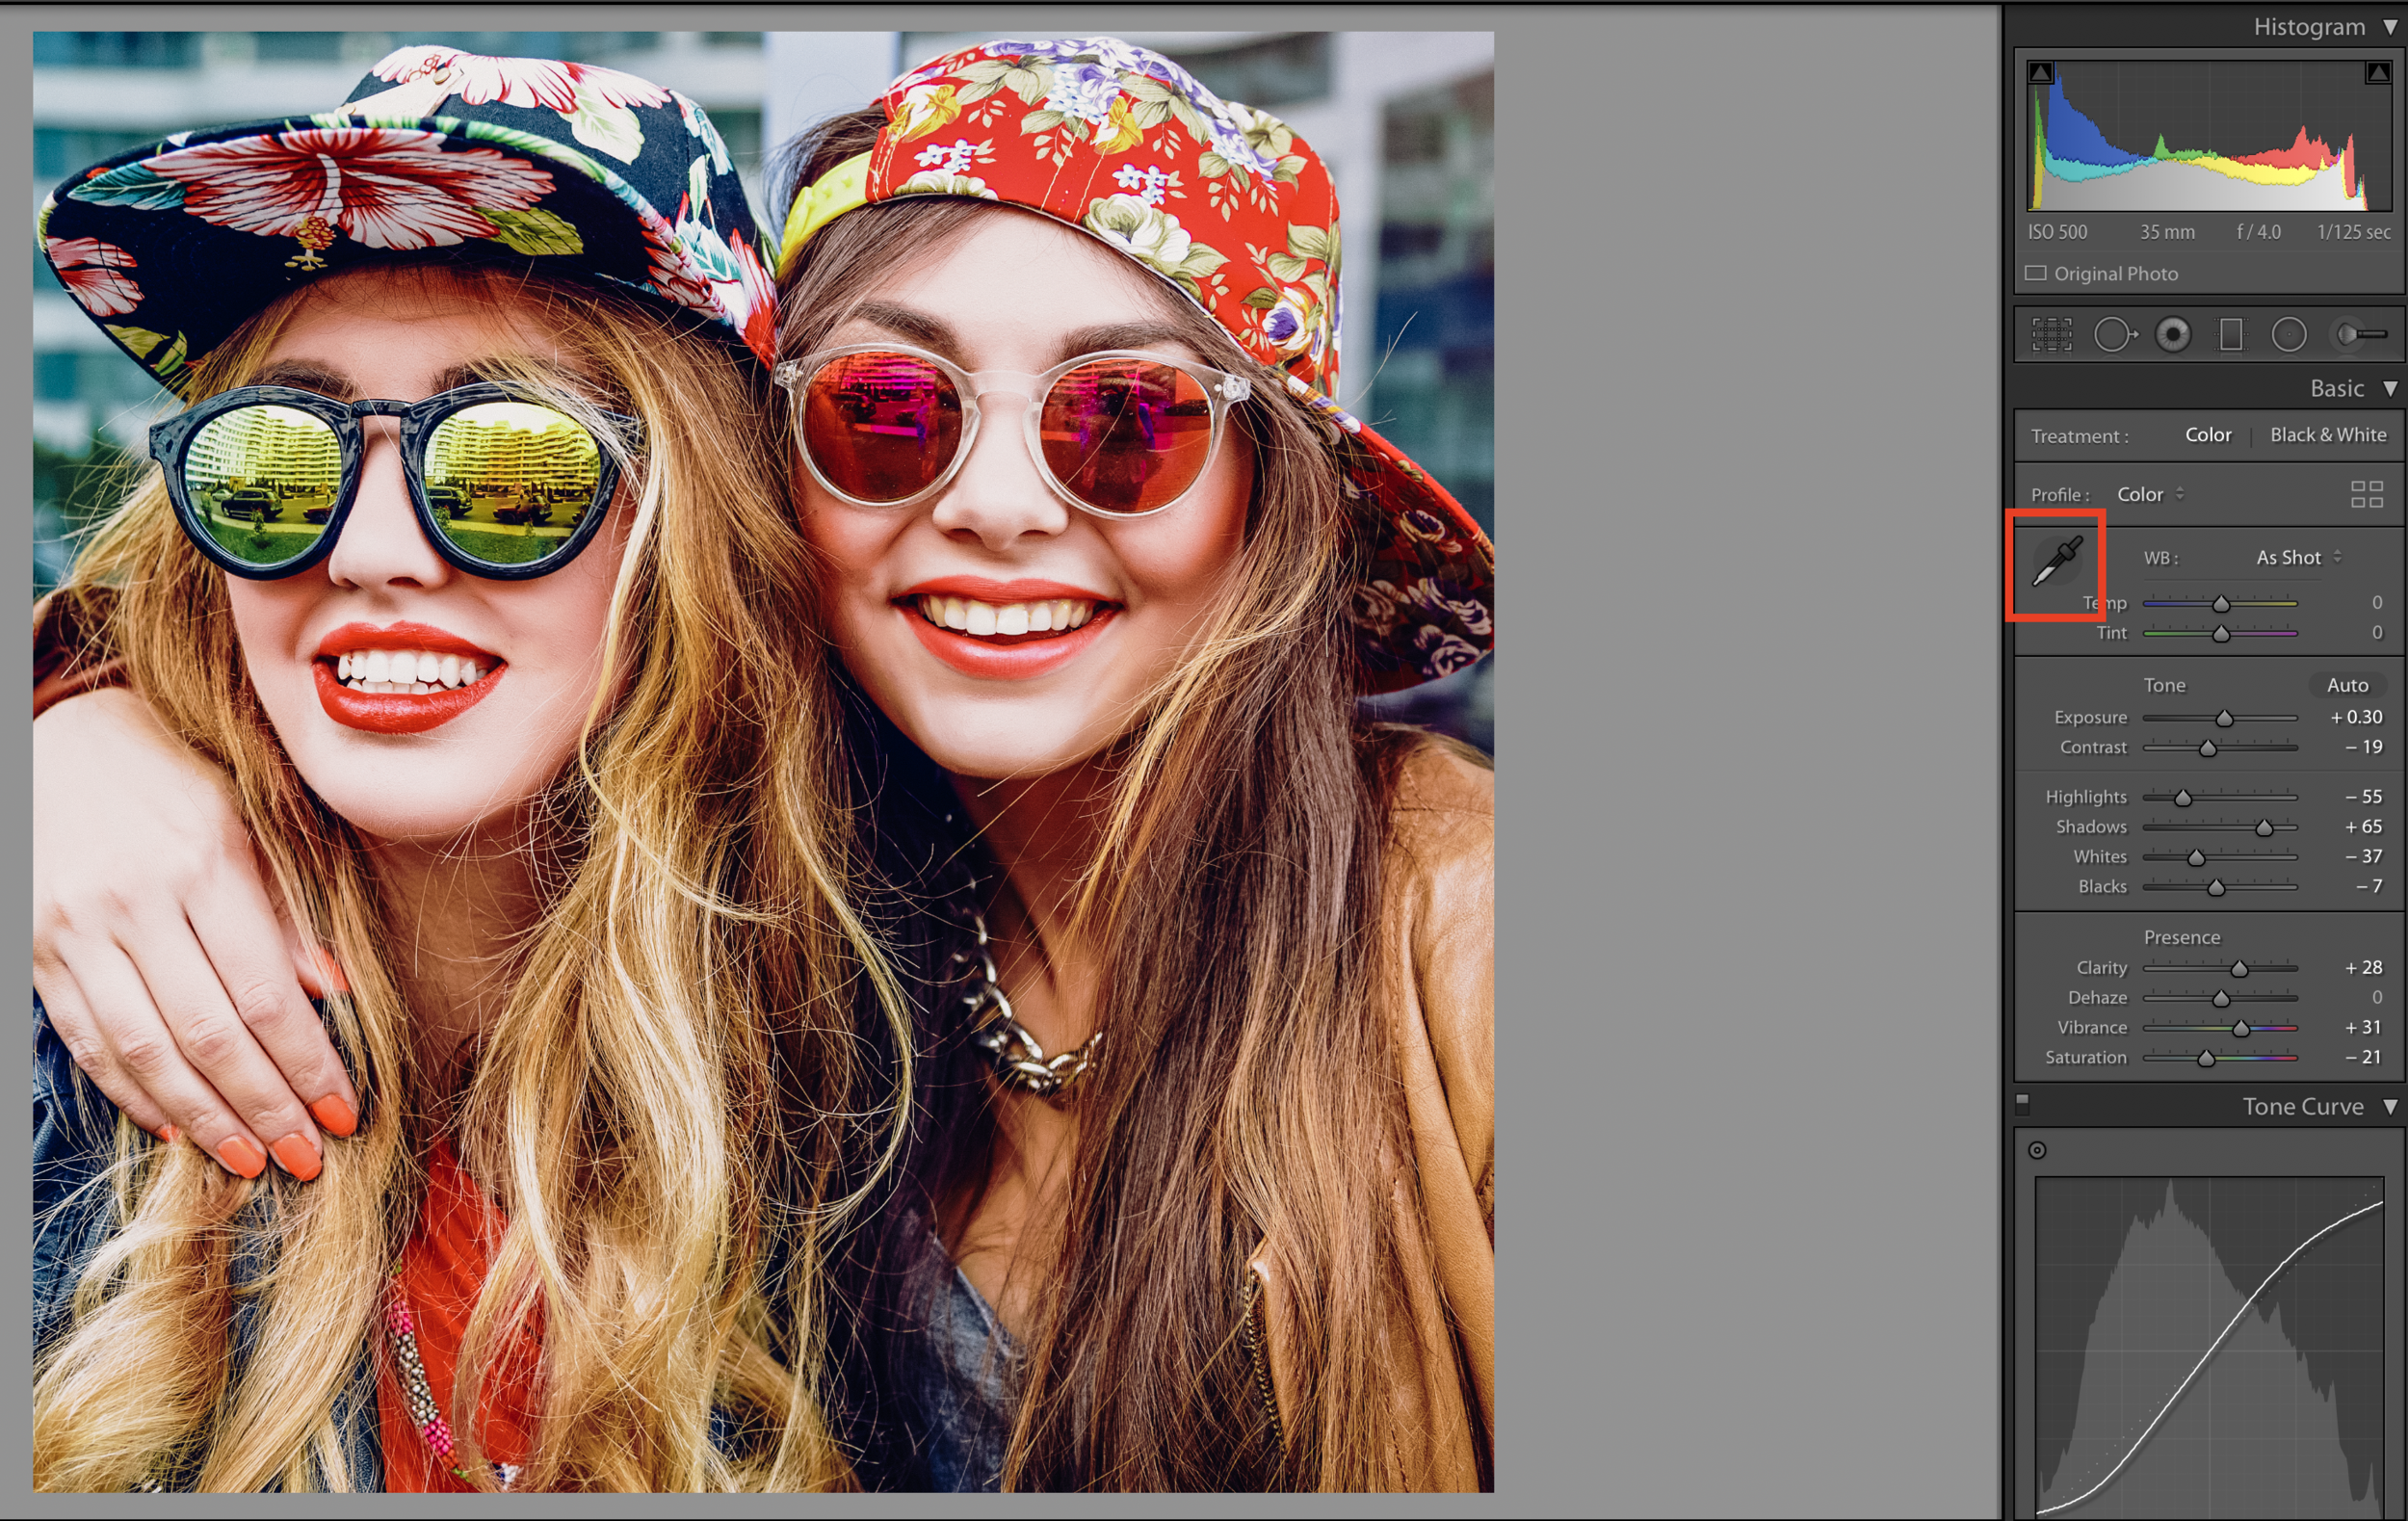
Achieve great skin tone before using a preset!
Before you apply one of our fabulous presets, it's a good idea to have the correct white balance first.
Below are some tips for creating that skin tone through adjusting your white balance and using the eye dropper.
1. With your image open, click on the eyedropper in the Develop panel.
2. Click any neutral color in your image. You may have to click around on various neutral spots to find the best one for your image, but the difference can be significant. It's worth looking for the best neutral color.
Using the eyedropper in this manner might be enough to change the skin tone and takes a few seconds. If you find that the skin tone still isn't what you want, let's adjust the white balance.
How to adjust the white balance
1. You can use the temperature sliders to make easy and fast adjustments. Examine the colors of the skin tone. Is there too much of one color? If so, then just slide the corresponding color temperature slider to the left slowly.
Keep in in mind that temperature sliders can cancel out some color problems. For example, blue and yellow cancel each other out. Red and green are the same for each other.
2. If you're still not happy with the skin tone after adjusting the white balance, try the Lightroom's Luminance feature which is particularly useful for improving skin tone.
Just as you did in white balance, use the sliders to make adjustments. Lighten a color by sliding slowly to the right. You can play around with the various colors to make necessary changes.
Once you have the proper balance for your skin tone, you can proceed to add any Lightroom Preset for Portrait photography!


