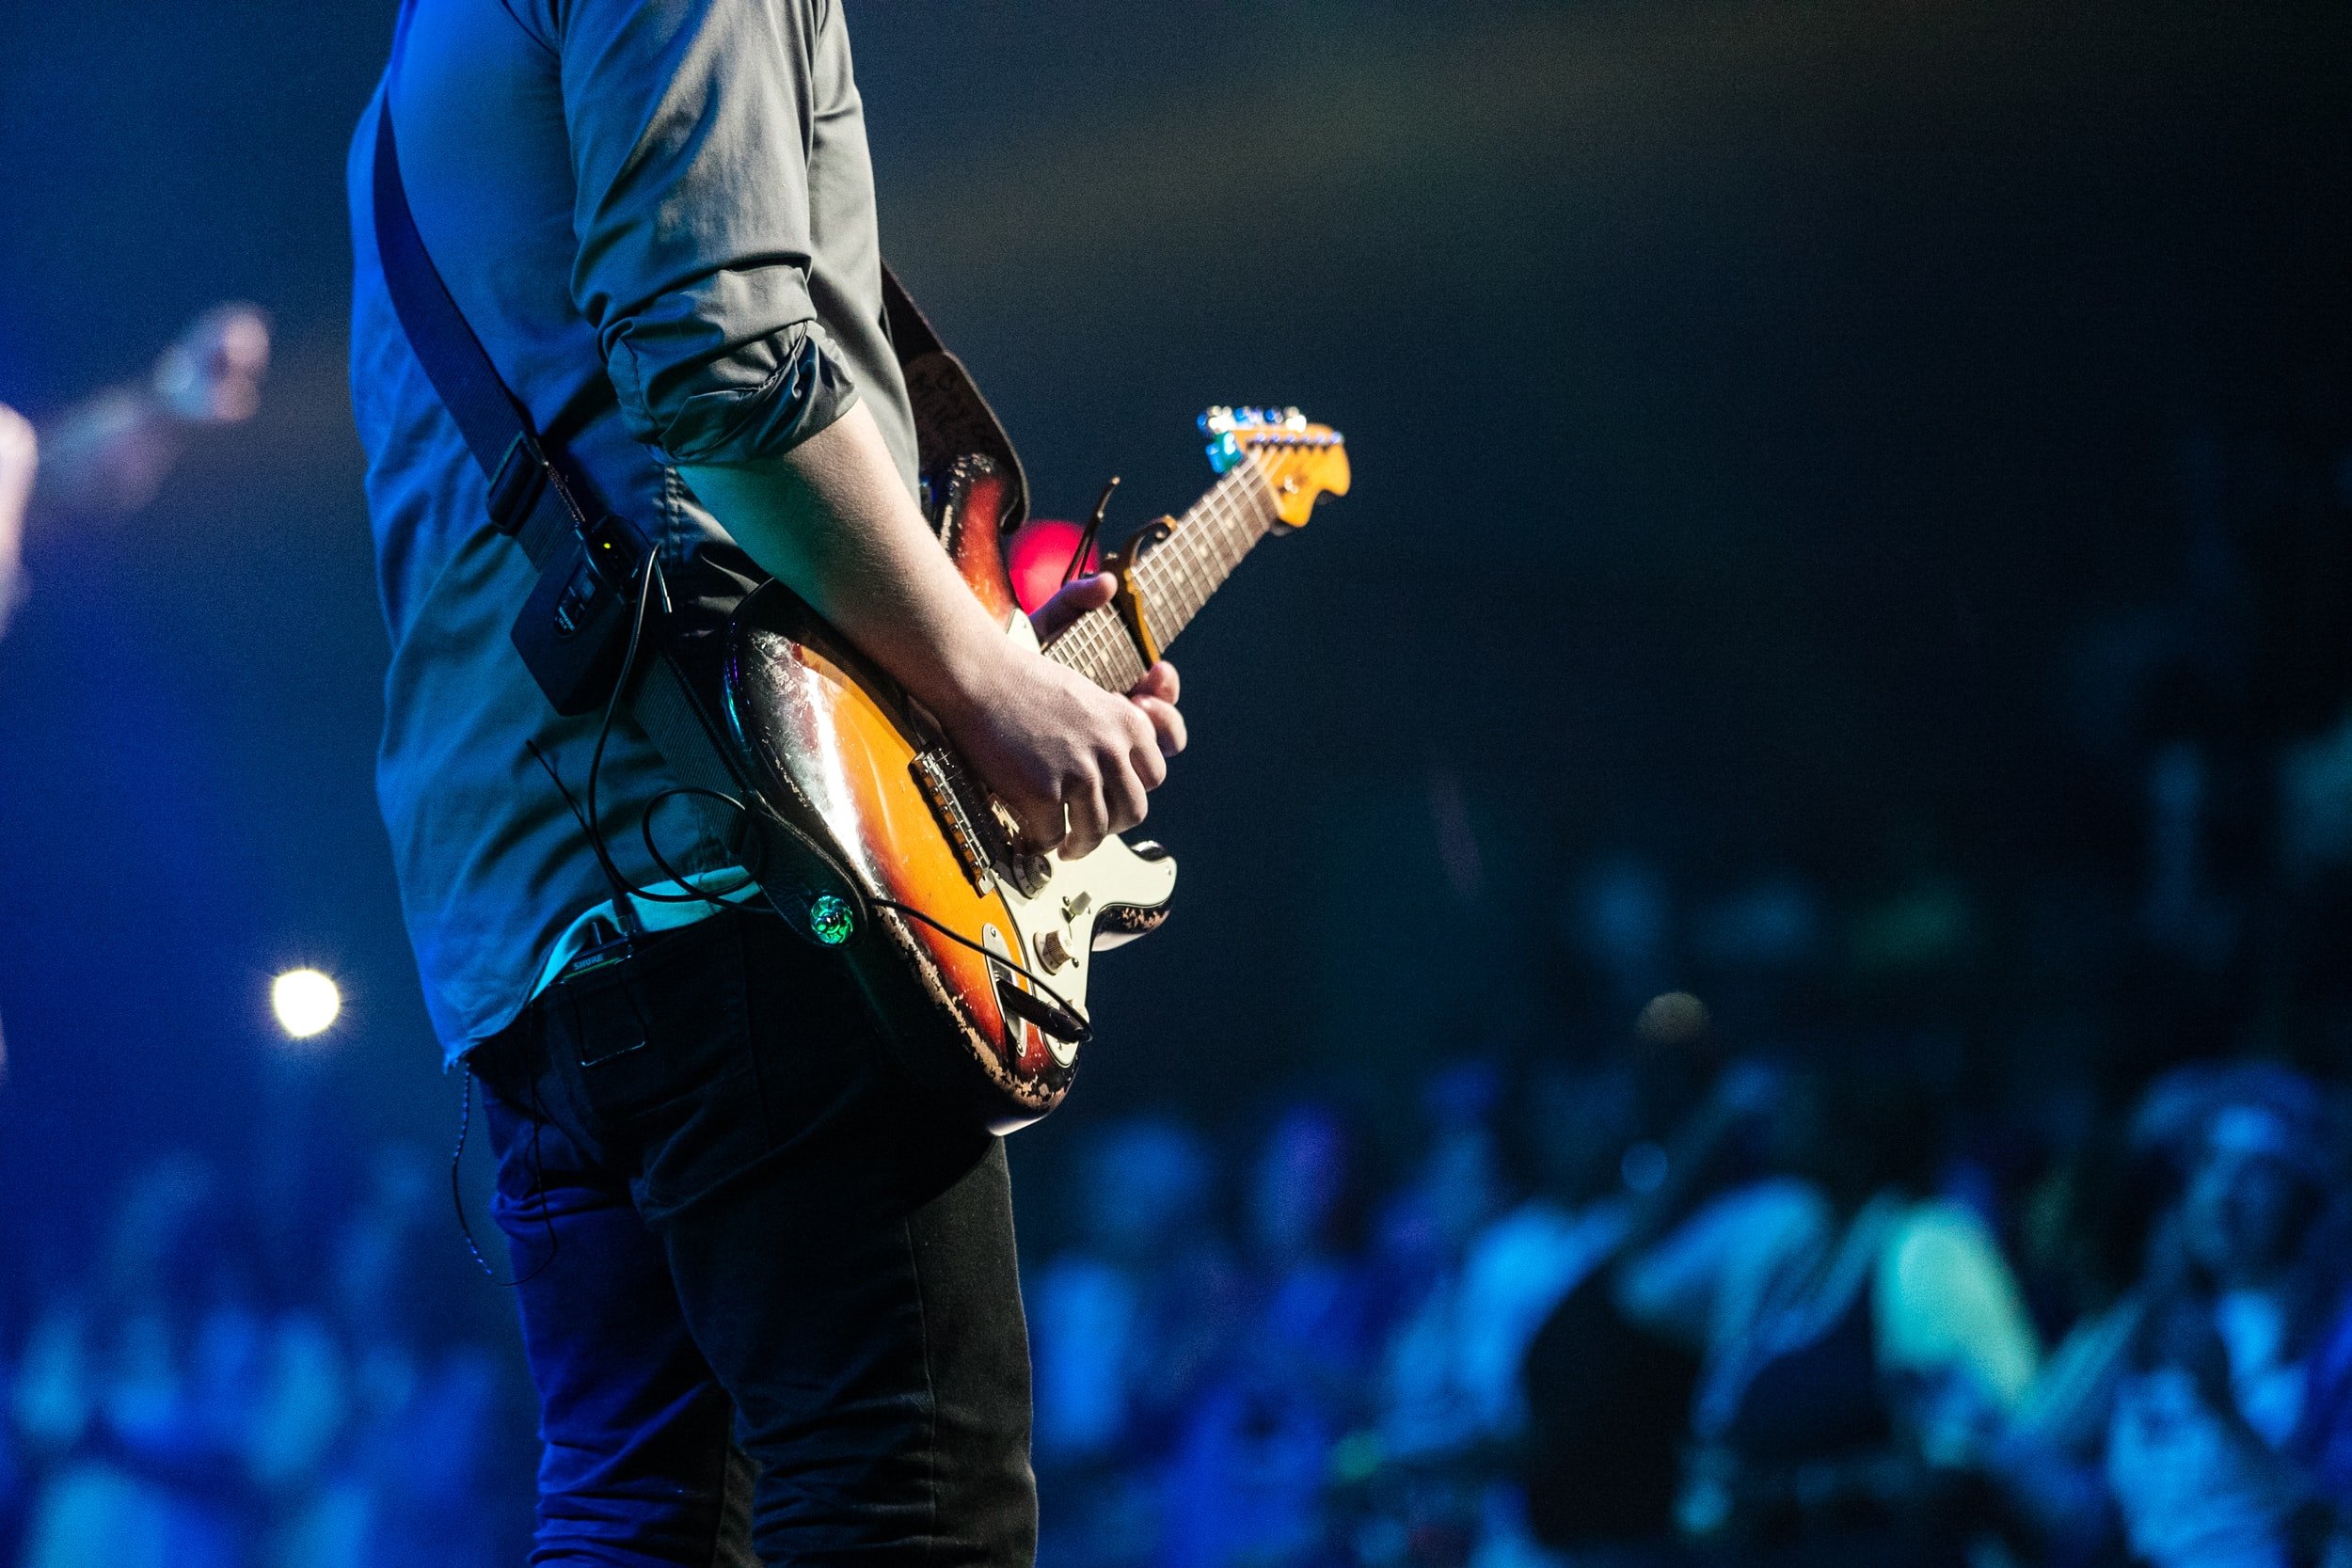
Working in the World of Concert Photography: Our Tips
The world of concert photography sounds like a fun-filled, high-wattage, and maybe even glamorous job.
Yes, to all that, but it can also be a minefield of challenges - albeit ones you can handle with some preparation! To help you overcome some of the challenges typically faced when shooting a concert, we've assembled the following details and tips, particularly helpful for fledgling concert photographers.
Plan Ahead
Advanced planning is critical for any field setting. It's especially vital for an environment that can be somewhat unpredictable - like a concert - and have a combination of low and bright lights.
Consider the type of concert you're shooting. For example, a symphony concert or a folk concert probably wouldn't have the same lighting as a rock or pop concert.
When you're planning your gear, consider these factors:
Lighting conditions: bright, low, flashing, and colored lights, sometimes all simultaneously.
Your ability to move around during the performance to shoot from various angles.
Your distance to the stage and subject.
Photographing moving subjects.
Research the Performer
Unless you know the performer and their stage habits well, it's a good idea to do some research before the concert. Look for videos of past performances and read up on the performer.
Take particular note of their current concert tour, including details like stage sets, lighting, backgrounds, backup singers, band, etc. The more you know about how they work on stage, the better prepared you will be at the concert.
Venue Access & Restrictions
When you're shooting at any venue, you'll want to know its rules in advance, including your level of access and ability to move around. If possible, you should see the venue beforehand if it's your first time there.
If you've been hired by the performer, you'll probably have greater backstage access and fewer restrictions. Even so, you will want to confirm what you can and cannot do and where you can go so that you're prepared. Read your contract carefully to understand your level of access. Then pack your gear accordingly.
If you've not been hired directly by the performer, you're probably working with a press pass, which comes with certain restrictions. Know and abide by them or risk running into a problem when you least need it - during the concert!
Here are a few typical restrictions you could expect with a press pass:
Flash photography is typically forbidden.
The number of songs or sets you can photograph is often limited. Usually, it's the first few songs only.
Access outside of the photo or press pit is usually not allowed.
The pit is a cordoned-off section right in front of the stage. Once there, you can't move around and photograph outside of it.
Your physical proximity to performers is predetermined.
Be Considerate
Aside from the venue's rules and any restrictions your pass might have, you should be considerate of other photographers, fans, and concert staff. In other words, be nice to others. They're either trying to do their job or paid for their concert ticket.
Follow all of the rules! A press pass doesn't give you the freedom to do whatever you want.
Try to limit the amount of gear and the size of camera cases or bags you carry. This is especially important in the photo pit, where there's not a lot of room. Taking up valuable real estate with your stuff won't be appreciated by other photographers.
Don't obstruct the view of other photographers or of nearby fans. This includes not shooting over your head.
Remember that getting into any trouble at one concert could cause you to be dropped from future gigs.
Equipment
Once you've thought about the setting, you'll be ready to pack your gear. For most concerts, you'll want to pack a camera that's good for low-lighting conditions, even if you're also expecting bright lights.
Choose a camera with sensors that do well in tricky lighting situations and have less noise at higher ISO levels. For concert photography, we also suggest using a fast camera.
Lenses
The lens you use is about as critical as the camera - perhaps even more so. Again, we suggest planning for low-lighting, even if there will be other conditions or factors. Here are some factors to consider:
We recommend lenses with a maximum width f/stop of 2.8; the lower, the better.
The sharpest lenses include prime lenses, ART, and other higher-end lenses. They are also faster and more reliable.
Remember that wider apertures mean more light enters the camera creating a shallower depth of field. That can be a good thing when shooting a concert stage and focusing on a single subject.
Consider your shooting distance when selecting lenses. If possible, take a fixed lens because it will give you the sharpest image. The downside, of course, of a fixed lens is the need to move around to adjust for composition.
We suggest also packing a wide lens and a zoom.
Typically, you'd want to pack 24-70mm, 50mm, and 70-200mm lenses.
Camera Settings
Plan for the most challenging and be prepared for the best outcomes! You'll have to be ready for anything during a concert. Typically, that means being ready to shoot a lot of movement. That's where burst mode and continuous focus can be super convenient.
Burst mode is particularly well-suited for a concert when your subject moves around a lot and lights are flashing.
Continuous focus (AF-C in Nikons or AI Servo in Canon) lets you lock onto and focus on a subject in motion.
ISO & Shutter speed: Low lighting conditions could mean that you'll have to play around with your ISO settings and shutter speeds. Think high ISO (~3200) and low shutter speeds to compensate for very low lighting. You'll do the opposite when it's bright lighting: ISO needs to be very low and the shutter speed high to manage very bright white lights.
Post-processing
You should always try to capture the best images possible and use post-processing or Presets for Lightroom as a fall-back to clean up images. While there's a lot you can do after the pictures are taken during post-processing, it's usually impossible to undo what amounts to bad photos.
However, we think that the better you master post-processing, the more efficient you can become as a photographer. For example, there will be moments when you know that you can take a particular shot because you can clean it up later.
Besides advising you to use Lightroom, our best advice for post-processing is to shoot in RAW mode. It gives you the most flexibility to make good edits later.
At the Concert
Up to now, we've discussed getting ready to photograph a concert. Now, let's look at a closer look at being at the concert.
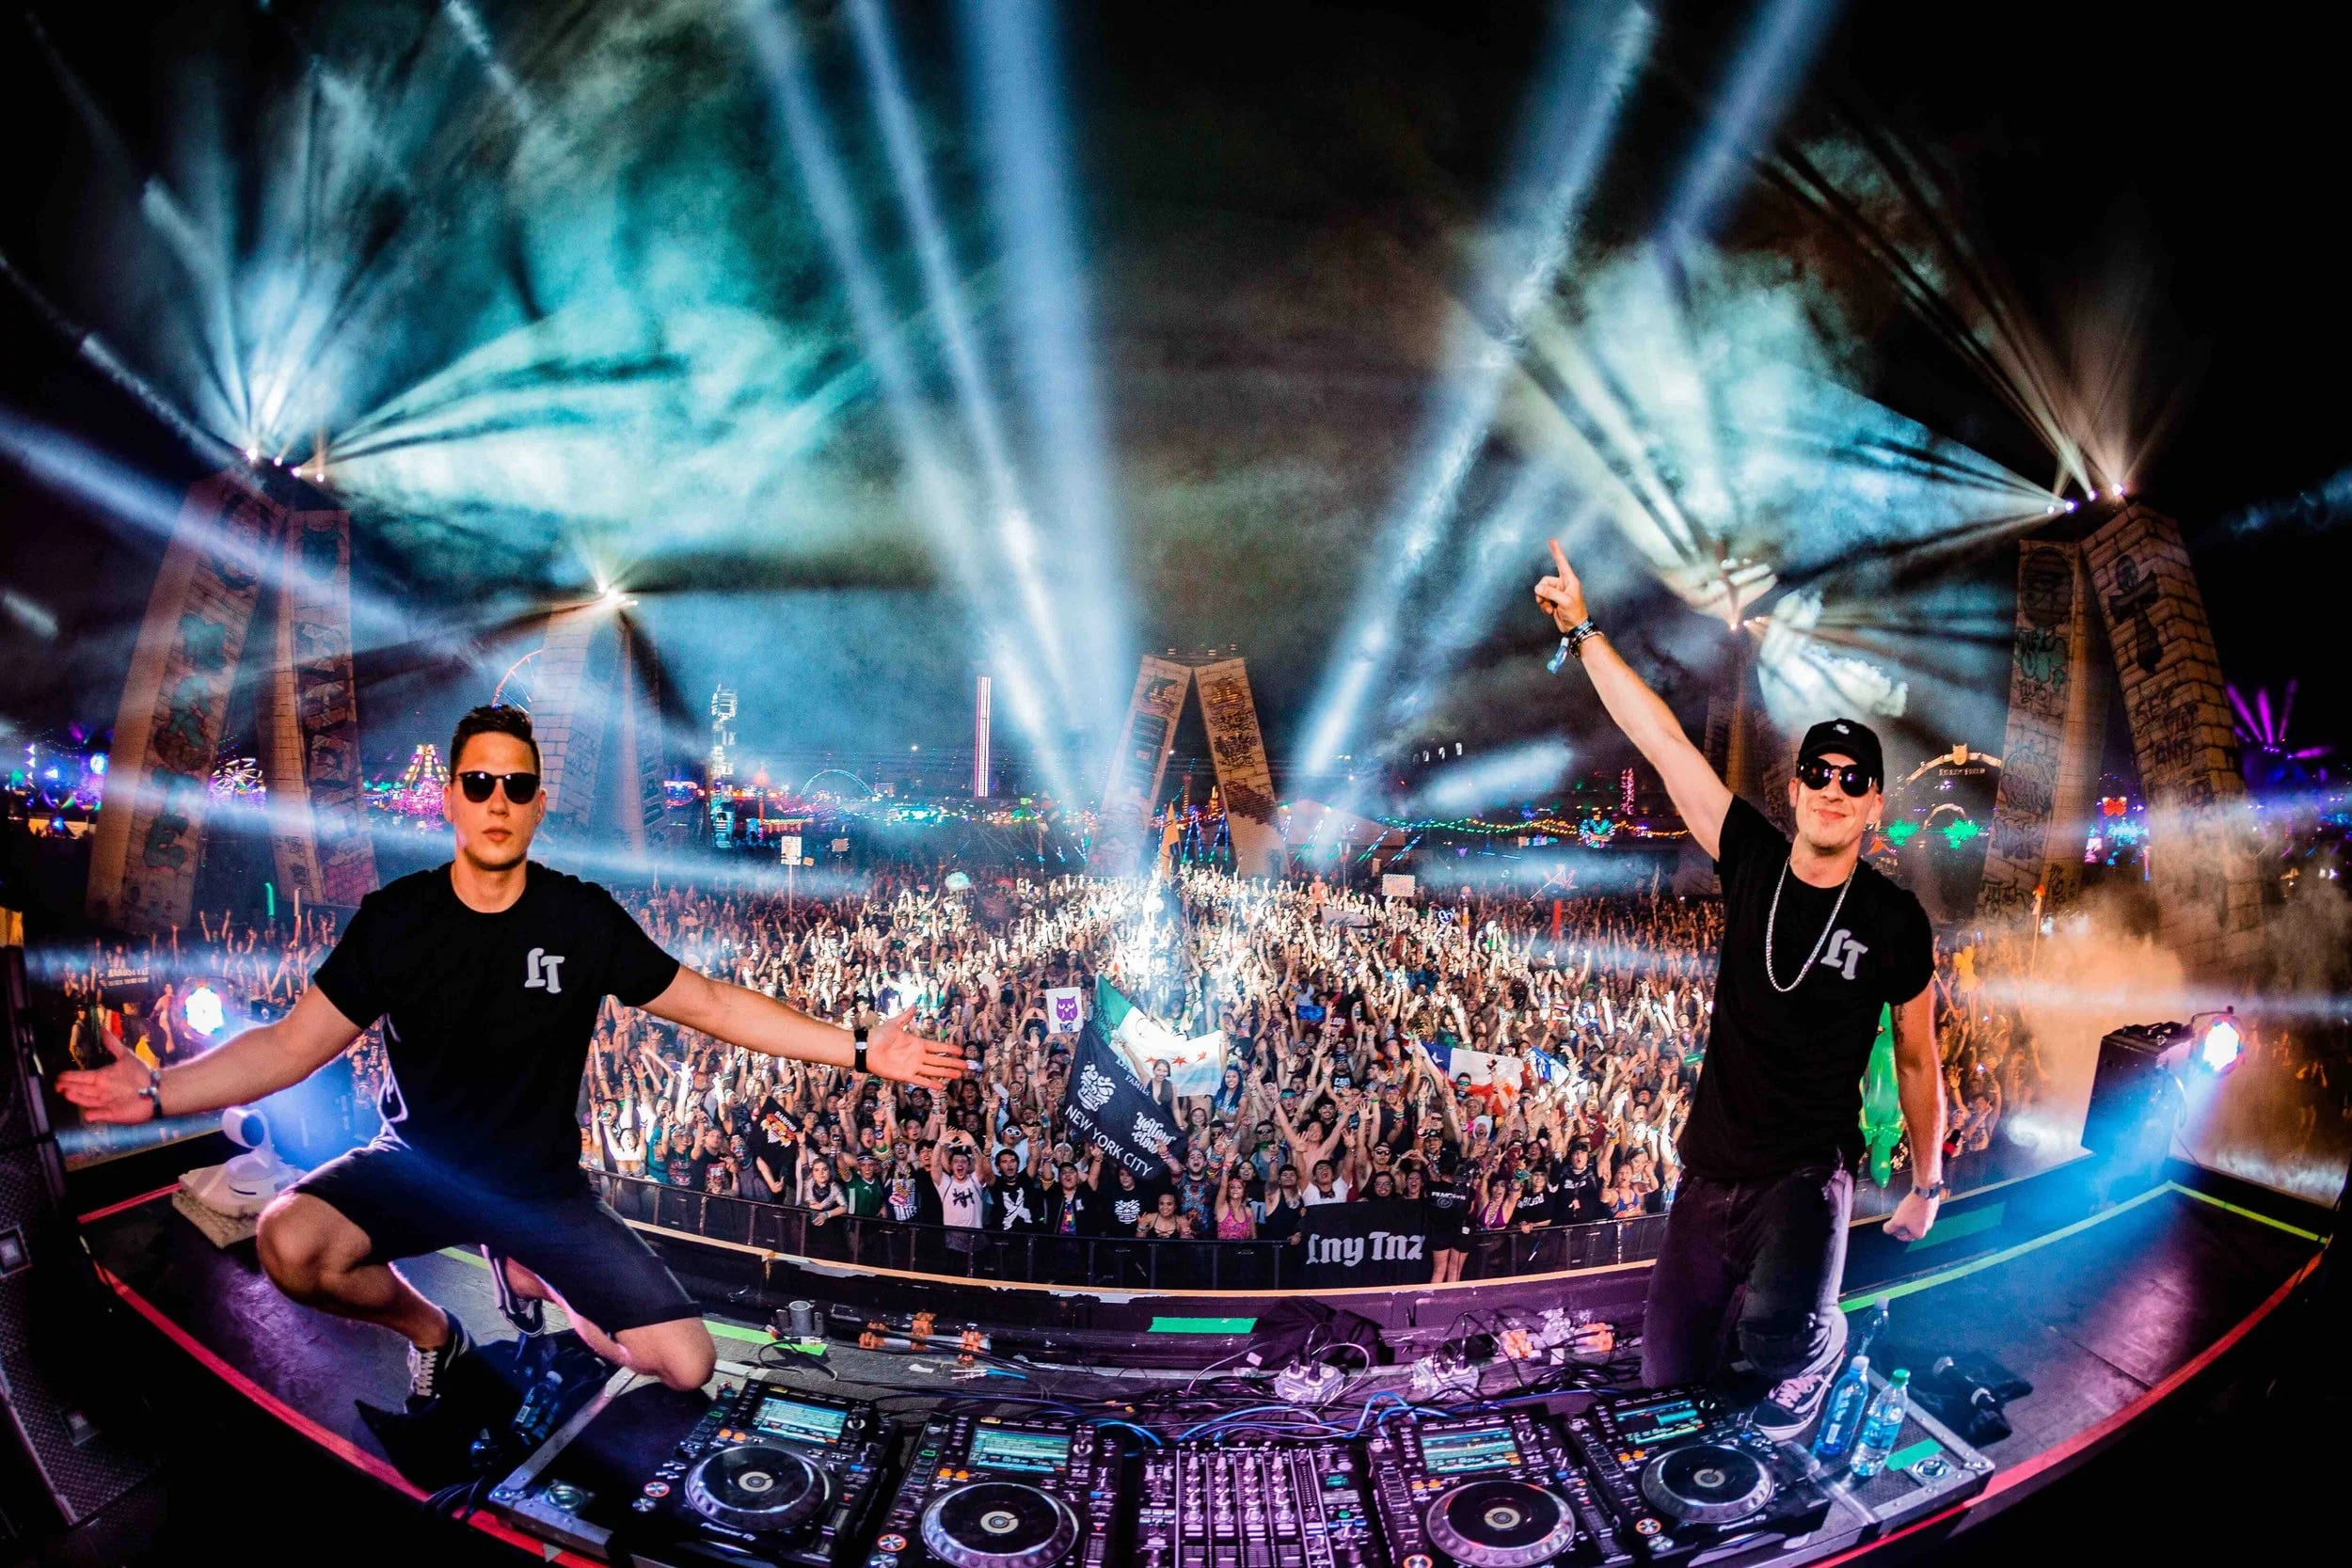
Photo Pit: In the pit, do the opposite of what most photographers will do. They will immediately crowd into the center front. If there's a good time to be an outlier, this is it! Begin at the edges of the photo pit. If you're not in a pit, consider moving to the perimeter of the concert venue, such as the side and back walls. Why would you want to follow our advice and move to the fringes when everyone else moves forward?
When you're front and center to the stage, as most pets are, you're shooting at a sharp angle up. That's not always a very flattering angle. It's also a tight shot. If you're shooting with a fixed lens, you're going to be too close.
Shooting from a greater distance affords you a better angle and composition. It also gives you more flexibility to move around as you're not crowded upfront. Plus, you always have the option to move in closer.
Backstage photography: If you are fortunate enough to be given backstage access, work efficiently and unobtrusively. Expect to see people running around doing their backstage jobs. Do not get in anyone's way. Do your work as quickly and discreetly as you can. Remember that the performers/musicians are either getting ready to step out on stage and focus or just wrapping up their concert. Do your job quickly. Honor any rules or restrictions you've been given.
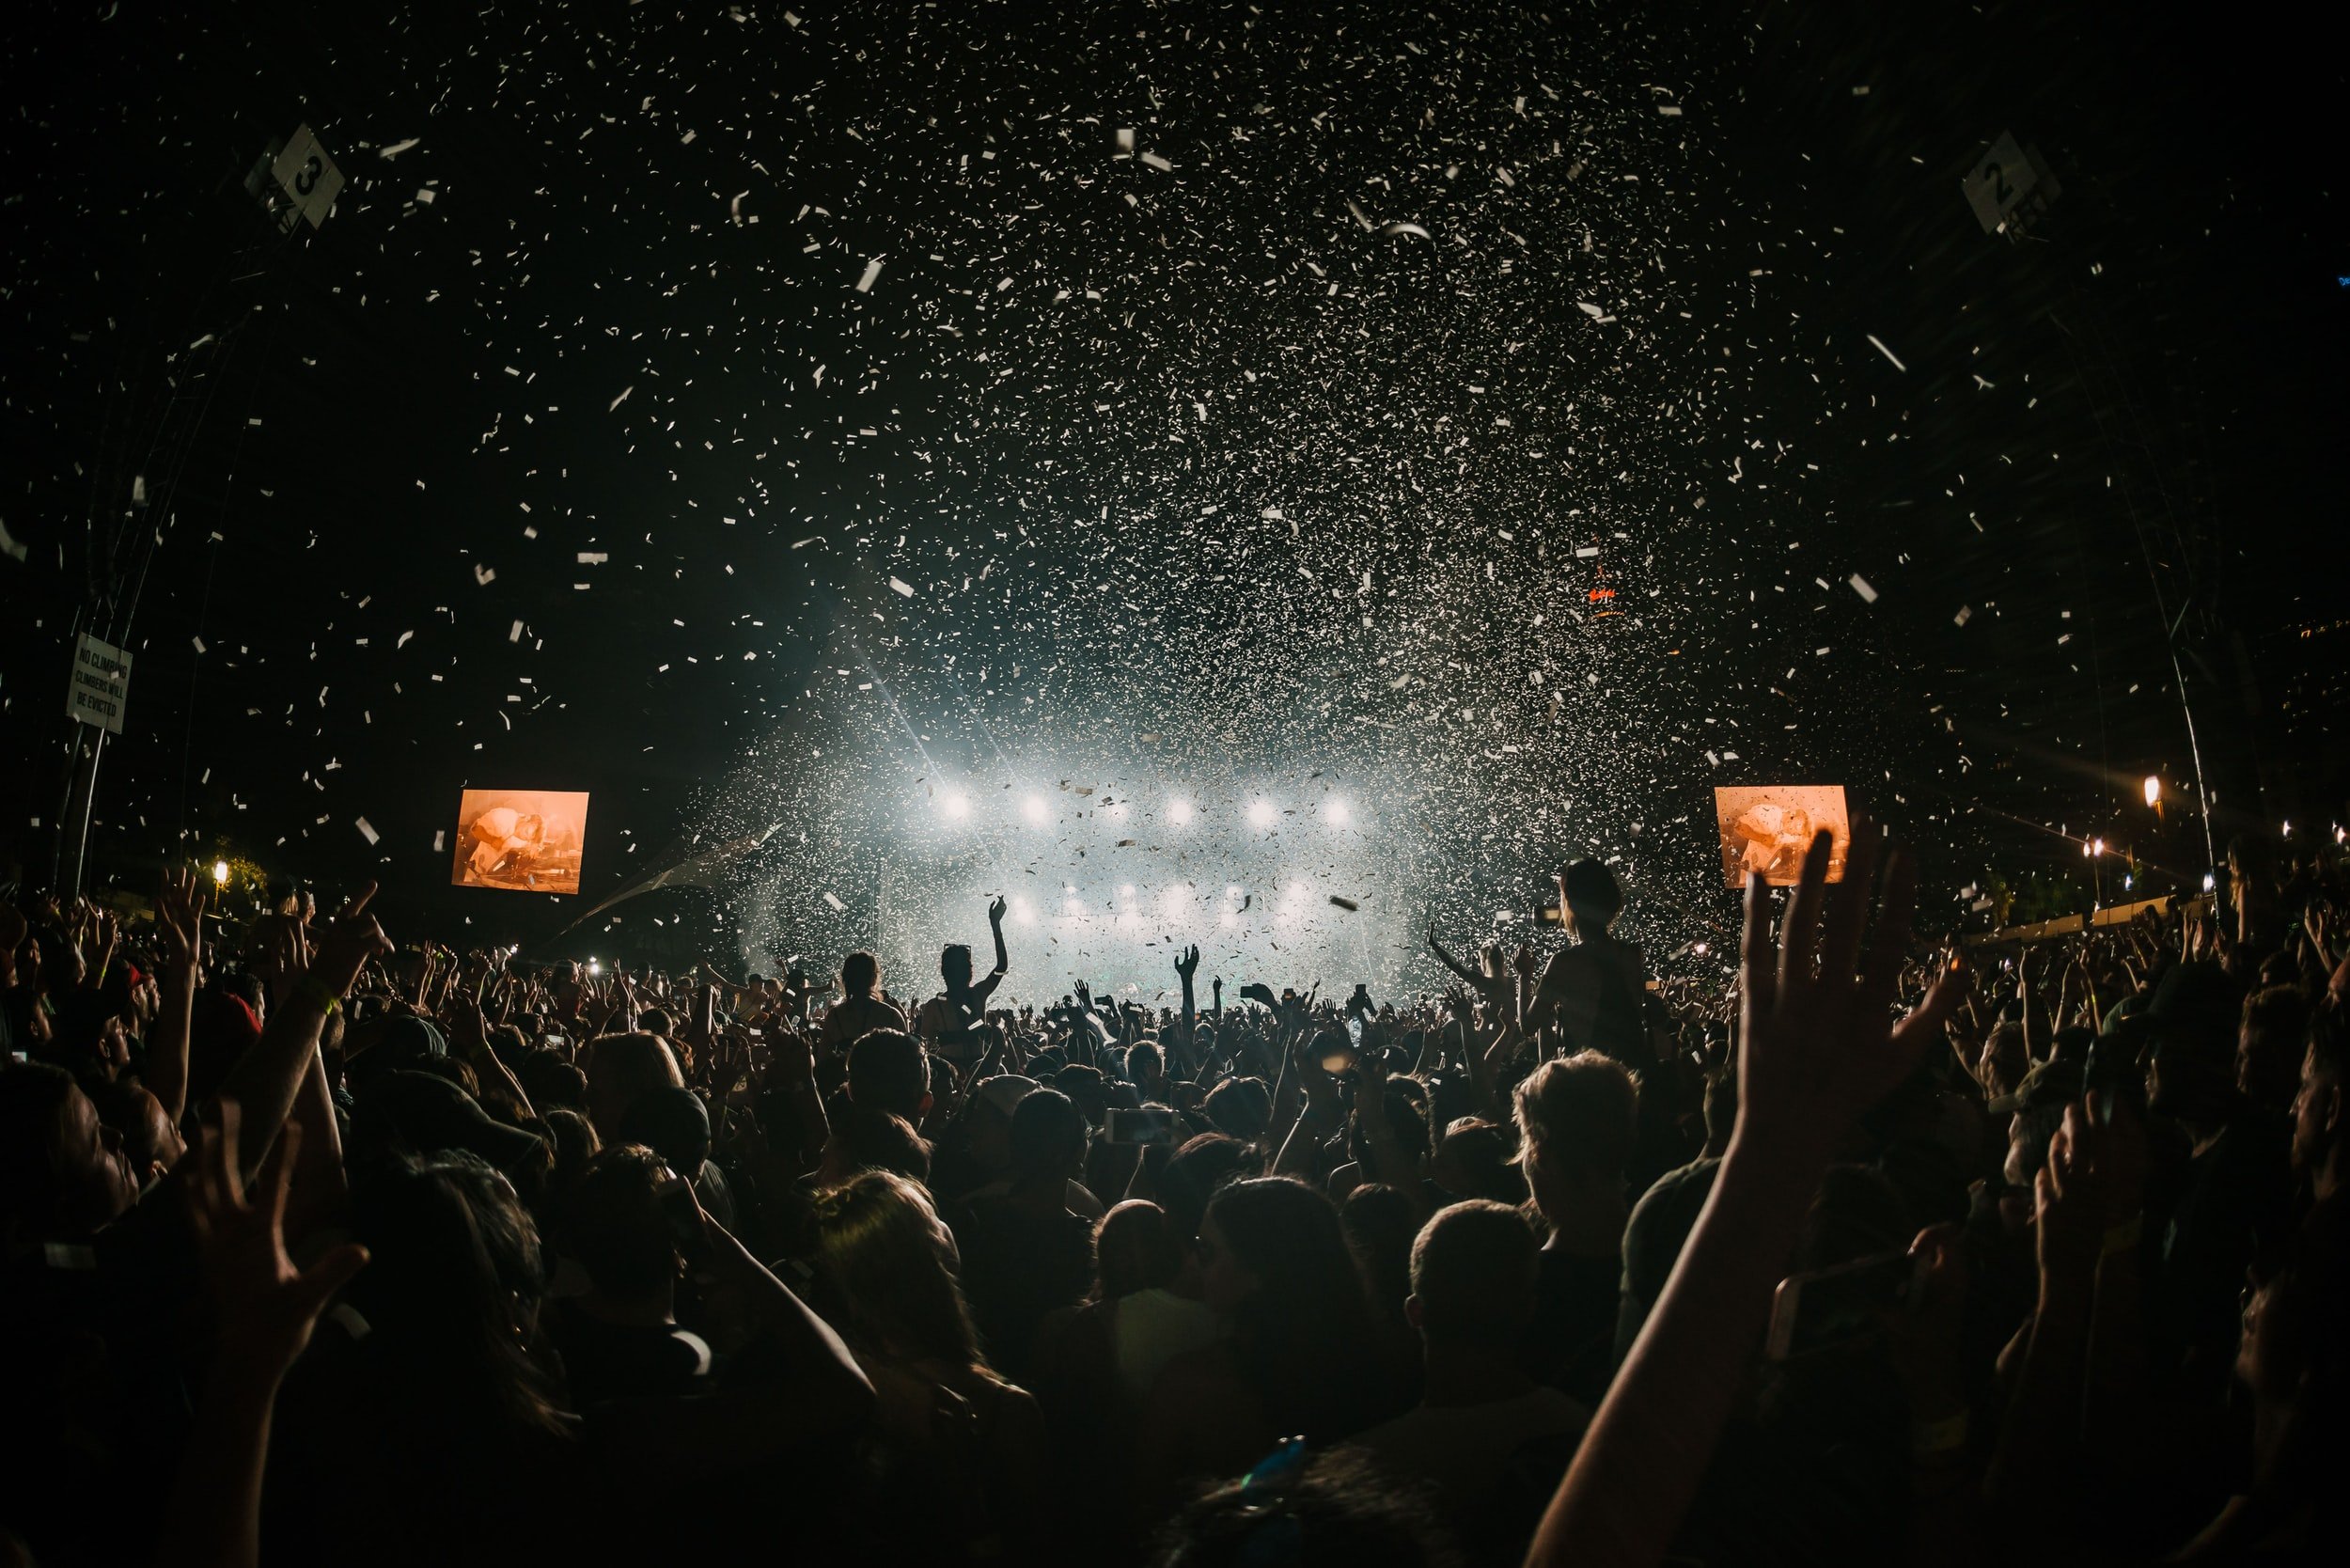
Crowd: Don't forget to shoot a few pictures of the crowd and even the venue as well! Depending on your goal for the job, crowd photos might be useful. Crowd shots are used just as frequently as rock star imagery!
Be nimble: While we've now advised you several times in this post to plan ahead, do your research, and so forth, you can't plan for everything. Thus, be ready for anything or, at least, for the unexpected. The best photographers aren't just technically savvy. They also are nimble, adaptable, and can react when their eagle-eyes see a great shot. Most photographers develop these skills with experience, but sometimes anticipating something is simply a gift when you're unsure what it might be.
Be alert. It's crucial to be aware of your surroundings at all times, both for your photography and your safety. A lot goes on at a live music event, especially if it's not a seated concert. Keep an eye on your surroundings and your gear.
Lighting: As we said above, lighting can be extremely tricky at a concert. Some concerts will have lights that go from light to dark, flash, and change colors. It can be hugely challenging to account for those changes.
Here are five tips for working with certain types of lights:
Orange and yellow lights: Some of the easiest colors to work with; you can treat it like shooting on a sunny day or at the golden hour, depending on the brightness.
Blue, green or purple lights: These three colors usually come out darker. Raise your ISO or lower your shutter to compensate.
Red light is one of the toughest to work with because it appears dark in photography and deteriorates details. If you can't avoid it, work with a composition that creates dramatic imagery.
Strobe or flashing white lights are challenging but not impossible to shoot. Use burst mode to synchronize your shutter with the flashing lights.
Spotlights: These are usually easy enough to work with. Treat them as you would an outdoor portrait, but keep in mind not to end up with your subject too washed out by the light.
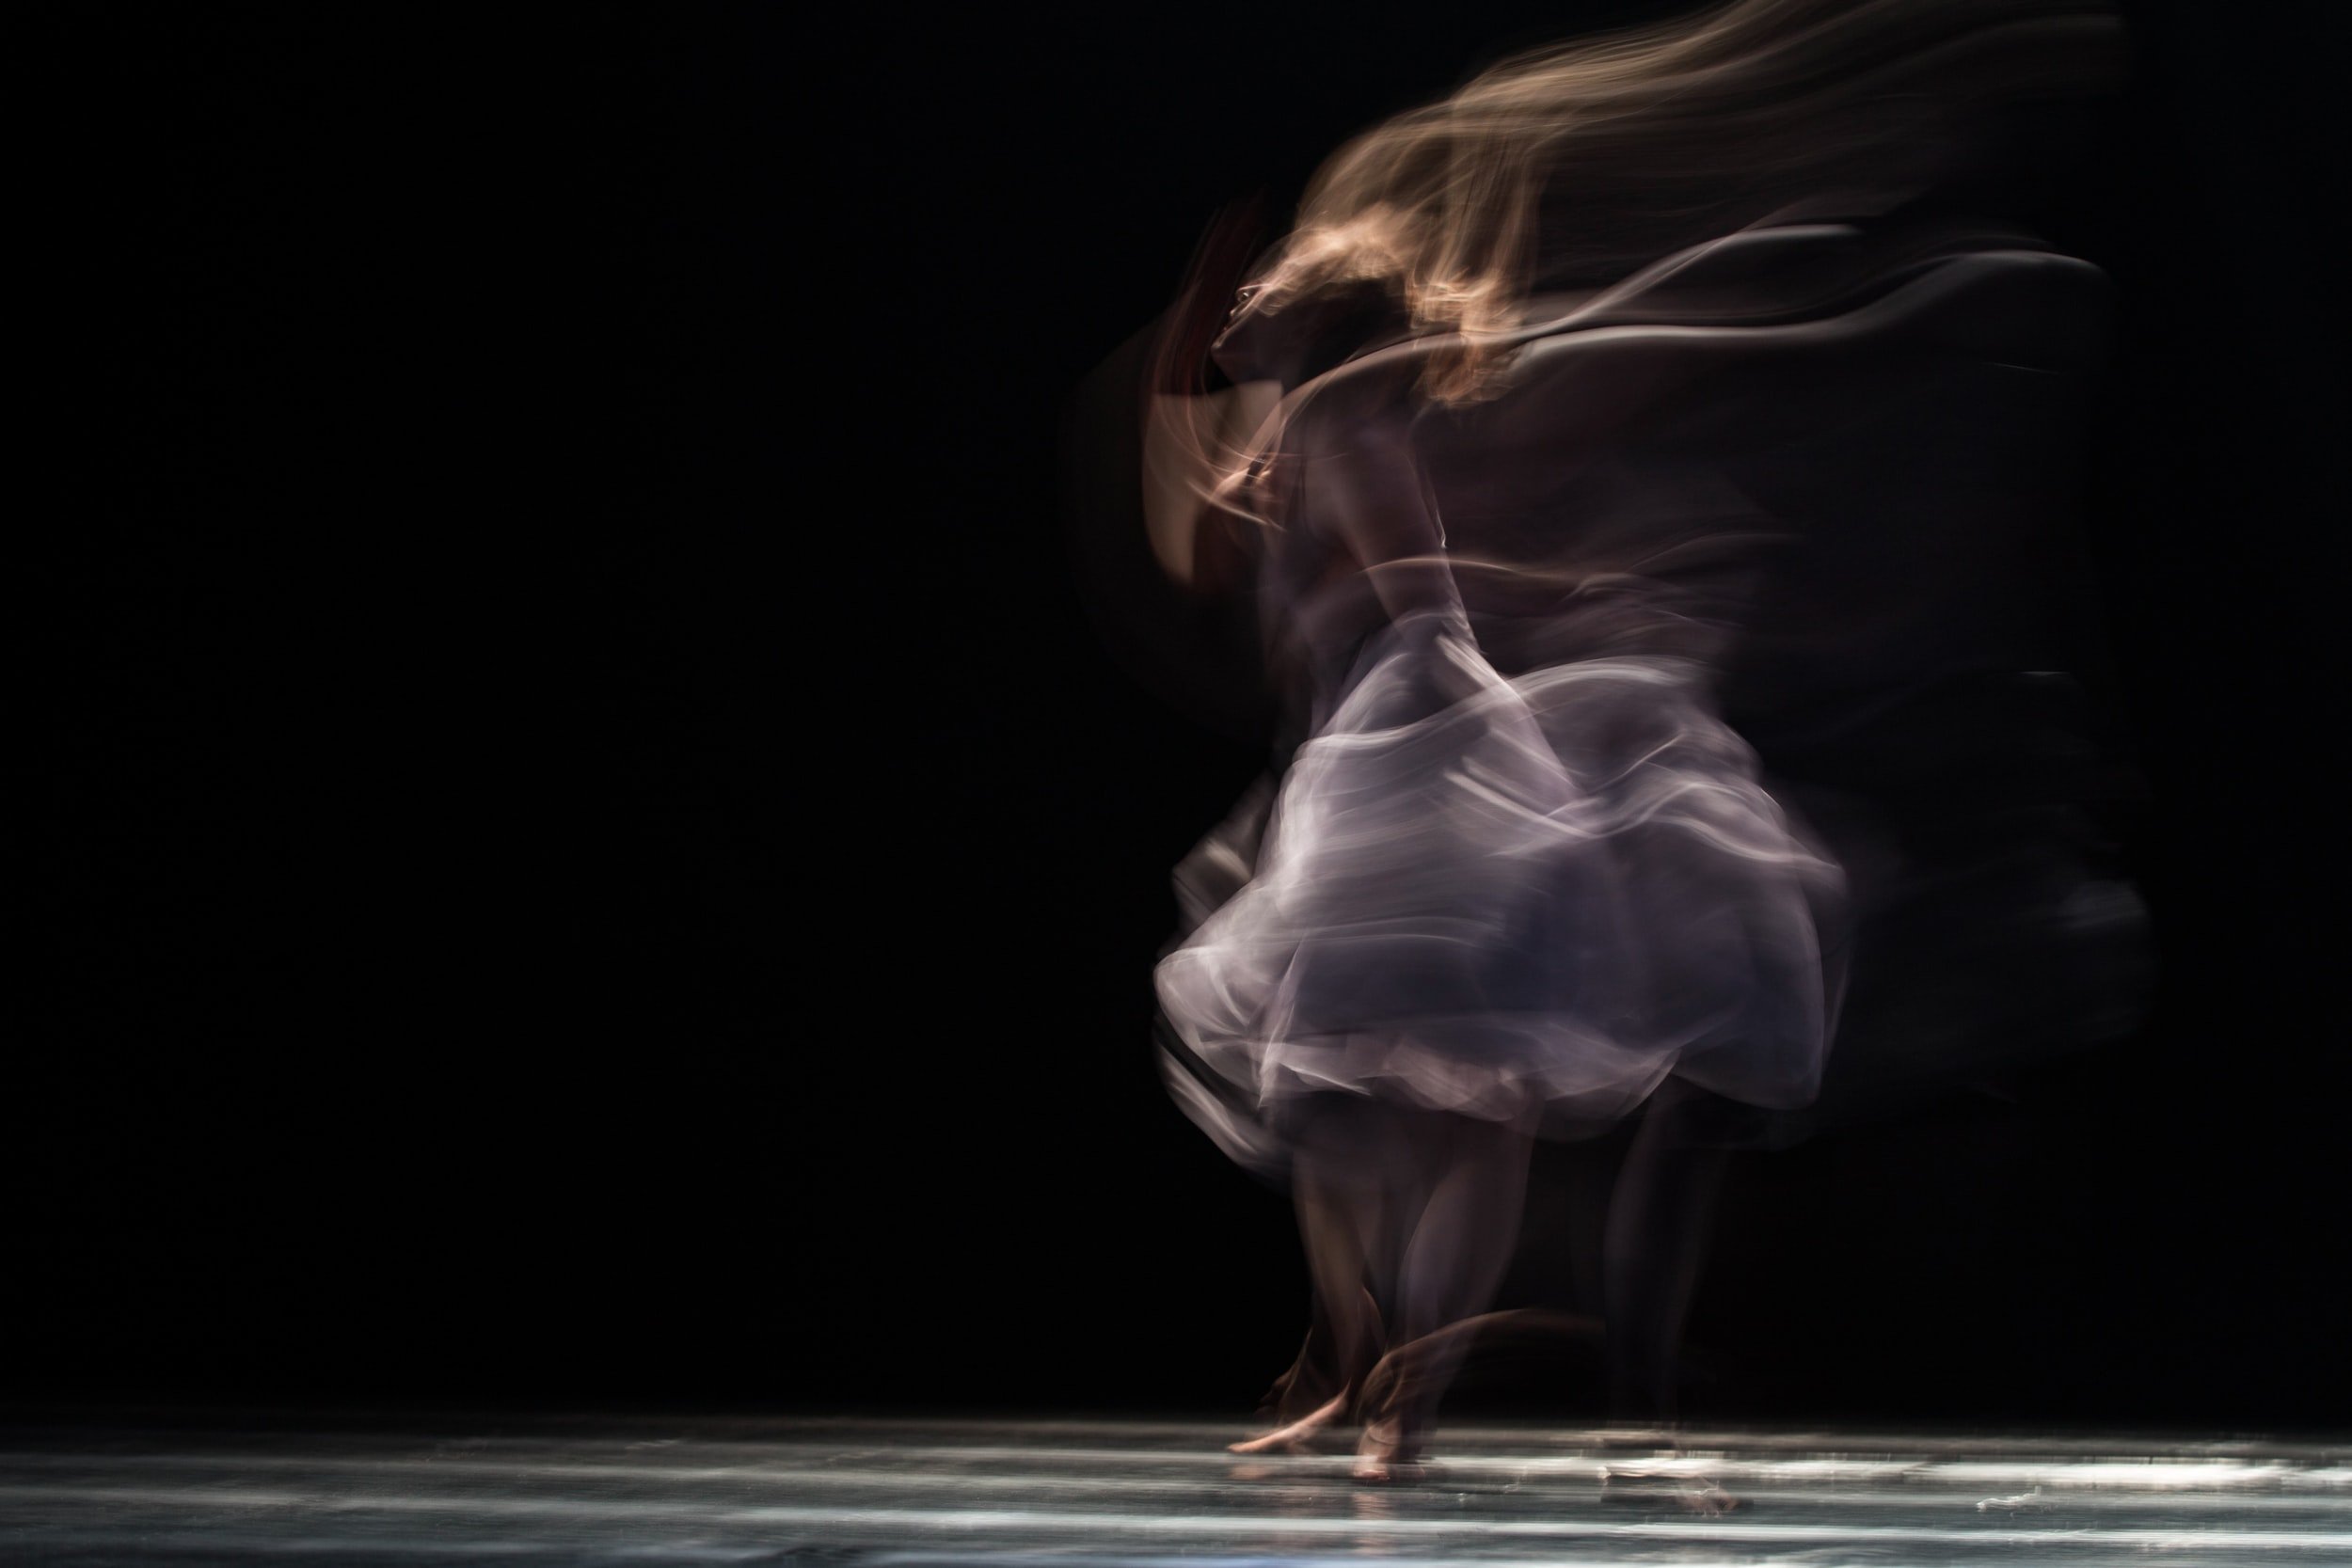
Creativity: Think out of the box when you're shooting a concert. Be creative and think about your goal for the images. Think about backgrounds, stage, equipment, and the broader venue when considering what to shoot and how to capture it. Don't just snap a boring picture of someone on stage singing. Is there a unique angle you can capture them from? How about changing lenses or changing your position? Can you play with the depth of field or bokeh effect? Try zooming straight into a performer's face to capture their expressions.
Final Thoughts
Concert photography can be both very rewarding and very challenging. It's not for everyone, but it's a unique chance to showcase your skills if you decide to go this exciting route. With the right equipment and some practice, you'll be able to produce some great images. Good luck!

