Seven Tips to Taking Better Pictures!
It's easier than ever to take pictures! Digital photography has forever changed how you take pictures, and social media has changed how you share them. But, does that mean that you are taking better pictures? Before you share that badly-composed, over-exposed picture of your family, see our seven tips below to help you. It's not that difficult to take better pictures.
1. Composition & the Rule of Thirds.
To achieve well-balanced composition in a photo, the rule of thumb is the Rule of Thirds! When looking through your lens or composing your shot, break your picture into nine lined and equally-sized squares - like a tic tac toe board, lines included! With those lined squares in mind, you should position the subject at the intersection of those lines. For example, in a close-up of a person, center their head at the intersection (corner) of squares - rather than in the center of a square. With many cameras, you can turn on the Rule of Thirds grid overlay to make it easier. But, remember, that rules are sometimes meant to be broken! There may be a shot where you feel positioning your subject off-center to the grid is more dramatic.
2. Light and Dark Exposure.
Assuming you're shooting on Auto, your camera is determining the proper exposure. Sometimes, that doesn't quite work out as it should, or you want it to. Cards automatically look at lighting and try to correct or adjust it based on gray - which is why there are settings for snow scenes. Otherwise, the camera automatically turns white snow into gray. So, back to the proper exposure. The simplest thing is to use your camera's exposure dial.(You could use Scene Mode on your camera, but that is little more complicated). Most cameras have a small dial for exposure which looks like this +/- symbol. To lighten the picture, turn the dial down; turn it up above zero. If the image is just slightly darker or brighter than you like, you also can shoot it and adjust the picture later using a photo editor. Lastly, just pay attention to your lighting conditions and make the necessary adjustments including using flash - but more on that below.
3. Select the Correct Mode.
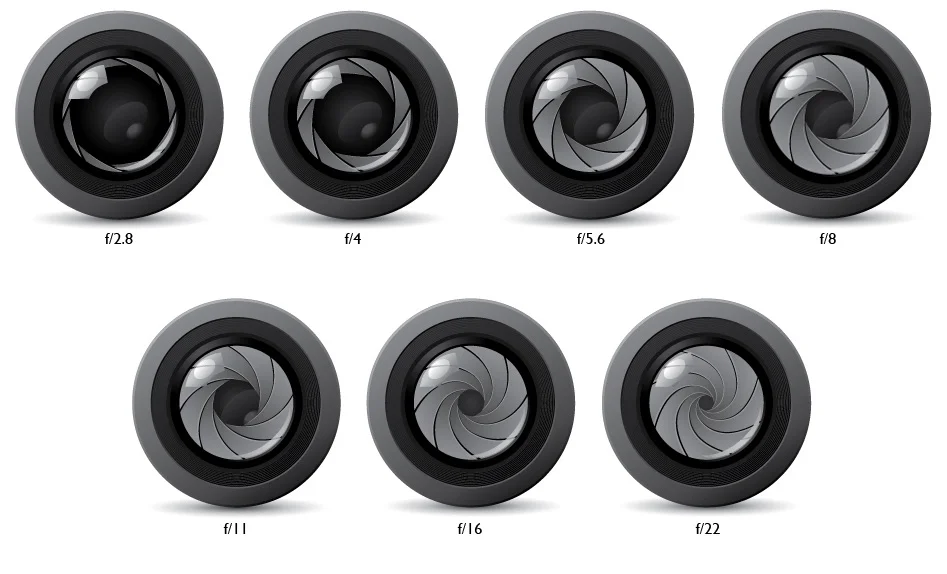
Most cameras have various scene modes from which you can select. To know which scene mode is the best one for your shot, you might want to try shooting different modes. Delete any photos you don't like later. For example, if you're shooting in lower light, adjust the camera to "A" (Aperture Priority) to allow as much light as possible to enter the lens. If you're shooting an action shot, you can select "S" (Shutter Priority) which sets the camera to 1/125 second to help freeze the action. It's always a good idea to learn your camera and what it can do for you! Study the scene modes the camera offers to get your best shots. You'll also find that many cameras today further simplify it by having a dial you just turn for distinct scene modes like low-light, landscape shooting, sports/fast shooting, etc.
4. Flash and a Flash Diffuser.
If you find that you can't adjust your flash sufficiently to avoid over-exposure or the "Casper" effect, you can just add a diffuser to spread the light out. Point-and-shoot cameras might have to can tape a paper around or over the flash to soften its output. D-SLR users can invest in a diffuser or hood for the flash. Using a flash can be one of the trickiest aspects of shooting in lower light, and it's worth the time to do some online tutorials.
5. White Balance.
Often, your camera will automatically detect the lighting conditions and adjust the color in photos. But sometimes when the White Balance isn't accurate, you can get results poor results. You can set the white balance yourself. If you have a point and shoot camera, you'll have to do this but going into your camera's shooting menu. With most D-SLRs, there is White Balance button ("WB"). You can also adjust the color afterward using a photo editor. It can be the easiest and fastest.
6. Use a Tripod.
Taking the time to use a tripod or monopod has significant advantages. It's worth investing in even a cheap one. It's the best way to stabilize a picture.
7. Edit. Edit. And, Edit!
There are plenty of photo editing programs available, many of them free or they come with your computer or laptop. USE it! Even hobby photographers without a lot of experience will find them easy to use, and the difference they can make in your photos is huge. Taking the time to edit your pictures before you dump them onto social media will have you looking a lot better! You can correct the color and adjust the exposure, crop, remove red-eye, and do some other basic edits. Even if you weren't able to properly compose the shot when you took it, using a photo editor like Lightroom or Photoshop, can help you crop the picture to create the right composition. Trust us! It's worth using a Lightroom photo editor with Lightroom Presets or Photoshop with Photoshop Actions.
The best advice for shooting better pictures is to shoot more pictures! Practice shooting, composing and editing. Experience buys you a lot when it comes to photography!
We would absolutely love for you to follow us on FACEBOOK and be a part of our community. Don't forget to Share your photos with us using hashtag #BeArtPresets


