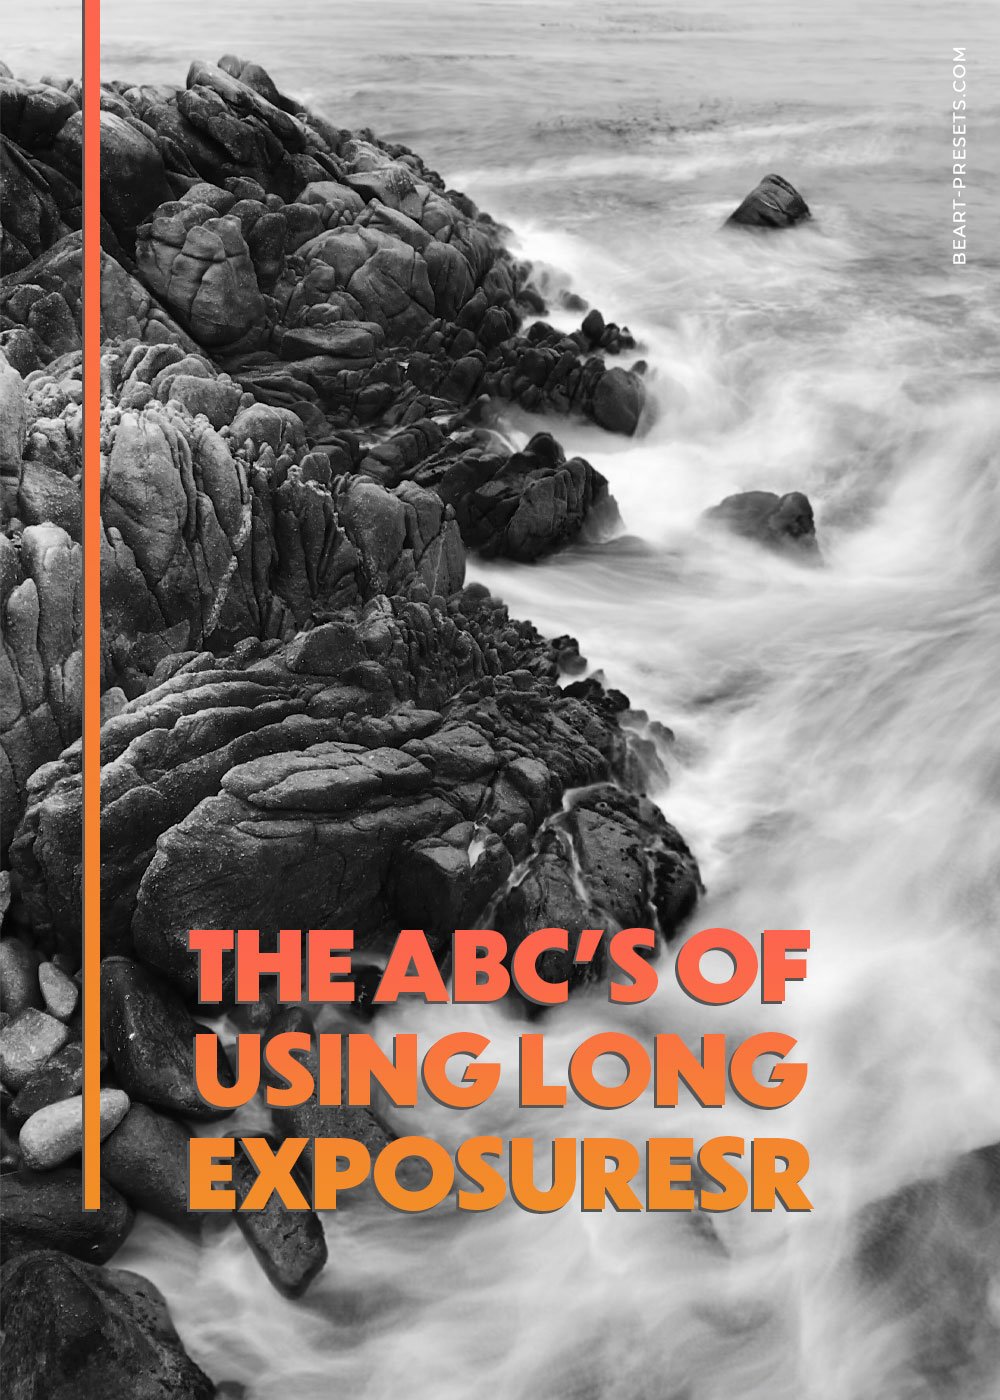
The ABC's of Using Long Exposures
Have you worked with long exposures? If you're a relatively new photographer, your answer might be no - and that's ok.
However, learning to use long exposures could be handy. And that's where this post can help!
Definition of Long Exposure
A long exposure is a timed exposure where the shutter is open for what's considered a long duration at a speed of several seconds.
Its raison d'etre or goal is to capture and minimize static objects' movement within the frame while blurring the elements in motion. That's a mouthful - so what does it mean for you as a photographer?
Long exposure photography is a nifty trick to know if you shoot want to capture some motion while retaining some objects' stillness. A good example would be a line of moving cars at night, and you want to capture the lights as streaks to depict movement.
Another example would be photographing ocean waves as they crash onto rocks or the sand. A long exposure can capture the waves' motion in an ethereal, hazy appearance while keeping the rocks looking sharp. So how do you achieve that?
Gear Needed for Long Exposures
Before you can create any images that use long exposures, you're going to need the right gear. Here's what you'll need:
Your camera needs to be still when working with an open shutter. This means a good tripod.
A cable release or wireless remote is essential if your exposure time is more than 30 seconds.
We suggest using the Lee Big and Little Stopper Neutral Density (ND) Filters. Neutral density (ND) filters minimize the amount of light entering your camera. Filters will vary in strength and can create various effects. For example, a 10-stop filter will block out more light than a 3-stop or 6-stop filter and give you longer exposures.
A filter holder is another essential item because it will hold filters in place. The filters are used to slow the exposure time down.
Camera Set-Up
Your camera will need to be stabilized using a tripod to set up a shot. Then attach your cable release and secure your filter holder. Manually focus the camera before putting the filter in place, then attach your filter.
How to Create Long Exposures
Now that your camera is set up, you're ready to start creating! Here's how:
Bulb mode: Set your camera to shoot on bulb mode. It will keep the shutter button open longer. Keep in mind that it will stay open as long as you hold it open.
Set your aperture and ISO: We suggest using a small aperture over f/8 to f/22. Note that the larger the f/number, the longer the exposure you can achieve, and a low ISO of 100.
Exposure times: Your exposure time will vary according to the strength of the ND filter you use. With an initial exposure time of ½ second using a 6-stop filter, you will need to shoot for 30 seconds or 8 minutes using a 10-stop filter, for example. Once you've set an exposure time, press the self-remote timer and lock the shutter open. (If you're using the camera's self-timer, press the shutter button gently on the camera.) To close the shutter, unlock the cable release (or if you are using the self-timer, the image will finish by itself).
Tips: It's a good idea to use your mirror lock-up if you're using a DSLR, so the mirror going up and down during exposure doesn't cause a camera shake. Another tip is to cover the back of the viewfinder to prevent light from entering the camera and potentially ruining your pictures during the exposure.
Conclusion
Like most things in photography, long exposure might take some practice, and you'll have to play around with exposure lengths and filters to achieve the effect you want.
Using the right items will also greatly influence outcomes, so be sure to pick up the things we mentioned earlier in this post.
Ultimately, shooting long exposures can be well worth the effort because you will create stunning images!


