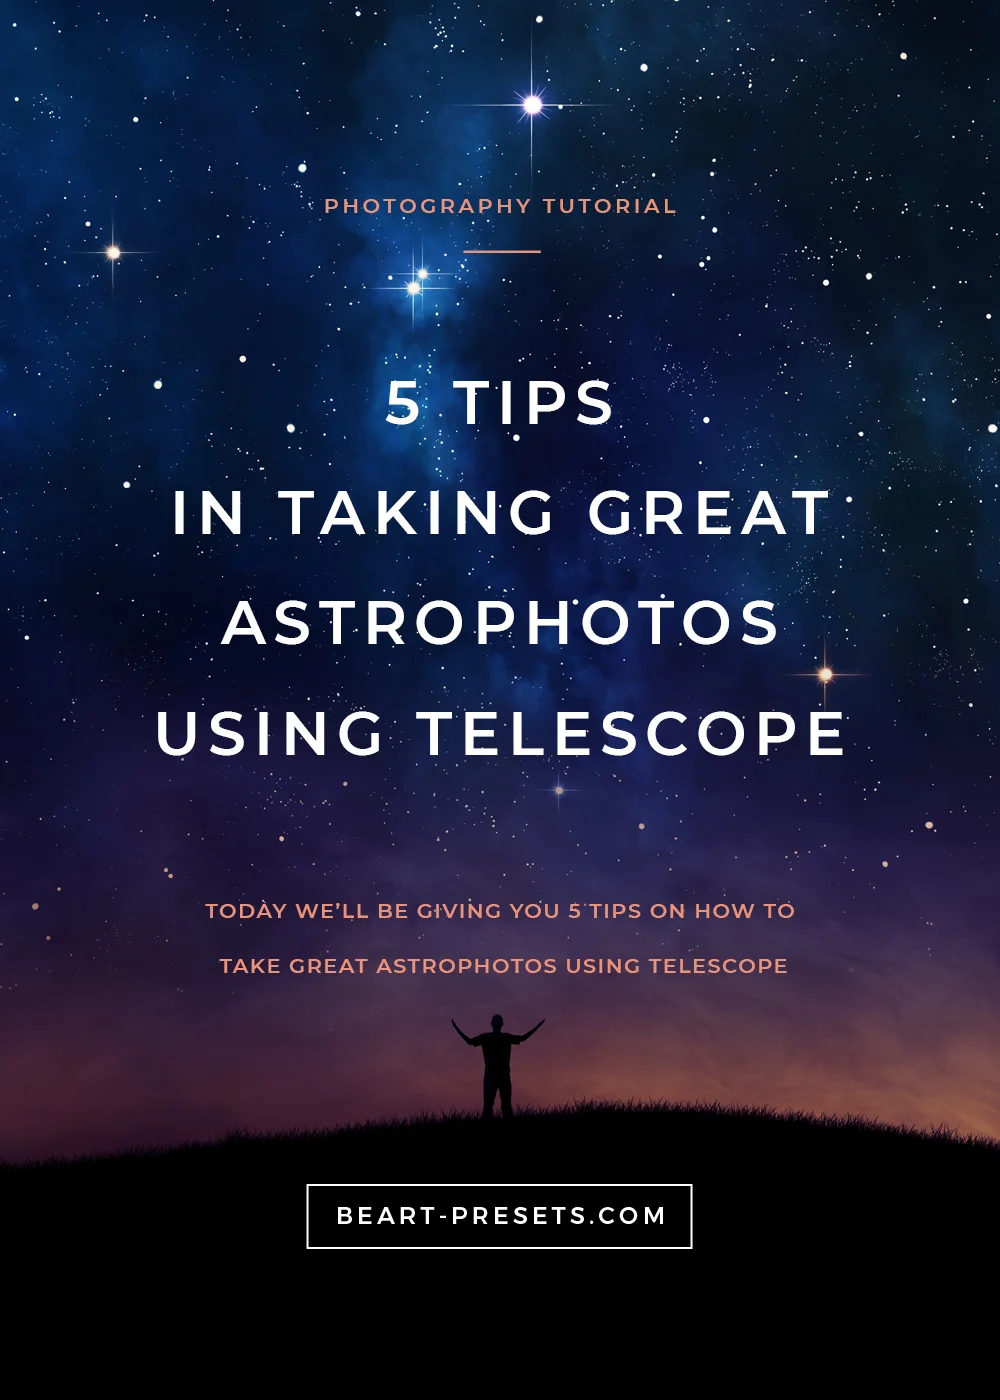
5 Tips In Taking Great Astrophotos Using Telescope
Have you ever used a telescope and seen such a spectacular view that you immediately felt compelled to share the moment with others? Ever wished there was a way you could capture those beautiful images that you see when peering through the eyepiece?
Well, you can and there is! Ever since amateur astronomy became popular, other people had the very same idea and created astrophotography – a hobby wherein a camera is connected to a telescope in order to take pictures of space.
However, taking amazing, high-quality pictures of the dark expanse of space isn’t a walk in the park and definitely not the same as snapping a selfie on the side of the road. Taking a great Instagram-worthy photo of planets and other celestial bodies will take some careful planning and preparation.
The first step is to select the best astrophotography telescope and today we’ll be giving you 5 tips on how to take great astrophotos using it!
1. Use the Right Telescope

There are three types of telescopes – Refractors, Reflectors, and Catadioptrics (more commonly known as Compound telescopes). Each of these telescope types is useful for different things.
Reflectors are cheaper and good for deep-space observation but aren’t that useful for spotting close-up detail on planet surfaces. Small refractors are moderately priced, but larger models become much more expensive than Reflector telescopes of the same size. Catadioptrics use combined technology from both Refractors and Reflectors.
Now, there is a specific type of Catadioptric telescope called a Schmidt-Cassegrain – this is the best type of telescope to use for astrophotography. All professional astronomers know this.
Schmidt-Cassegrain telescopes are the best to use because of their focal lengths. The longer the focal length of a telescope, the easier it is to capture well-focused views of objects in space. And Schmidt-Cassegrains have the longest focal lengths of all the telescope types.
The least ideal type of telescope to use for astrophotography are Reflectors due to their very short focal lengths and open design which leads to an internal build-up of dust and dirt.
As mentioned earlier, Catadioptric telescopes like Schmidt-Cassegrains use combined technology from Refractor and Reflector telescopes. Reflectors use two mirrors to operate and Refractors use two lenses, but Schmidt-Cassegrains use both lenses and mirrors to get the job done.
This results in a cleaner, crisper view that will become apparent once you hook up your camera and start taking photos. So, if you want to take good pictures with a camera and telescope, invest in a Cassegrain.
2. Use the Right Accessories

Besides having a good camera and telescope, there are also many accessories available in order to use in customizing your stargazing experience. Finding the perfect combination of accessories is what will allow your picture to come out looking perfect. It’s easy to get lost in this sea of add-on gadgets, so stay focused and keep your eyes on the goal to ensure that you purchase and use only what you need.
The most important accessories that you’ll need are a good T-ring and T-adapter. Make sure that these parts are compatible with your DSLR camera and telescope. If your telescope uses a lens or mirror, they should be at least 4mm in size to take quality photos. If you want to upgrade, larger lenses/mirrors will cost more.
Keeping your eye pressed against the eyepiece for long periods of time (as is usually the case with astrophotography) can also become quite uncomfortable before long, so make sure that you invest in a good eyepiece.
3. Watch Out for The Sun

While the sun may seem like an attractive target for astrophotography, it isn’t. Unless you’re a trained, professional photographer and you know exactly what you’re doing, never try to look directly at the sun through a telescope, binoculars or any other type of magnification equipment.
Even though the sun is quite far away from the Earth, the ultraviolet rays, x-rays, and gamma rays that are constantly being emitted can permanently damage your eyes. Not only that, the extreme heat can crack your lenses.
Some camera stores sell a special type of dark glass that can be placed over the front of the telescope which will supposedly allow you to look into the sun. If you get one of these when buying a scope, throw it away! Never use any sort of supposed filter and never take photos of the Sun, it’s as simple as that.
4. Get the Best Mount and Tripod

The larger the mount, the better! As you'll no doubt find yourself traveling through different types of terrain, some harsh; in order to get the perfect setup for your telescope, you’ll need a high-quality and strong mount that’s adjustable to uneven terrain and can withstand heavy wind and rain. The same thing goes for the tripod.
Lightweight, aluminum tripods will very quickly become damaged when working under bad weather conditions and possibly cause you to lose that one good shot you were trying to get. Invest in a full-size tripod with stainless steel legs to make sure you’re never interrupted as you take pictures.
The mount and tripod aren’t usually given much attention by amateur astrophotographers, but it’s a very important component for consistently snapping good photos.
5. How to Photograph Distant Objects
For taking shots of distant objects, there are several good techniques to use. The best one is called the Prime Focus Method. This method involves removing the lenses/mirrors and the eyepiece from the telescope and attaching the DSLR camera using a T-ring and T-adapter. This effectively transforms the telescope into a giant camera lens. It’s a really good technique to use in taking photos of objects that give off a minimal amount of light.
The Prime Focus Method is also great for photographing wide-field objects such as galaxies and nebulae. Just make sure that the T-ring and T-adapter that you use are compatible with the camera.
Another good tip to use in any situation is to make sure the flash is turned off and the ISO is set to at least 400. To get sharper and more defined pictures, use a longer exposure for faint objects and a shorter exposure for bright ones.