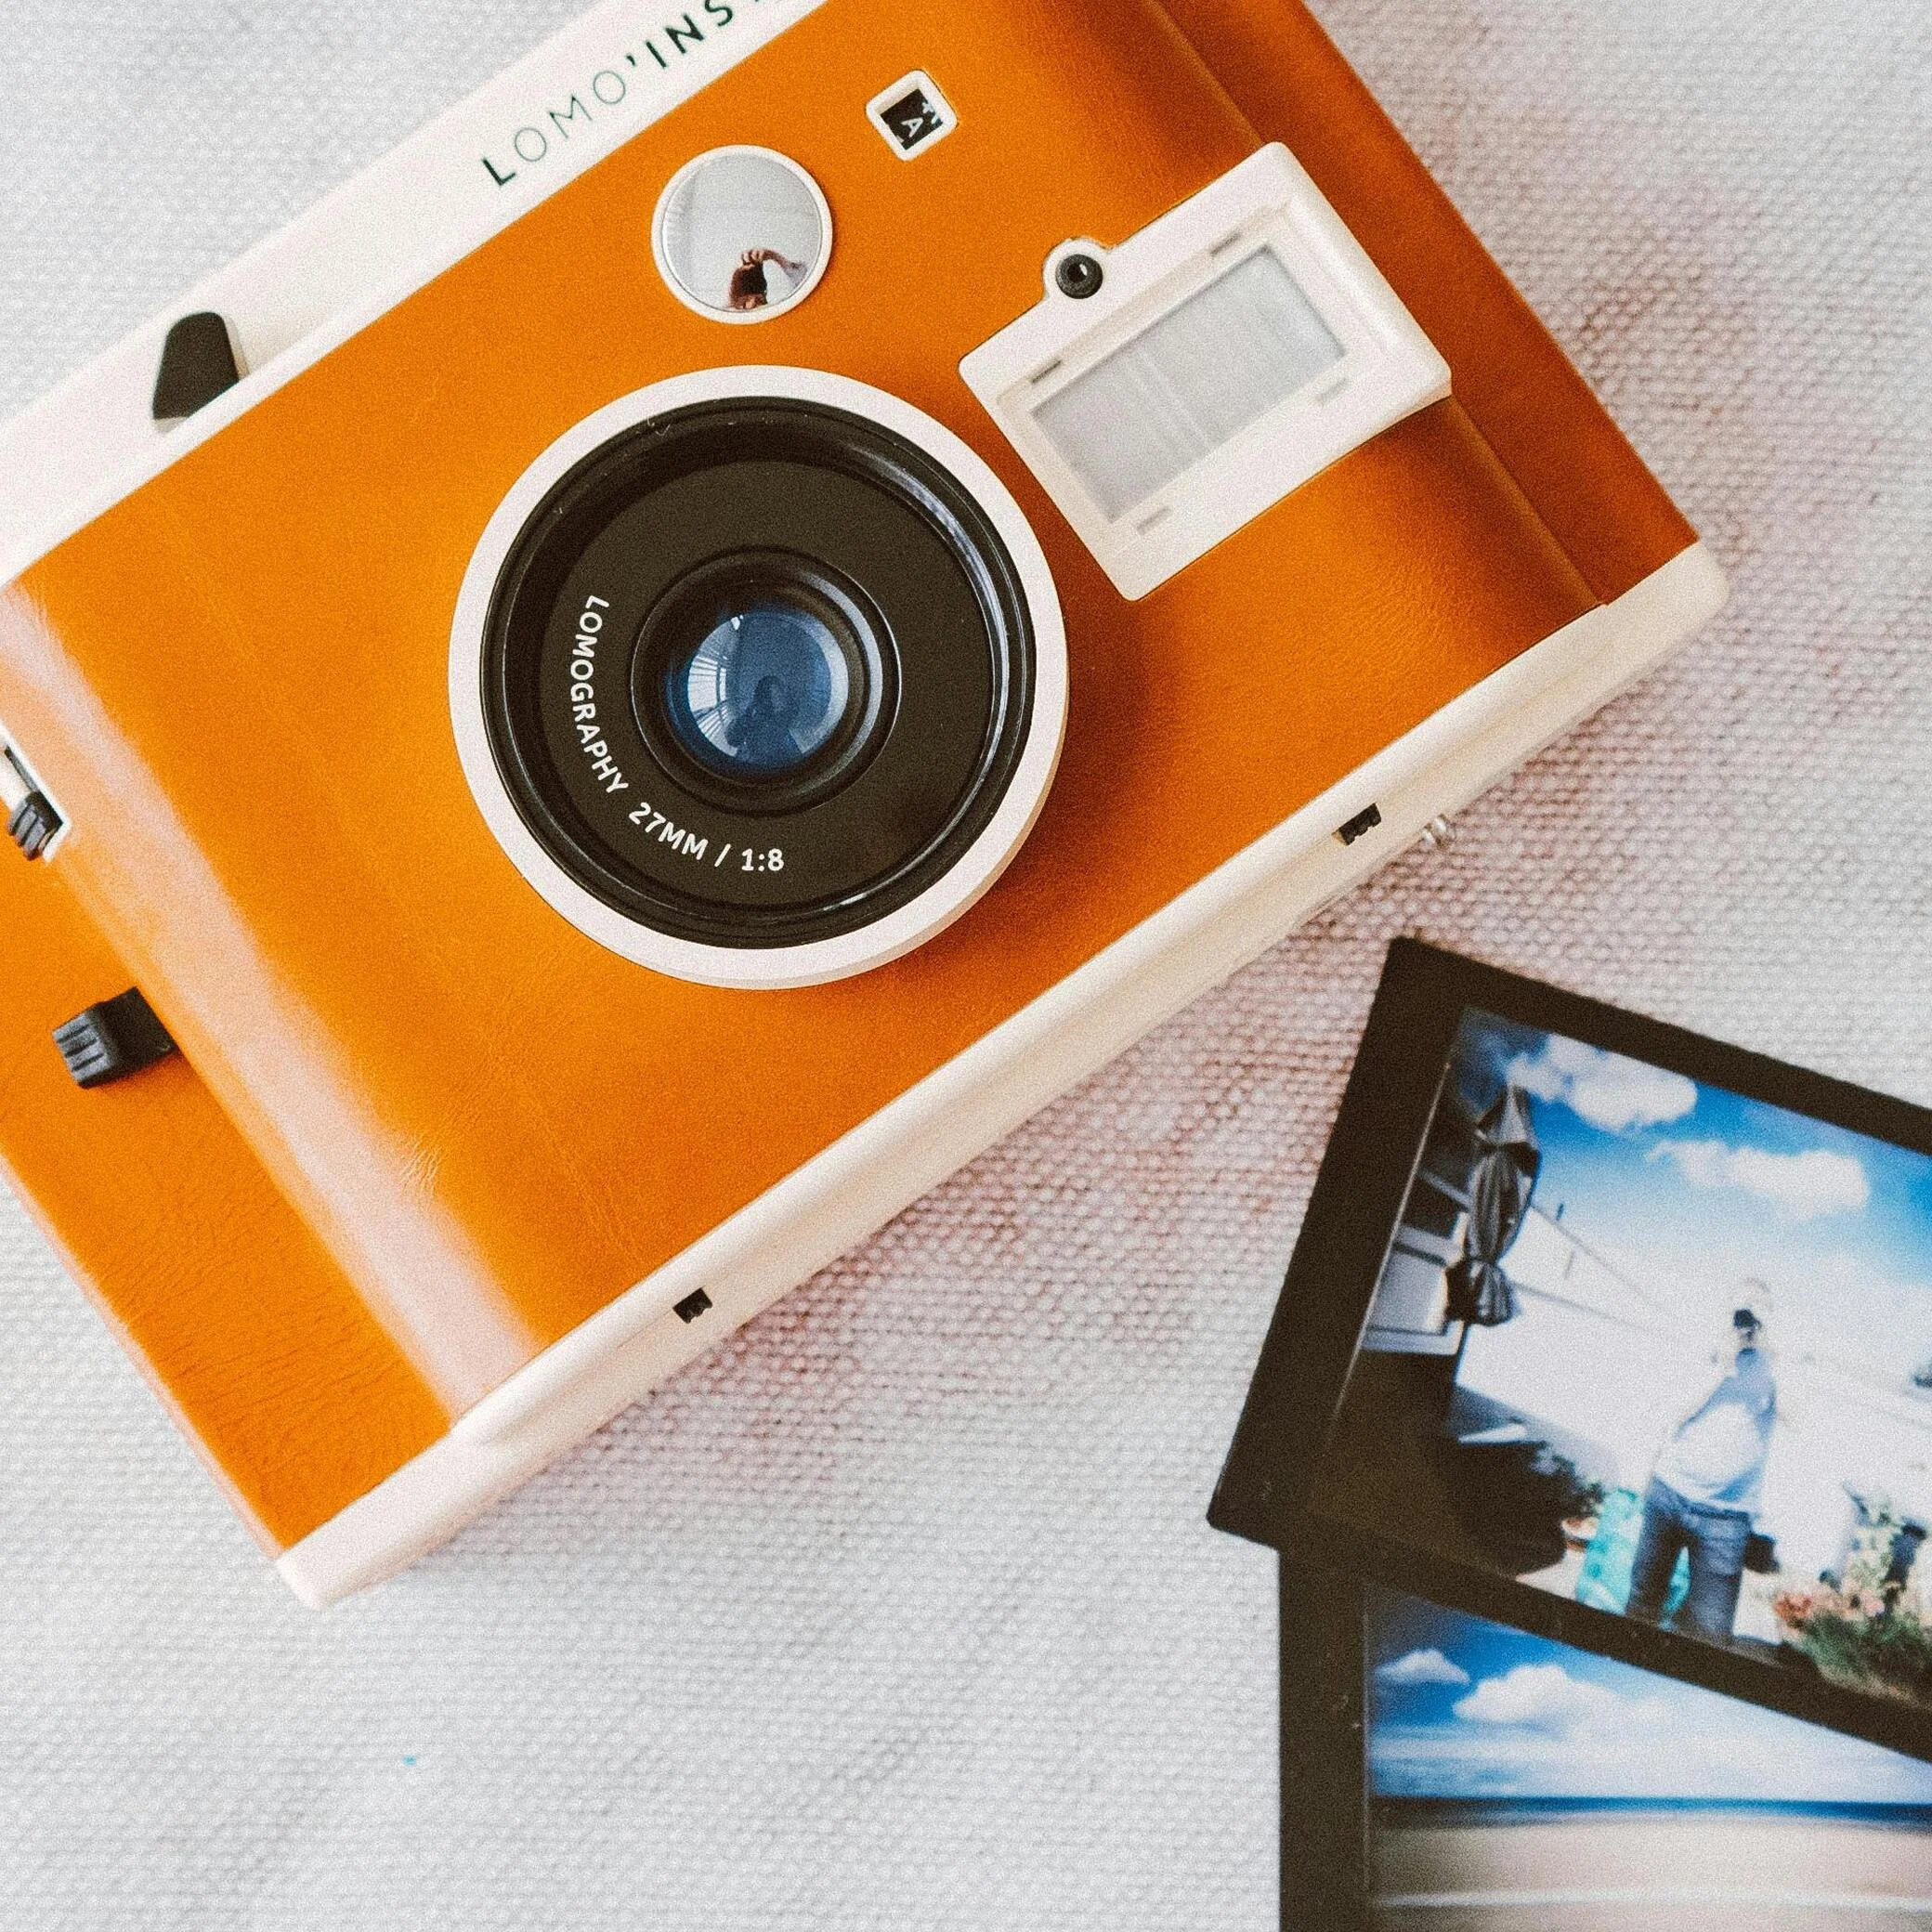
Nine Steps to Retouch Jewelry Photos
Jewelry retouching is essential for you to connect with highly visual consumers. But, despite the countless advancements in camera equipment, a lack of basic expertise in commercial jewelry photography could easily destroy your marketing strategy.

If you want your online retail business to succeed, you must prioritize the quality of your product photography. As customers can't pick up and touch your products, e-commerce photography is your greatest bet for presenting them in the best light and persuading purchasers that they're worth the money.
Here we have assembled nine steps that you must follow to create that perfectly retouched jewelry photo.
Step 1: Adjust the Brightness & Contrast
To achieve adequate exposure throughout an image, a proper balance of brightness and contrast must be maintained. They allow photo editors to considerably increase an image's quality. They also give every image a professional appearance, making it suitable for use in a variety of media.
This is the most fundamental of changes, but also one of the most important because it sets the stage for subsequent edits.
You'll want to reduce the brightness if your shot is overexposed. You'll want to boost the brightness if it's underexposed. Most images may benefit from a boost in contrast. When retouching jewelry photos, how much you use depends on the photo and your particular preferences; just don't go overboard.

Step 2: Use the Correct White Balance
White balance is a camera setting that controls how colors are captured in various lighting conditions. When you set your white balance correctly, you're accounting for the "color temperature" of the lights in your scene.
In digital photography, understanding how white balance works is crucial since setting it improperly may spoil a shot by adding all kinds of undesirable color casts and making skin tones look unnatural.
You can appropriately display colors for photographs shot in a variety of lighting circumstances by establishing the optimal white balance on your camera or altering it later in post-processing.
White Balance adjustment is very basic but important when retouching jewelry photos.
Step 3: Create Shadows for Jewelry
You can create a sense of space, context, and realism in your product image by using shadows. And that added realism can have a significant impact on how successfully your product photos drive sales for your company.
The presence of a shadow gives the jewelry a grounded and genuine appearance. Everything, after all, has a shadow. The image would seem more realistic if the jewelry was given a shadow.
Here are some things to keep in mind when adding natural shadow to your jewelry images:
Start with a layer containing your jewelry image with a white-fill backdrop. Mask out the jewelry from the background and pick the white area around your image. Also, smoothen the edges to ensure a smooth transition.
Pick a small area at the bottom of your jewelry. Make a soft, curved layer by carefully refine the edge of your selection. Now darken that adjustment to make a dark oval under the bottom.
Refine the area close to the right of your piece to be very soft. Create a curved layer and darken it to match the size of your little shadow.
Finally, use a brush to remove areas of your modification to create a seamless transition from dark to black. Then, modify the opaqueness to make it look more genuine.
This blog gives more tips on jewelry editing

Step 4: Use Masking
When you mask a portion of an image, it protects that area from modifications made to the rest of the image. When it comes to image editing, masks allow you to keep areas of an image that you like while changing characteristics of the remainder of the image, such as overall contrast or tone mapping.
You could, for example, employ a mask to highlight your jewelry while leaving the background alone. Hence, masking adjustments allow you to fine-tune how and where photo editing changes are made.
Step 5: Spot Healing/Healing Brush
Spot healing is a technique for removing image flaws such as dust, debris, or even your camera's reflection in a piece of jewelry.
To heal an image, choose a brush size and drag it over the areas you wish to correct. The editing tool examines the pixels in the surrounding region and replaces the clicked area with those pixels.
Remember that while using the spot healing brush, the area you brush on should be somewhat larger than the thing you're trying to heal.

Step 6: Repaint the shine
There is a chance that after a photoshoot, the shine of jewelry may be less evident due to a number of reasons. Repainting a new coat of shine is one approach to restore the jewelry. You can remove the unwanted portions of the shine, such as the dull hues of the jewelry, when you repaint it.
To create a jewelry shine or sparkle effect in photoshop, start by making a copy of the Background Layer. Apply a Lens Flare Filter to the layer on the bottom. In the filter, select the spot you want to enhance and then increase the brightness. Finally, to make the shine look realistic, set the top layers blend mode to soft light.
Step 7: Adjust Hue and Saturation to change colors
Hue is the aspect of color that distinguishes it as 'Red' or 'Green,' or any other combination. Hue can be used to alter the colorization of your image when editing to alter its appearance and feel.
The term "saturation" refers to how pure or strong a color is. When the saturation of a color is increased, it seems more bright and distinct. When the saturation of color drops, it begins to turn grey. In photo editing, saturation is crucial for determining how to colorize or decolorize your image. It enhances or detracts from the liveliness of a scene.
The resulting combination of colors and other color properties, such as saturation, is referred to as the color's chromaticity.
Hue and saturation work together to enhance or change the appearance of colors in a photograph. You may make it look more realistic or completely change it to communicate the message you want.
When retouching jewelry photos, hue and saturation tools are used to change the color of metals.

Step 8: Crop Your Jewelry Images
When editing images, cropping is a simple but vital step to consider. Cropping can dramatically improve the composition and aesthetic impact of a digital shot if done correctly.
Here is how cropping can enhance your jewelry photos:
Brings the subject into more focus
Adds a great deal of visual interest in the overall composition
Removes distracting elements
Change the orientation of the image
Alter the aspect ratio
Step 9: Add a Filter to Your Jewelry Photos
Using a filter is a wonderful way to make your photographs look more unified and recognized on social media.
Examine the final images in a group once you've finished editing all of your shots. This way, you can ensure that all of the photographs are consistent and not different from the others. Adding a filter is one of the best approaches to identify and remedy any flaws.