Seven Handy Photoshop Shortcuts
Oh, the things you can do in Photoshop! Even when we (or you) think we know all there is, we hear of or learn a new feature, shortcut, or trick. That is the beauty of Photoshop! So, we thought we’d share a few tips which you may or may not know. If you know of others, do feel free to share them with us. Who knows? We might write up your suggestions and give you credit for the tip!
1. From Large to Flat:
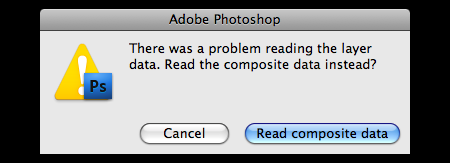
If you'd like to quickly and easily flatten an image to avoid dealing/seeing all the layers, this one is for you. Press shift option on a Mac or shift alt on a PC while opening a .psb or .psd file. Photoshop then asks if you want to see the composite data instead which means a flat image. This is particularly ideal if you were going to be flattening large files anyway. This feature can save a lot of time.
2. Layers:
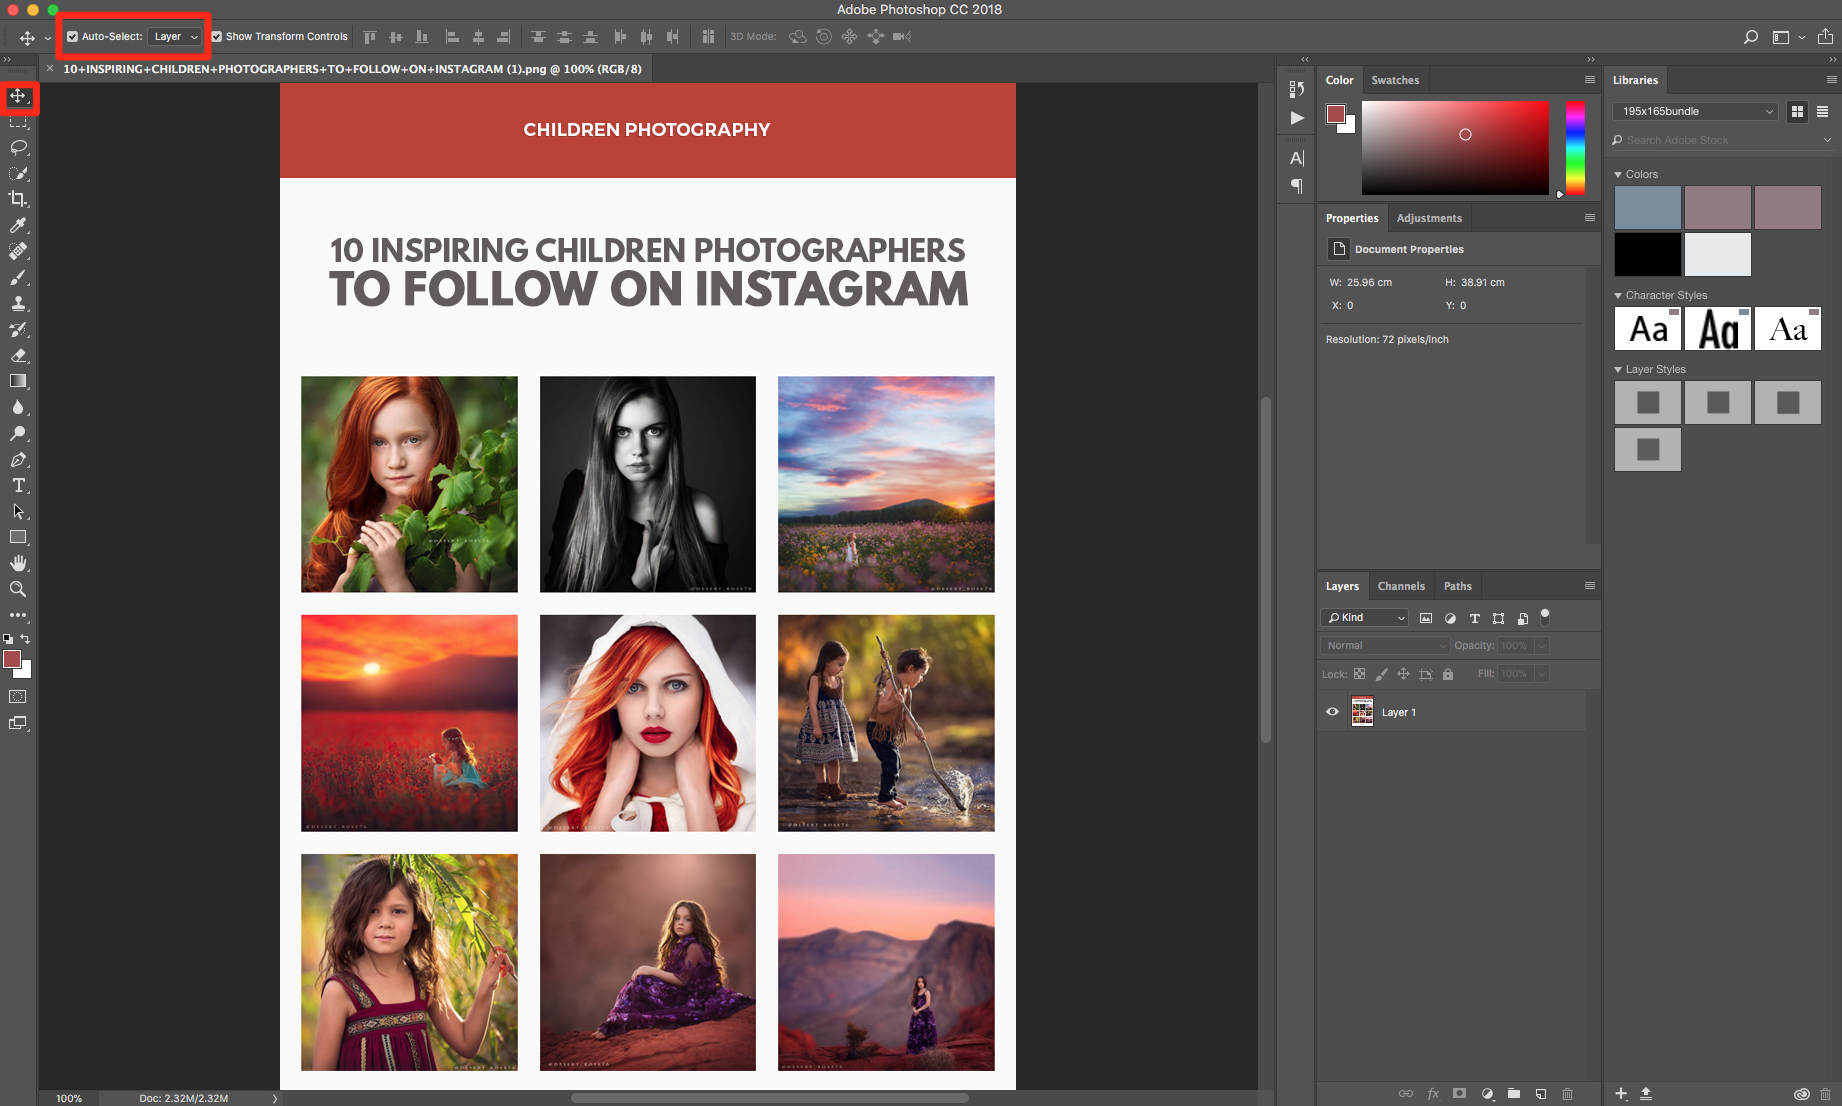
Auto Select Layers: The auto select layer function in Photoshop lets you move between layers depending on where you click on the screen and can save you a lot of time. To use this function, select the move tool and click on the stacked layer icon on your screen (upper left).
3. Grouping Layers:
Grouping layers are the best way to keep them organized. At the bottom of your layers panel, you’ll find “Create New Group”. Click on control on a PC or command on a Mac and the “G” key to create groups of layers you select and put them into a new folder.
4. Blend-If Tool:
If you’d like to blend layers, this handy tool is it. Double click on a layer to open sliders you to blend the layers easily.
5. Fast-Tracking Blend Modes:
Did you know there is a way to view all of the available blend modes on an image quickly and easily? It’s a great way to see what a layer will look like in just seconds! Just hold shift and press plus (+) or minus (-) to click through and see the differences.
6. Additional Windows:
When you need multiple windows of the same image on your screen simultaneously, here's how you can do that. Click on "Window," then "Arrange". Click the option for a new window for that same file. Having multiple pages can be an enormous help to your workflow, especially when doing things such as retouching. You can flip back and forth between windows of the same images. Again, another terrific time-saver.
7. Using New Guides:
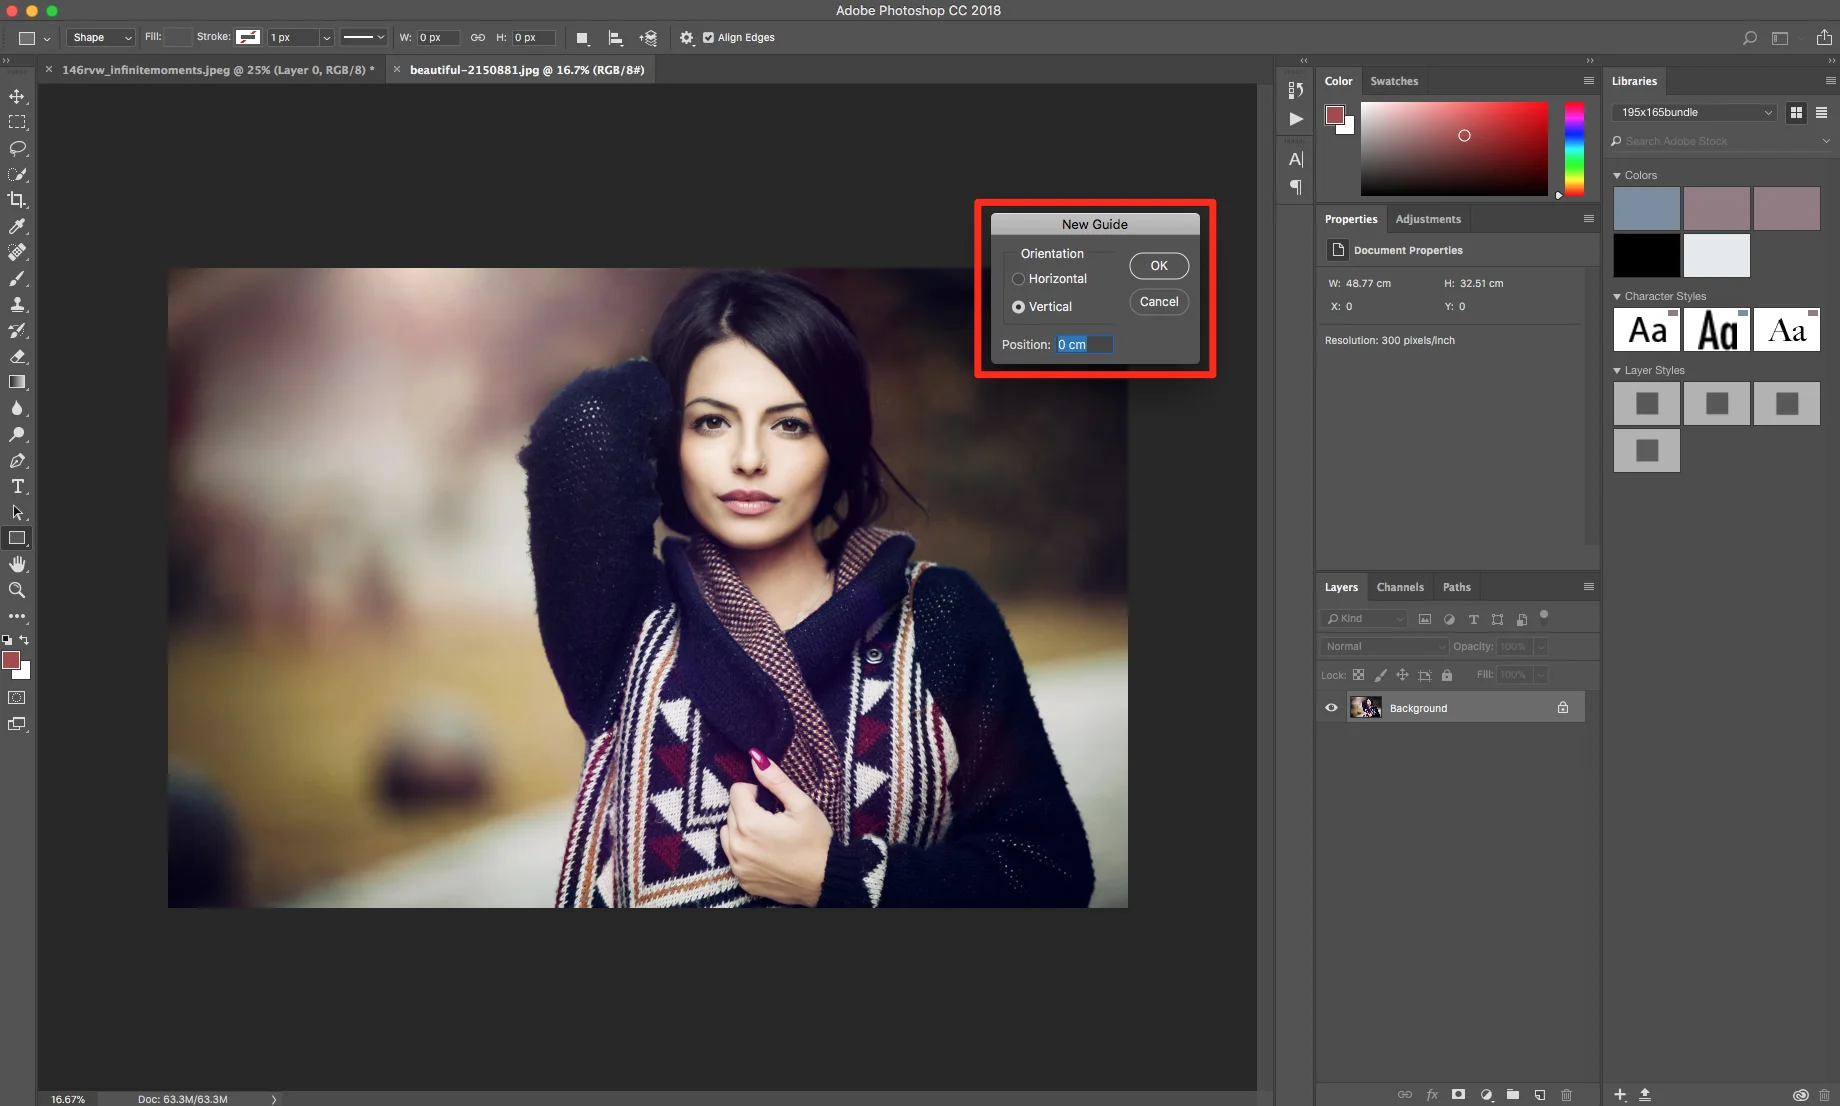
Sometimes you need to know where some aspects of an image will fall - like when you're creating a book. For example, if you need to divide a file into four equal parts, a guide is the easiest way. Click on "View" then on "New Guide," and you'll see the new guide menu.
Hopefully, you will find some of these useful to your workflow. As we all know, saving time while improving on our work is key to a successful business or hobby. Again, if you'd like to share some of your tips, let us know! We'd love to hear from you.


