11 Fundamental Principles of Good Mobile Photography
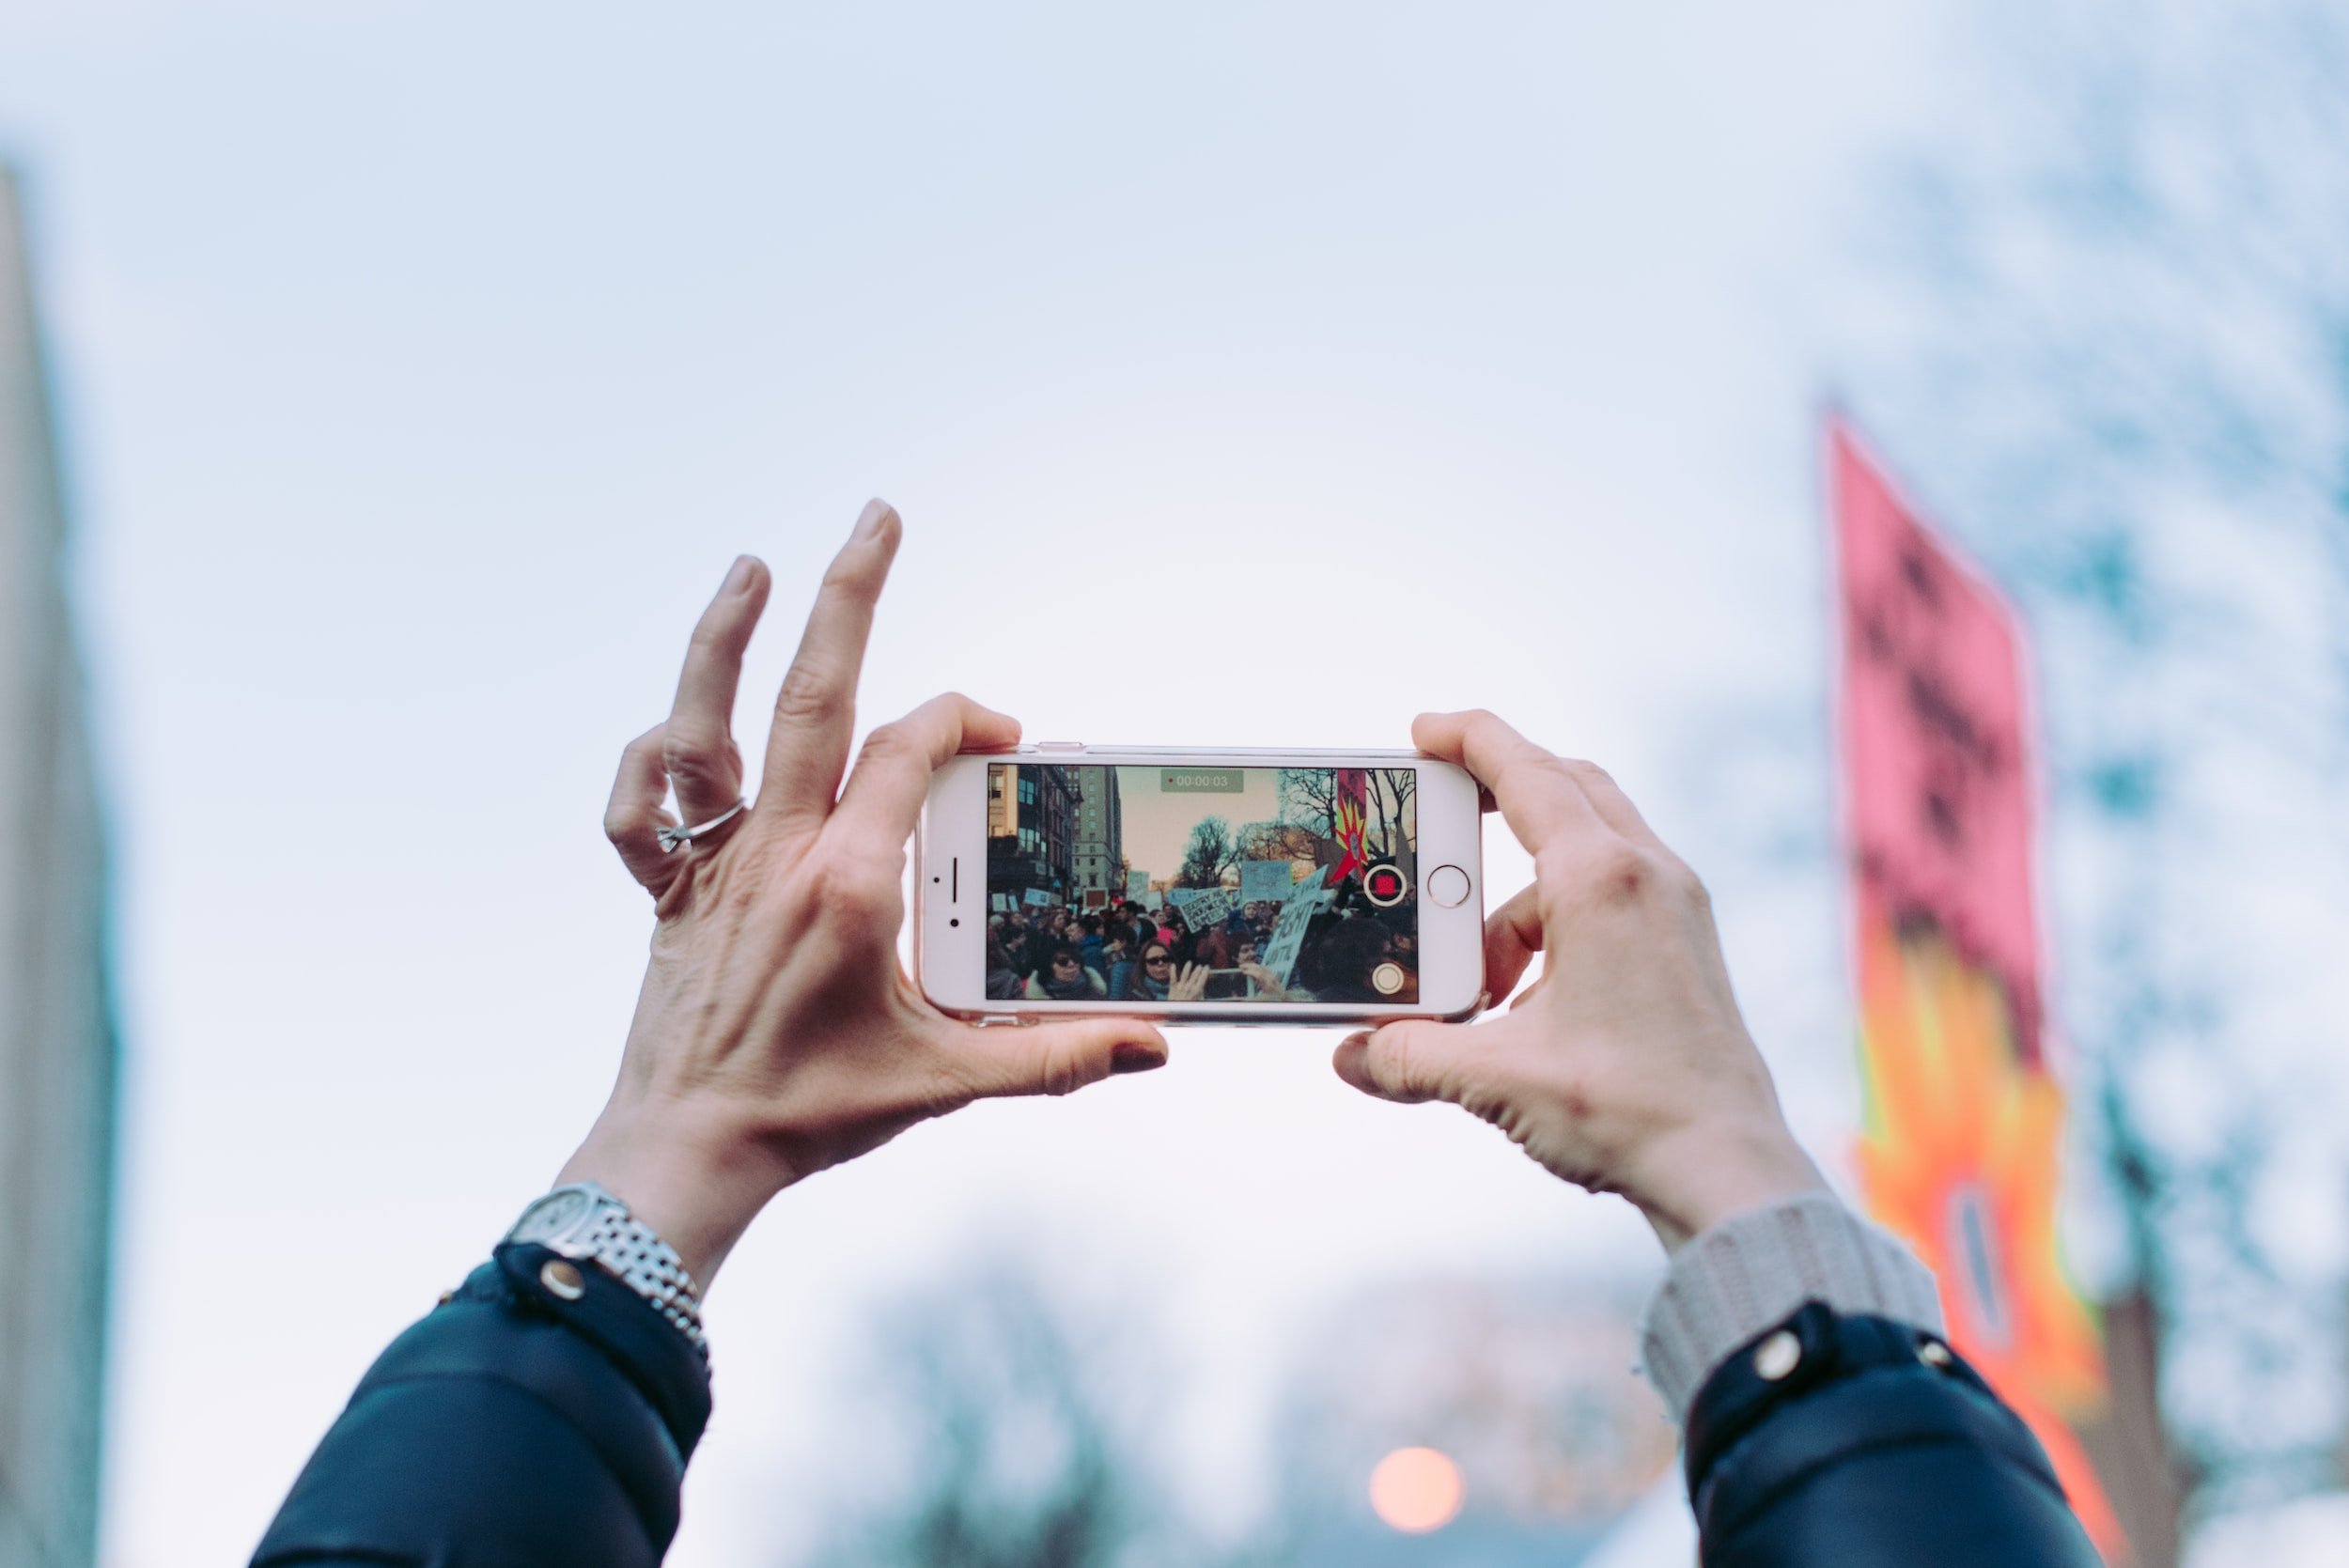
The photographer is not always the one holding an SLR camera. You may have a phone with a camera and take stunning photographs too!
It's been a while before professionals recognized the simplicity of capturing images on a smartphone – pictures can be edited right on the spot and immediately sent to their destination – by mail, using social services, photo hosting, or cloud storage.
Using the proper method, however, does not produce photos of worse quality than those produced by using equipment that is designed for professional use. As a result, smartphone photos have even appeared on the covers of expensive publications.
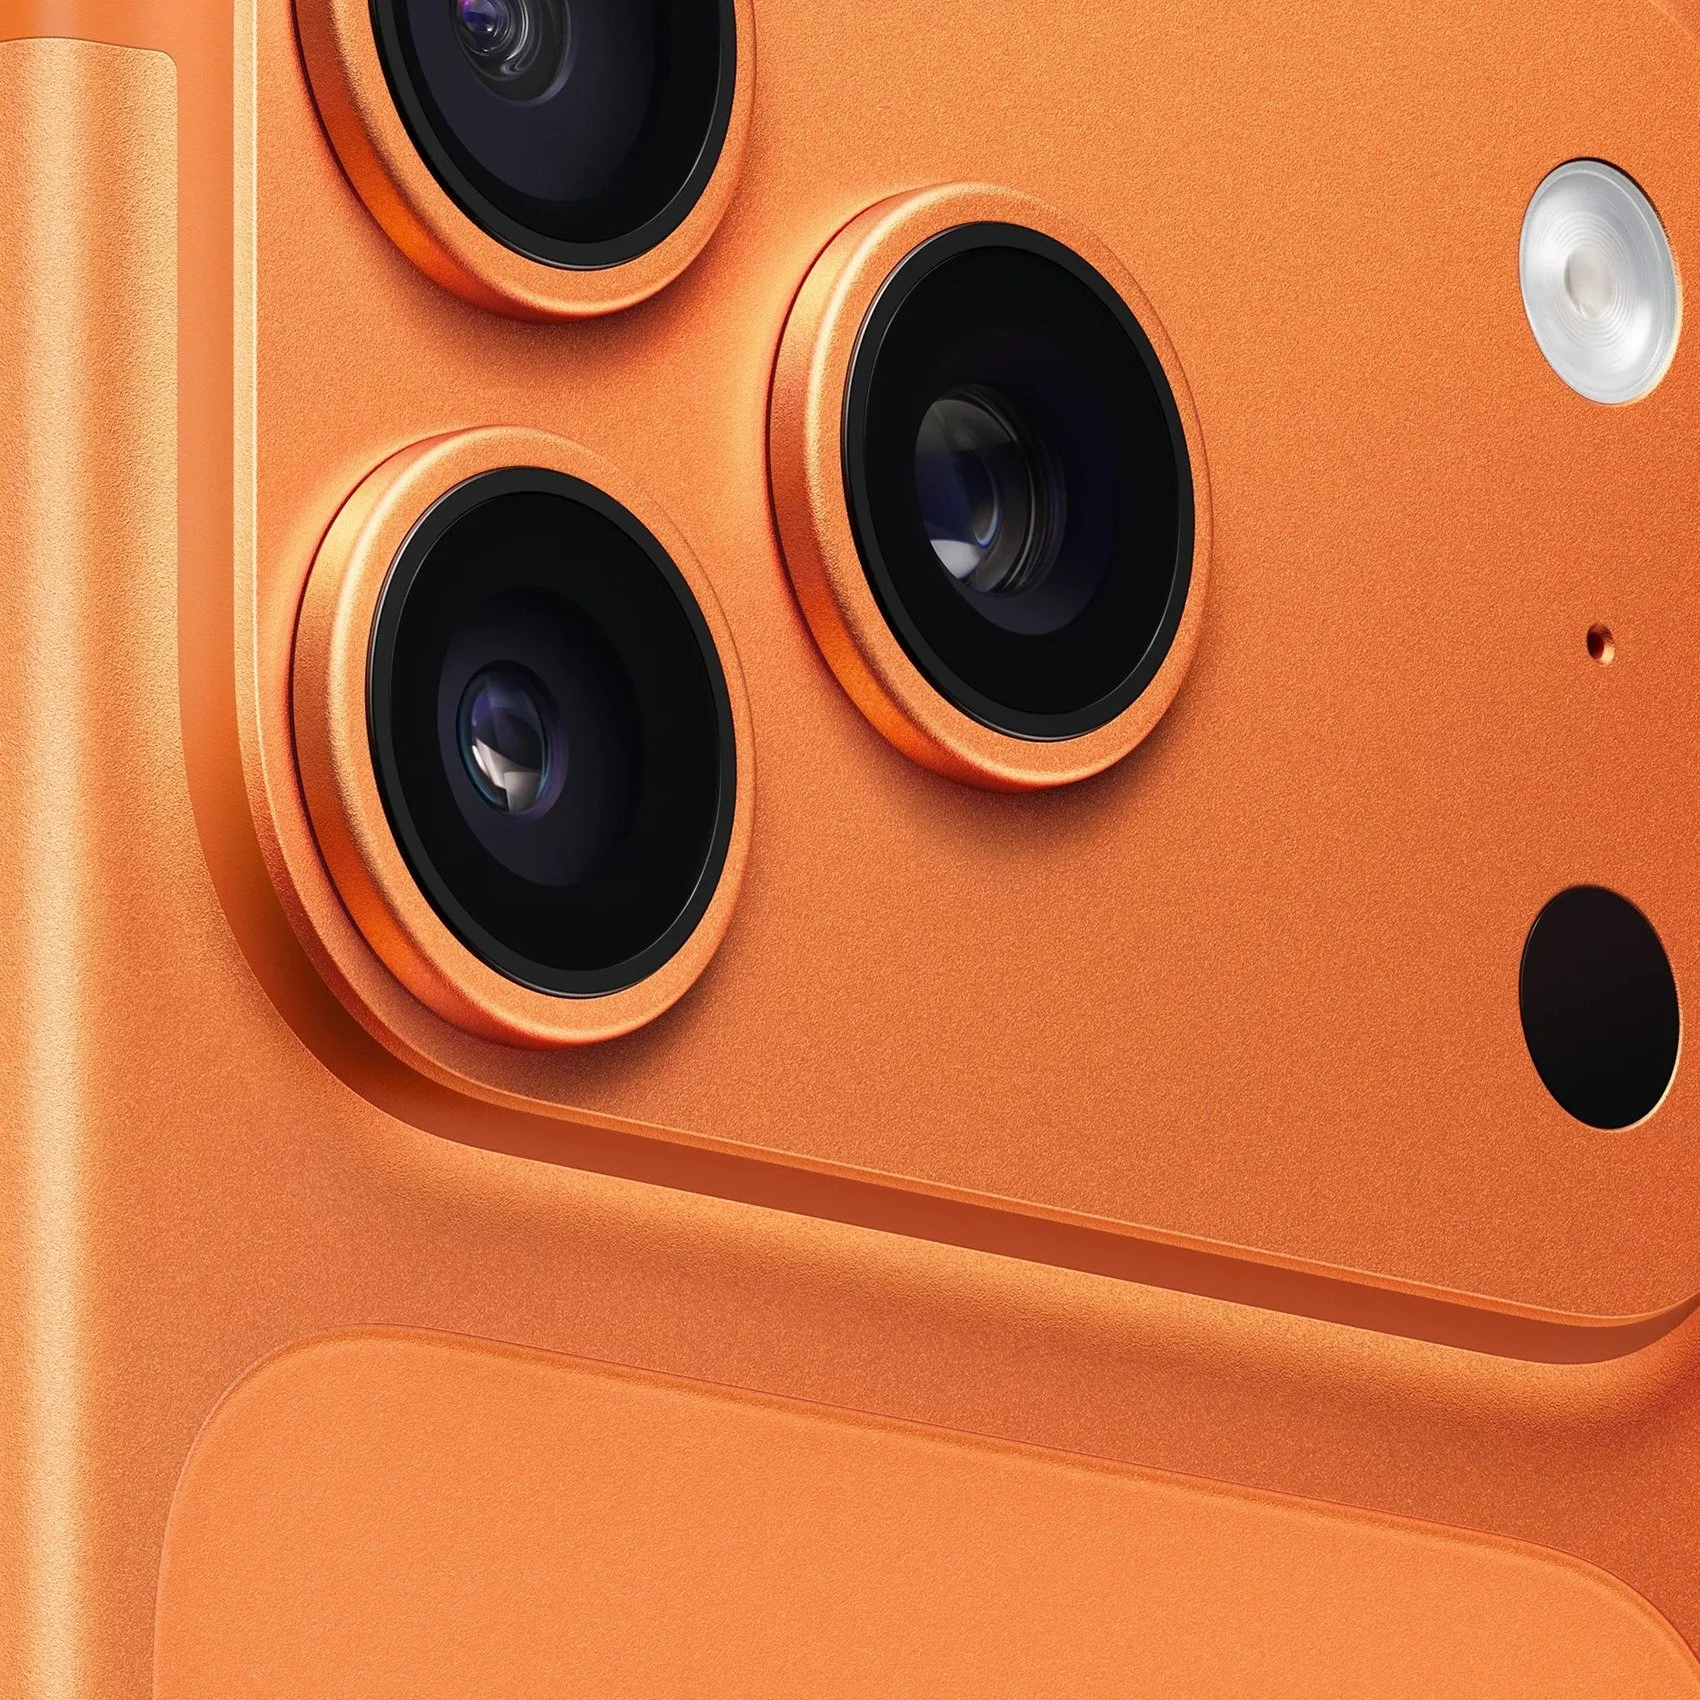
1. Clear your phone's camera!
While the cameras' capabilities do not allow for a macro view of the dirt gathered on the lenses, bacteria can cause blur and spots.
2. Set the highest quality settings
Set the camera to the highest picture resolution and the highest quality value. Select 16:9.
3. Turn off all effects
You may still use black and white, sepia, or inversion, but it's best if you apply them from a computer or the phone app after editing the photos. Stick to the natural color when taking pictures and add effects later.
4. Adjust the white balance
The human eye adapts to light, and white is regarded as white in all lighting conditions. However, an item lighted by regular incandescent lighting seems redder to the camera than it does to the eye.
5. Don't use Zoom
The usage of even the smallest zoom in current smartphones causes a significant decrease in photo quality. It develops noise and loses crispness. Move closer to an object to snap a better image of it.
Don't overlook the three universal foundations of photography: composition, subject, and focus.
6. Focus
All smartphones have the capacity to autofocus, but you may define the point manually to show your gadget who's boss, and some devices offer full manual focus.
Avoid photographs in front of a mirror and selfies with outstretched arms. Mirrors are frequently used to “cheat” the focusing system. You'd better get someone to snap you. Or you can use a timer, lean your phone against anything, and jump into the frame if you like to shoot your own photos.
7. Light
If you want your subject to be uniformly lighted, avoid photographing in low light. The phone's built-in camera sensor isn't particularly strong, and noise levels will be quite high at high ISO settings that let you take pictures inside without a flash. As a result, you obtain successful inside photographs if you have bright natural light.
If you are taking pictures indoors, be mindful of the sources of artificial light. Avoid fluorescent lights since their light casts a green tint on everything.
When photographing in low light, keep the camera steady. With built-in cameras, the exposure time rises significantly in low light, and any movement will cause the shot to blur.
8. Implement the rule of thirds
When creating a frame, assume it is divided into equal halves by two horizontal and two vertical lines. The compositionally significant elements should lie on the junction points of the key lines or boundaries (for example, the horizon line passes at a distance of 1/3 from the upper or lower border).
9. Use a flashlight
Even though the built-in flashlight on your mobile is definitely not the best type of lightning, it's still better than nothing.
To avoid overexposure and underlighting, never use a mobile phone flash closer than 1.5 meters away from the subject of the photo.
10. Finally, snap a photo!
While pressing the button, hold your phone motionless. Hold the camera steady after snapping a picture until the picture is captured. You can get a smudge instead of a snapshot if you move your phone right away after hitting the button!
Use burst mode or take several photos. Don't rely just on one frame because it won't work every time.
To prevent distortion brought on by a mobile phone's wide-angle lens, take images while holding the camera at the subjects' eye level.
Do not take pictures of people from a distance of more than 6-7 meters and less than one meter.
Make sure the primary topic is in the best part of the image frame and does not get lost in the sea of supporting characters.
When shooting images while moving, turn off autofocus. When you push the photo button on your cell phone, the camera will start reacting much more quickly. From 1.5 meters on, everything in the picture will be crisp at the same moment.
11. Practice
Go practice and read some books about photography. Know what exposure, ISO, aperture, and shutter speed are and how they apply to optics. After all, not even the priciest DSLR can turn you into a pro, and vice versa, a true photographer may produce quality images with a smartphone.


