A Guide to Taking Black and White Street Photographs
There is no more classic than black and white street photography. Old street photographs enliven the nostalgic images of Andre Curtes, Henri Cartier-Bresson, Robert Duano, and many others.
Why black and white street photography?
Of course, in the past, when photography was just beginning to develop, it was extremely monochrome. Therefore, when we think about street photography (in the classical sense), it is black and white frames that come to mind. When color photography appeared, it was used for most amateur pictures and was not perceived as "serious art," in contrast to black and white.
Now is another time. Modern digital cameras deliver impressive image quality, and post-processing can work wonders. However, black and white photography still has a special charm. It attracts with its simplicity, minimalism, and the absence of distractions and disorders BW photo out of fashion - aesthetics out of time.
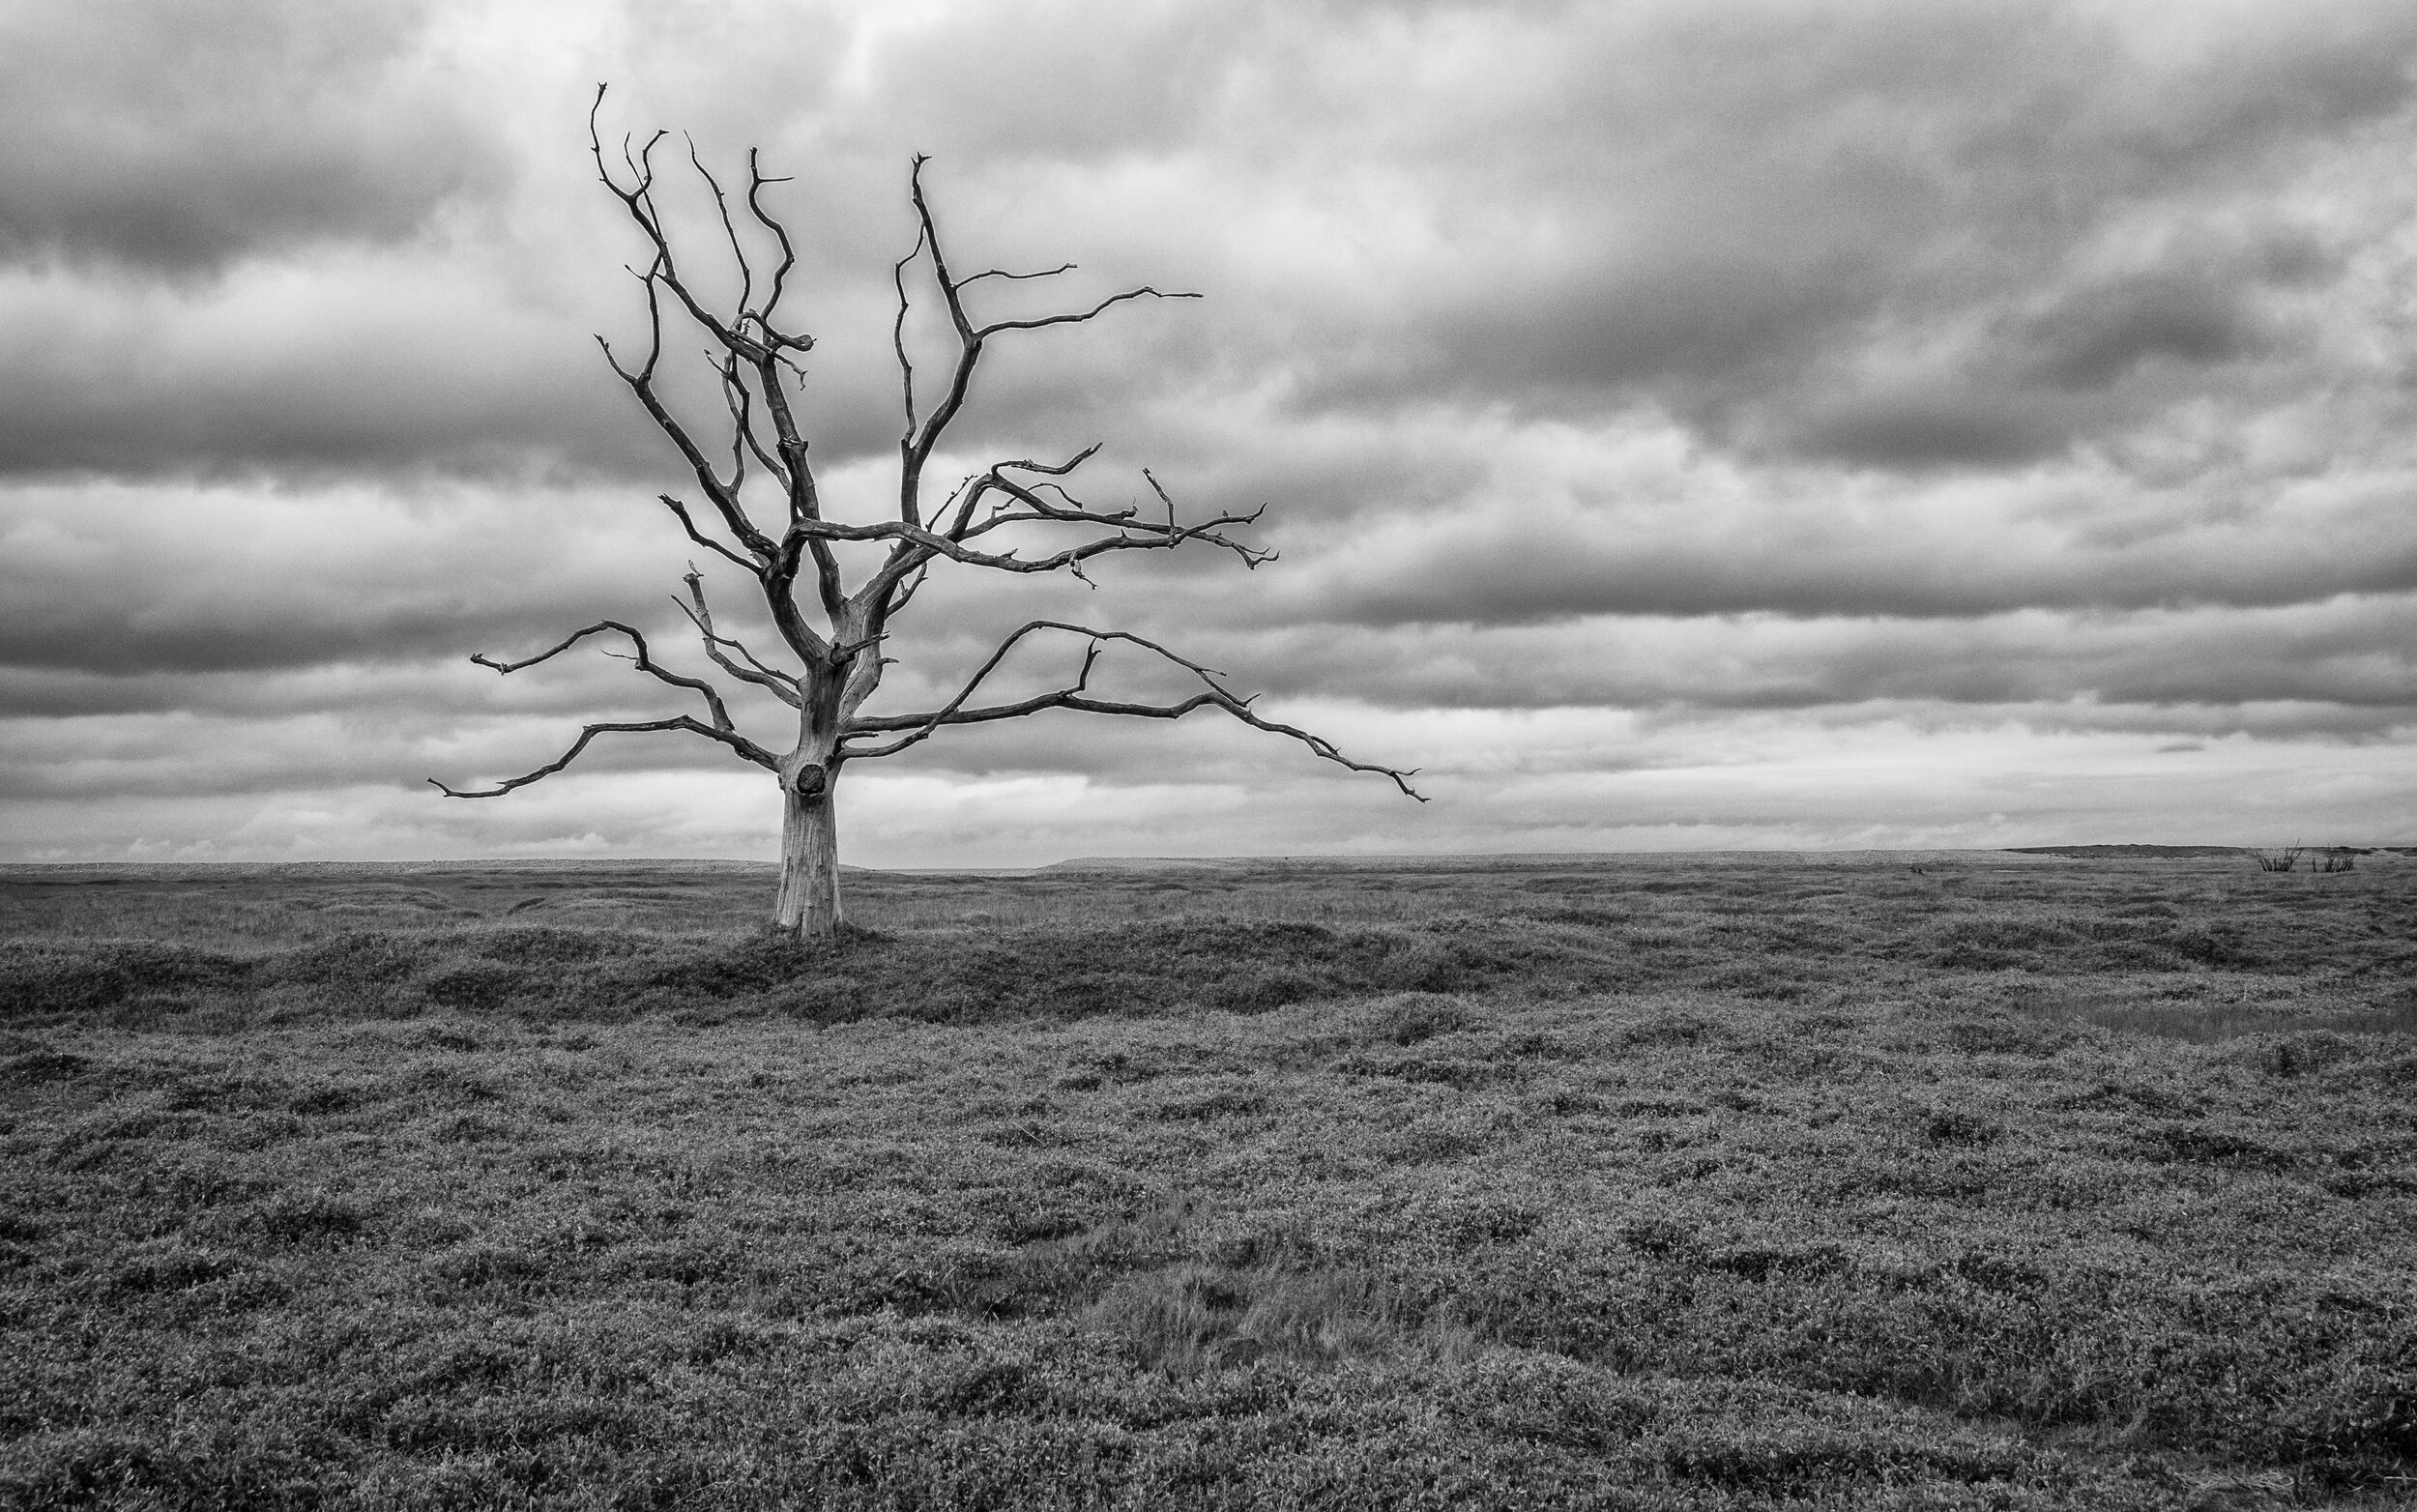
The monochrome nature of the frames gives us the opportunity to focus on the essence of the scene - the color can simply distract the viewer. We offer you some tips and suggestions for shooting great black and white street photography.
See the world in monochrome
Look at the following examples:
the contrast between lights and darkness
shapes and lines
expressions of emotions (on the face, as well as using body language)
eye contact
minimalism
nostalgic elements.
Obviously, we do not see the world in black and white, for this it is worth training your eyes.
Task: to shoot only monochrome frames throughout the year.
If you are shooting with a digital camera, shoot JPEG / JPEG + RAW (with a preset monochrome mode). If you're shooting on film, just use black and white.
Putting yourself in such a creative framework, you will begin to see your surroundings in black and white and begin to per-visualize future monochrome frames. Try not to switch between black and white and color shots during this year of study. Otherwise, you will never hone your "monochrome" vision.
One more hint: if you are shooting JPEG + RAW, be sure to resort to presetting the black-and-white shooting mode when importing photos to your computer.
Simplify
Always try to simplify the black and white frame. Strive to make the scene as small as possible, with a simple composition. Try to use single objects (at least for a start).
When you are preparing to take pictures of the street, start from the background. A good starting point would be a completely white, gray, or black background. Then wait until suitable objects appear in the frame.
Learn to ignore the colors people wear. Better ask yourself: "What would this color look like if it were turned into monochrome?" This will help you see the world according to different brightness’s and shades of gray, not color.
Task: get rid of excess.
For a month, try to remove all unnecessary from your photos.
When analyzing the images, you want to capture, think about what you can extract from the image, not what you can add, on the contrary. And when you create the composition, ask yourself: "Is this element really supposed to be in my frame?" Try to clear the images and leave only their essence in the frame.
That is, we can say that less, in this case, is more. Or remember the motto: "let it be less but better."
Take a chance
No one can first accurately imagine a monochrome image. If the picture is taken on film, the photographer has less control over how the final image will look.
Shooting in RAW provides tons of control over the final look of a monochrome image. If you shoot black and white JPEG, the photographer will have the same restriction as to when shooting on film.
Task: take a chance.
Shoot against the light. Try experimenting with exposure compensation in black and white. Try to make exposure compensation +1, +2, -1, -2 and study the results.
Learn from the masters
Read about great photographers and contemporary photography in the Personalities section of the blog.
Task: Learn the work of masters.
Analyze the shots and see how photographers build the composition. In addition, try to figure out what works in the pictures and what doesn't. How did the photographer work with light? What emotions or gestures are present in the frame?
Focus on emotions
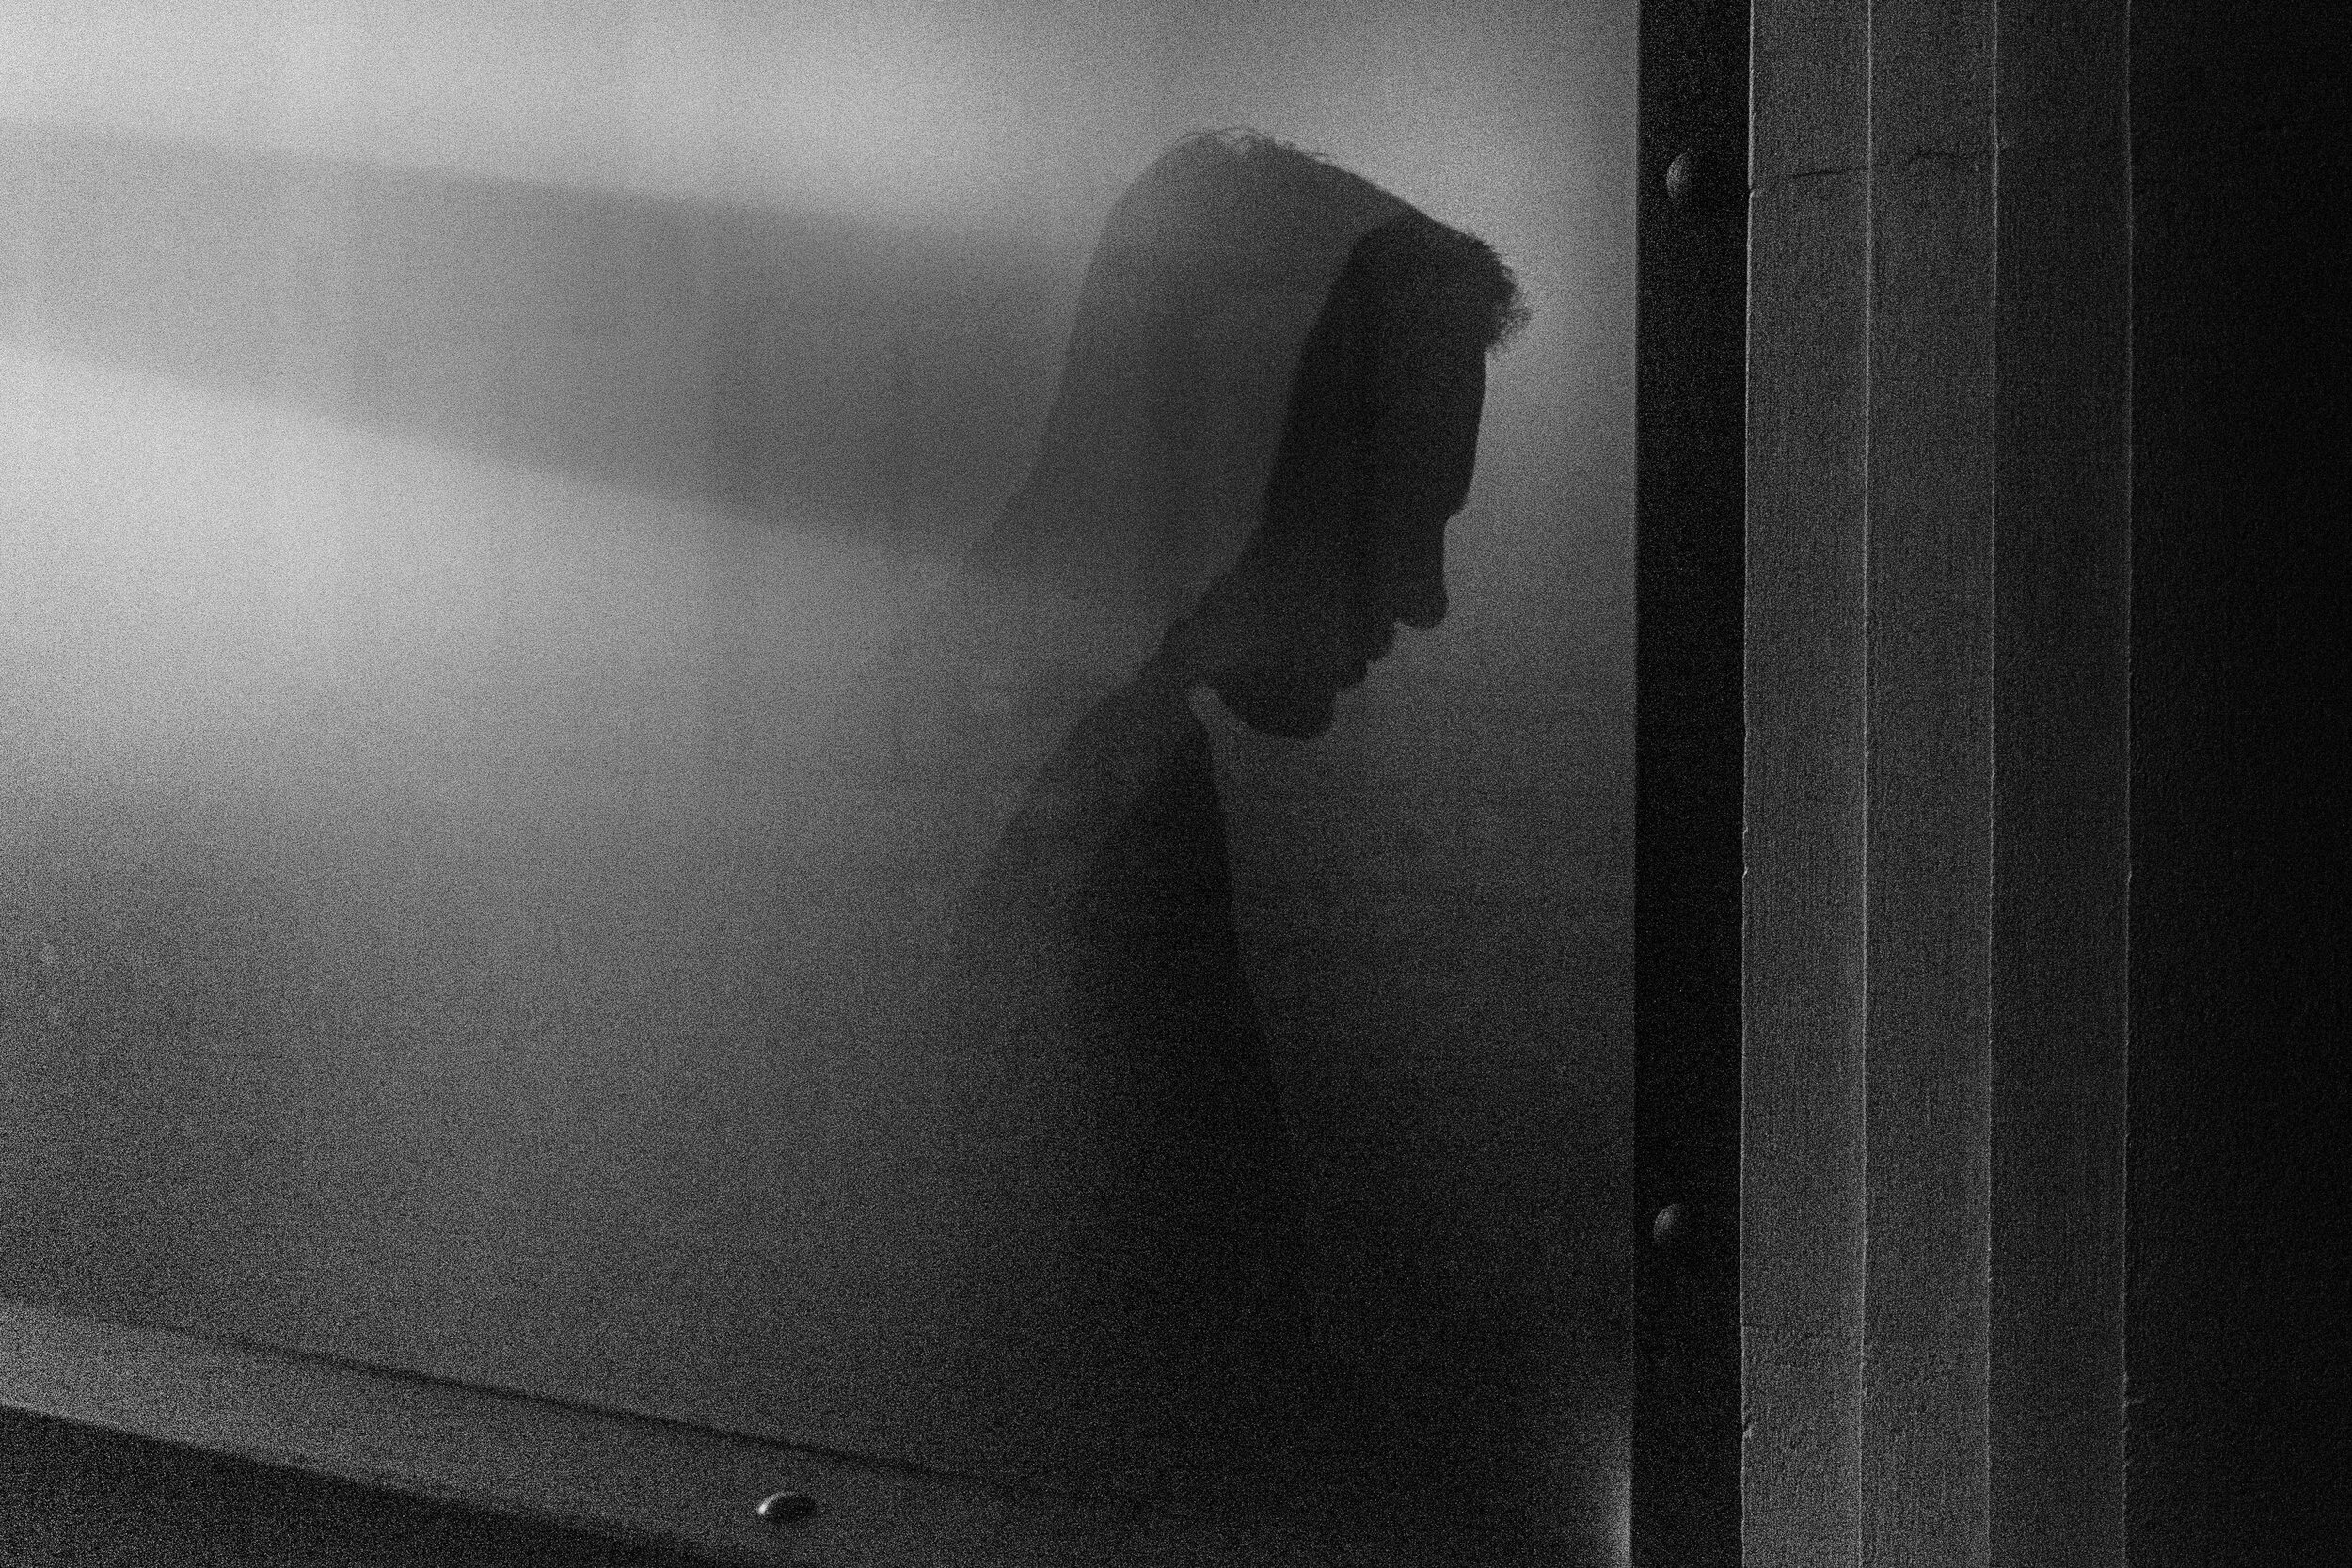
Monochrome images seem quieter, still, sometimes darker and nostalgic. They reflect on the past.
Photographing something sad in black and white is a cliche to avoid. However, you can go in a more interesting way - try to photograph happiness in a monochrome. Also, try to photograph the despair. Remove a wide range of emotions, not just direct association with monochrome.
Task: Arouse certain moods through your photos.
Think about the feelings that black and white engenders within you and try to capture them literally. And as an additional task, also try to provoke the opposite emotion in a black and white shot. This will help to get out of your comfort zone.
Lighten and darken
One thing that photographers have been doing for decades is to use the Dodge and Burn method in their photographs (lightening and darkening in certain parts of the frame).
Previously, this was done in a dark room, but now we can do all the manipulations using a photo editor. Many novice photographers believe that the method of darkening and lightening parts of the frame is a kind of "deception." Not at all. It all depends on your artistic vision.
Darken the parts of the frame that you find distracting and lighten more interesting places. The viewer's eyes will be drawn to the area of the frame with the highest contrast. Keep this in mind.
Task: do the post-processing no more than a minute.
Often the more time you spend on post-processing monochrome images, the worse they will look.
For example, you can shoot RAW + JPEG, but also apply standard black and white presets to images (when importing). Then you can make small adjustments to the photo: make adjustments to the exposure, contrast, shadows, glare.
Use flash
A flash will add intensity to images. High-quality photography requires good contrast and dramatic light. If you take pictures in the shade, your black and white photographs will probably not have contrast and will not be aesthetically interesting.
Task: take photographs of all objects with and without flash.
Use the flash in all black and white photographs throughout the week. Take pictures with or without flash, then analyze both images. See how flash affects photos in terms of aesthetics, emotional impact, and intensity.
Shoot with dramatic light
Try to shoot in good light ("golden time" - sunrise and sunset). As for the technical parameters, if you shoot in aperture priority mode or in program mode, set the exposure compensation to -1 or -2.
Task: watch the light.
Whenever you shoot, always try to chase the light. Look for small beams of light, be patient. Wait for the right person to enter the frame.
Even better, try to wait until sunset to take a picture - then you get long, dramatic shadows. Or, if you're really brave, wake up early in the morning before sunrise.
Conclusion
There is no "right" or "wrong" in street photography - regardless of whether you decide to shoot in black and white or color.
For most novice street photographers, it's best to work on black and white shots. What for? This allows you to learn how to navigate in the basic principles, and not be distracted by color.
Black and white shots are soulful, and without emotions, the photograph is dead. Learn to make your photos immortal.


