How to Watermark Your Photos in Lightroom

Today we’re going to talk how to watermark your image in Lightroom. I'll show you how to apply a watermark to your photos as you export or when you will publish your photos online.
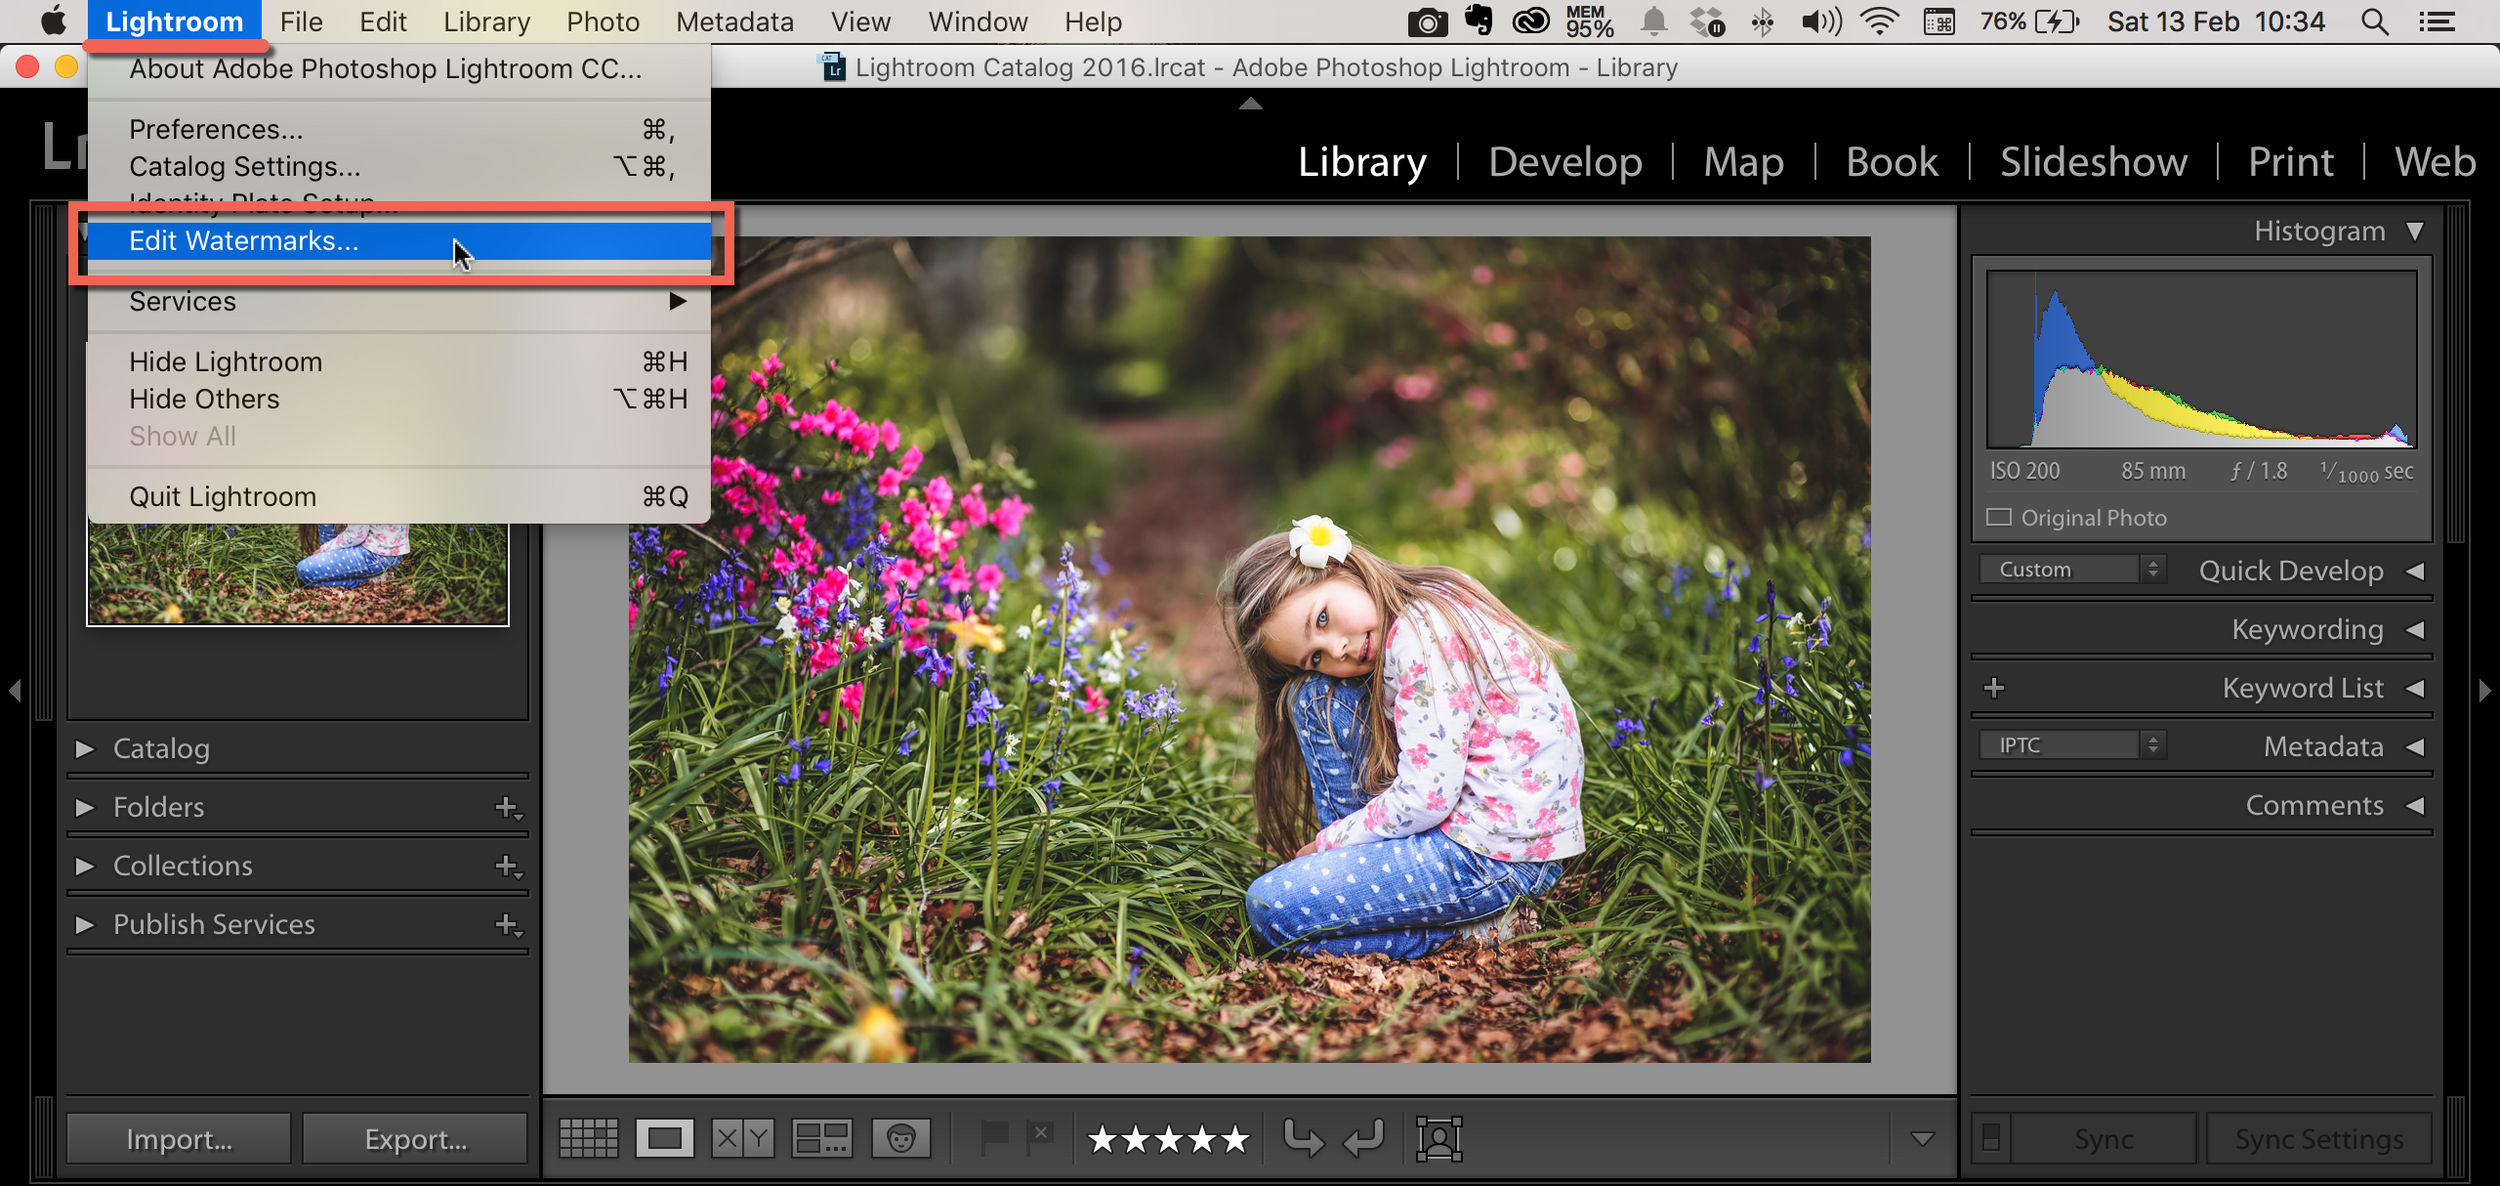
2. The new pop-up window will open up. Scroll down and select "Edit Watermarks..." in Watermarking section.

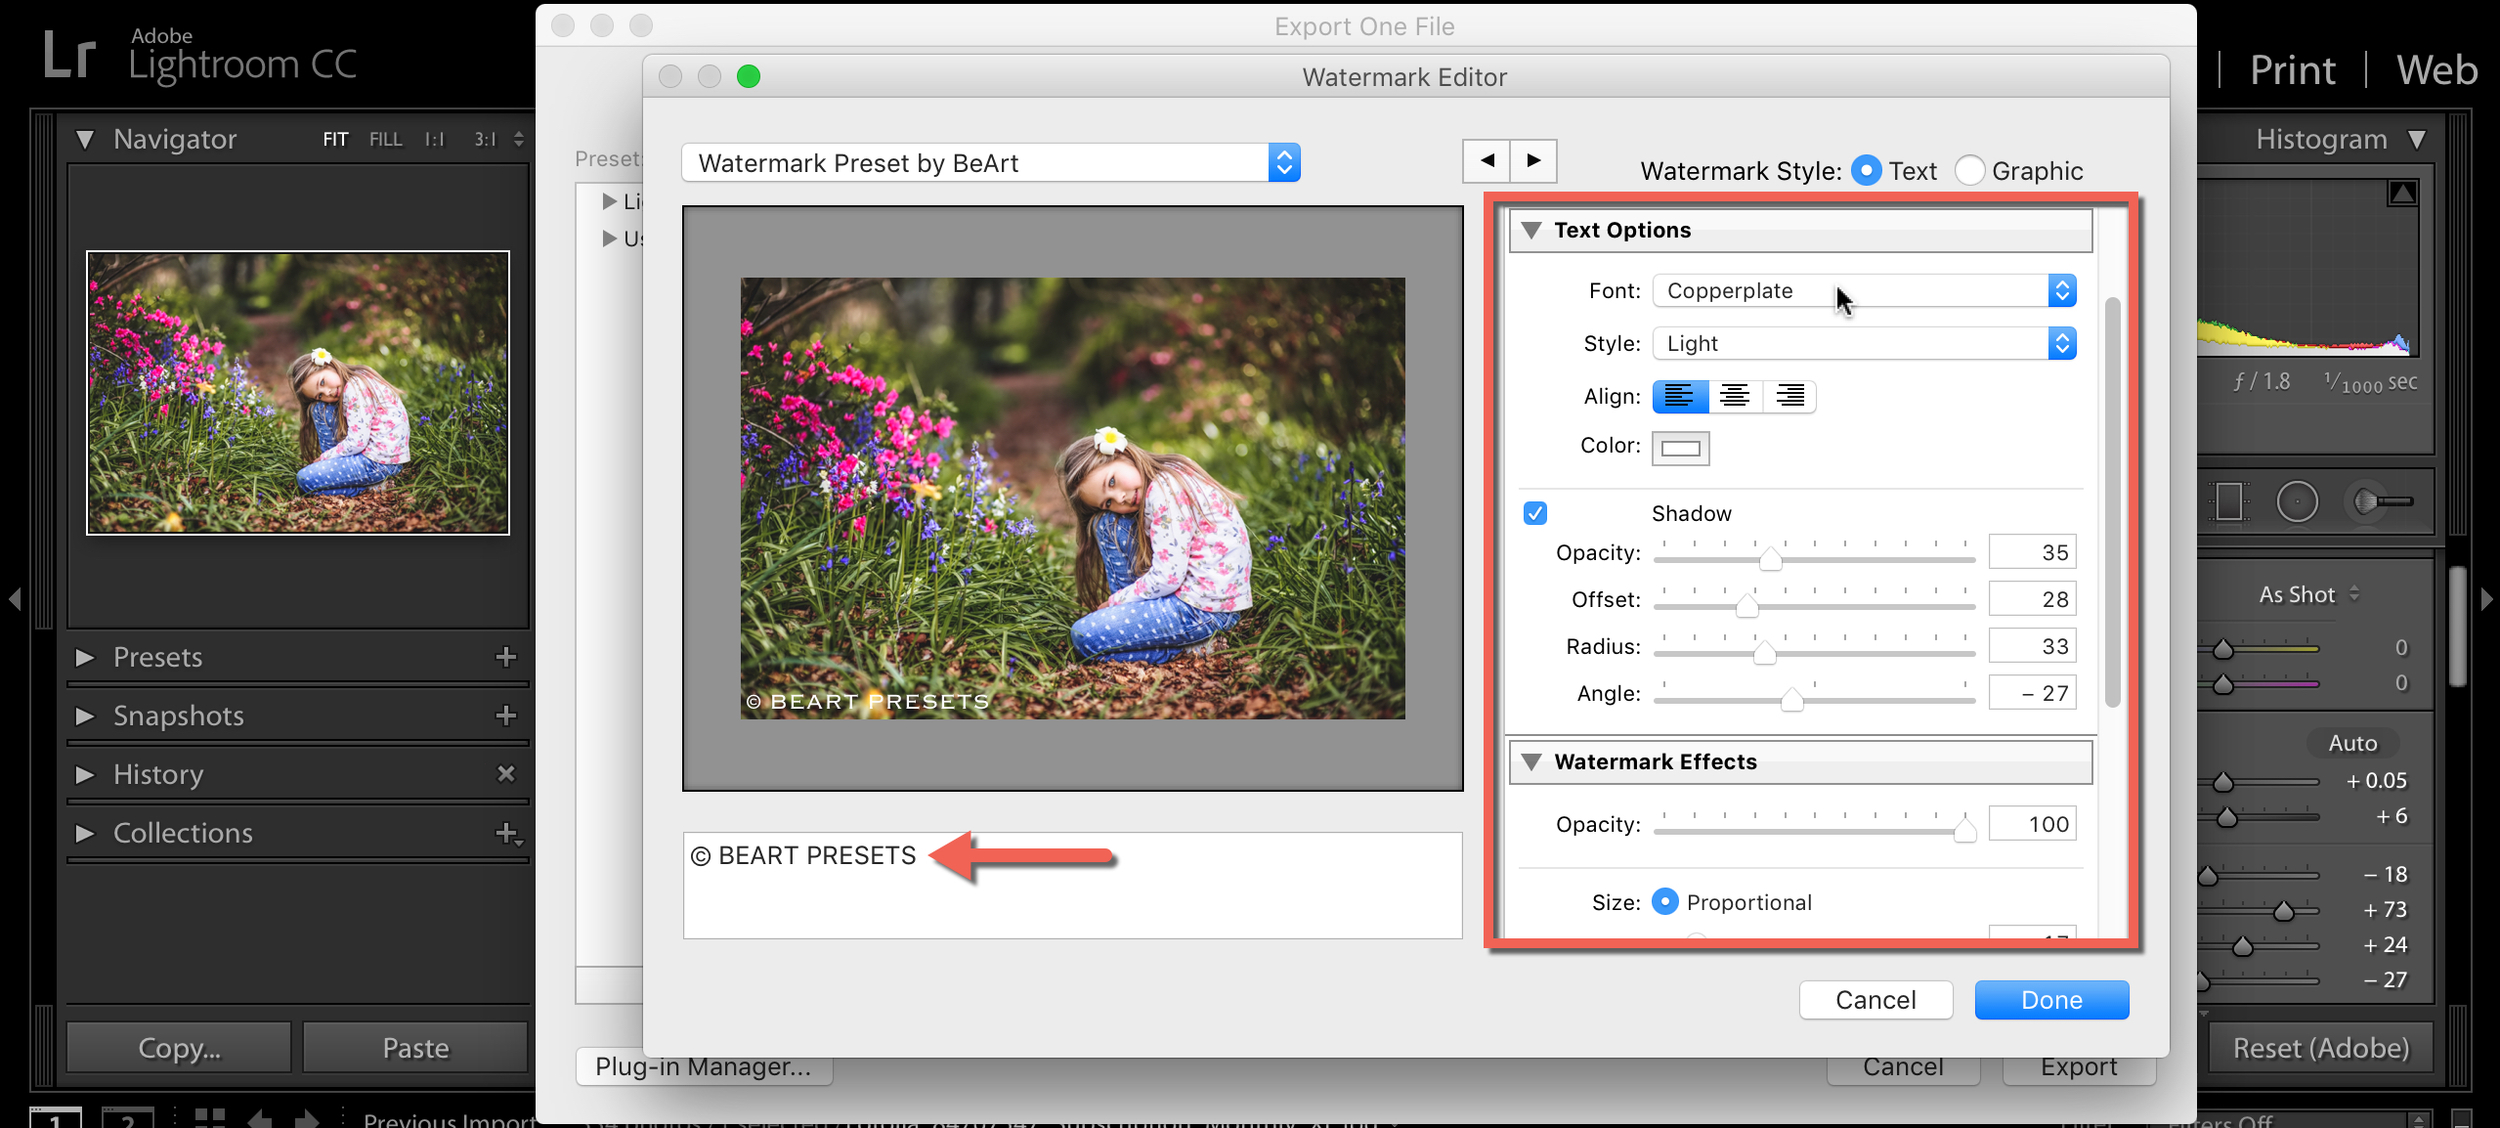
3. Choose the style of watermark you want. You can select between text watermark or a graphic watermark. For the better results, if you going to choose graphic watermark, use a PNG file with a transparent background.

4. Text Watermark style menu, lets you customize the watermark text by changing its font, style, alignment, colour, and drop shadow. If you want to use Graphic Watermark style, then click "Choose" in the image option and select a PNG file that you want to use for your watermark.
5. Click "Create" to save the current settings as a preset with your original name.

6. Once it is saved, it will be available in Watermarking section and you can apply it to your photos during export.

7. You can see the result on the image below.